Before I started making mead I was brewing beer. I wasn’t very good at it, but I would have been much worse were it not for a handful of books pointing me in the right direction. I learned the basics of brewing by practicing what I read in Charlie Papazian’s book The Complete Joy of Homebrewing. I think it was actually Radical Brewing by Randy Mosher which gave me the idea to try mead making. When I decided to give it a shot, I picked up a copy of The Complete Meadmaker by Ken Schramm. Later I incorporated ideas from Steve Piatz’s book The Complete Guide to Making Mead. Most of what I know about making mead comes from these authors.
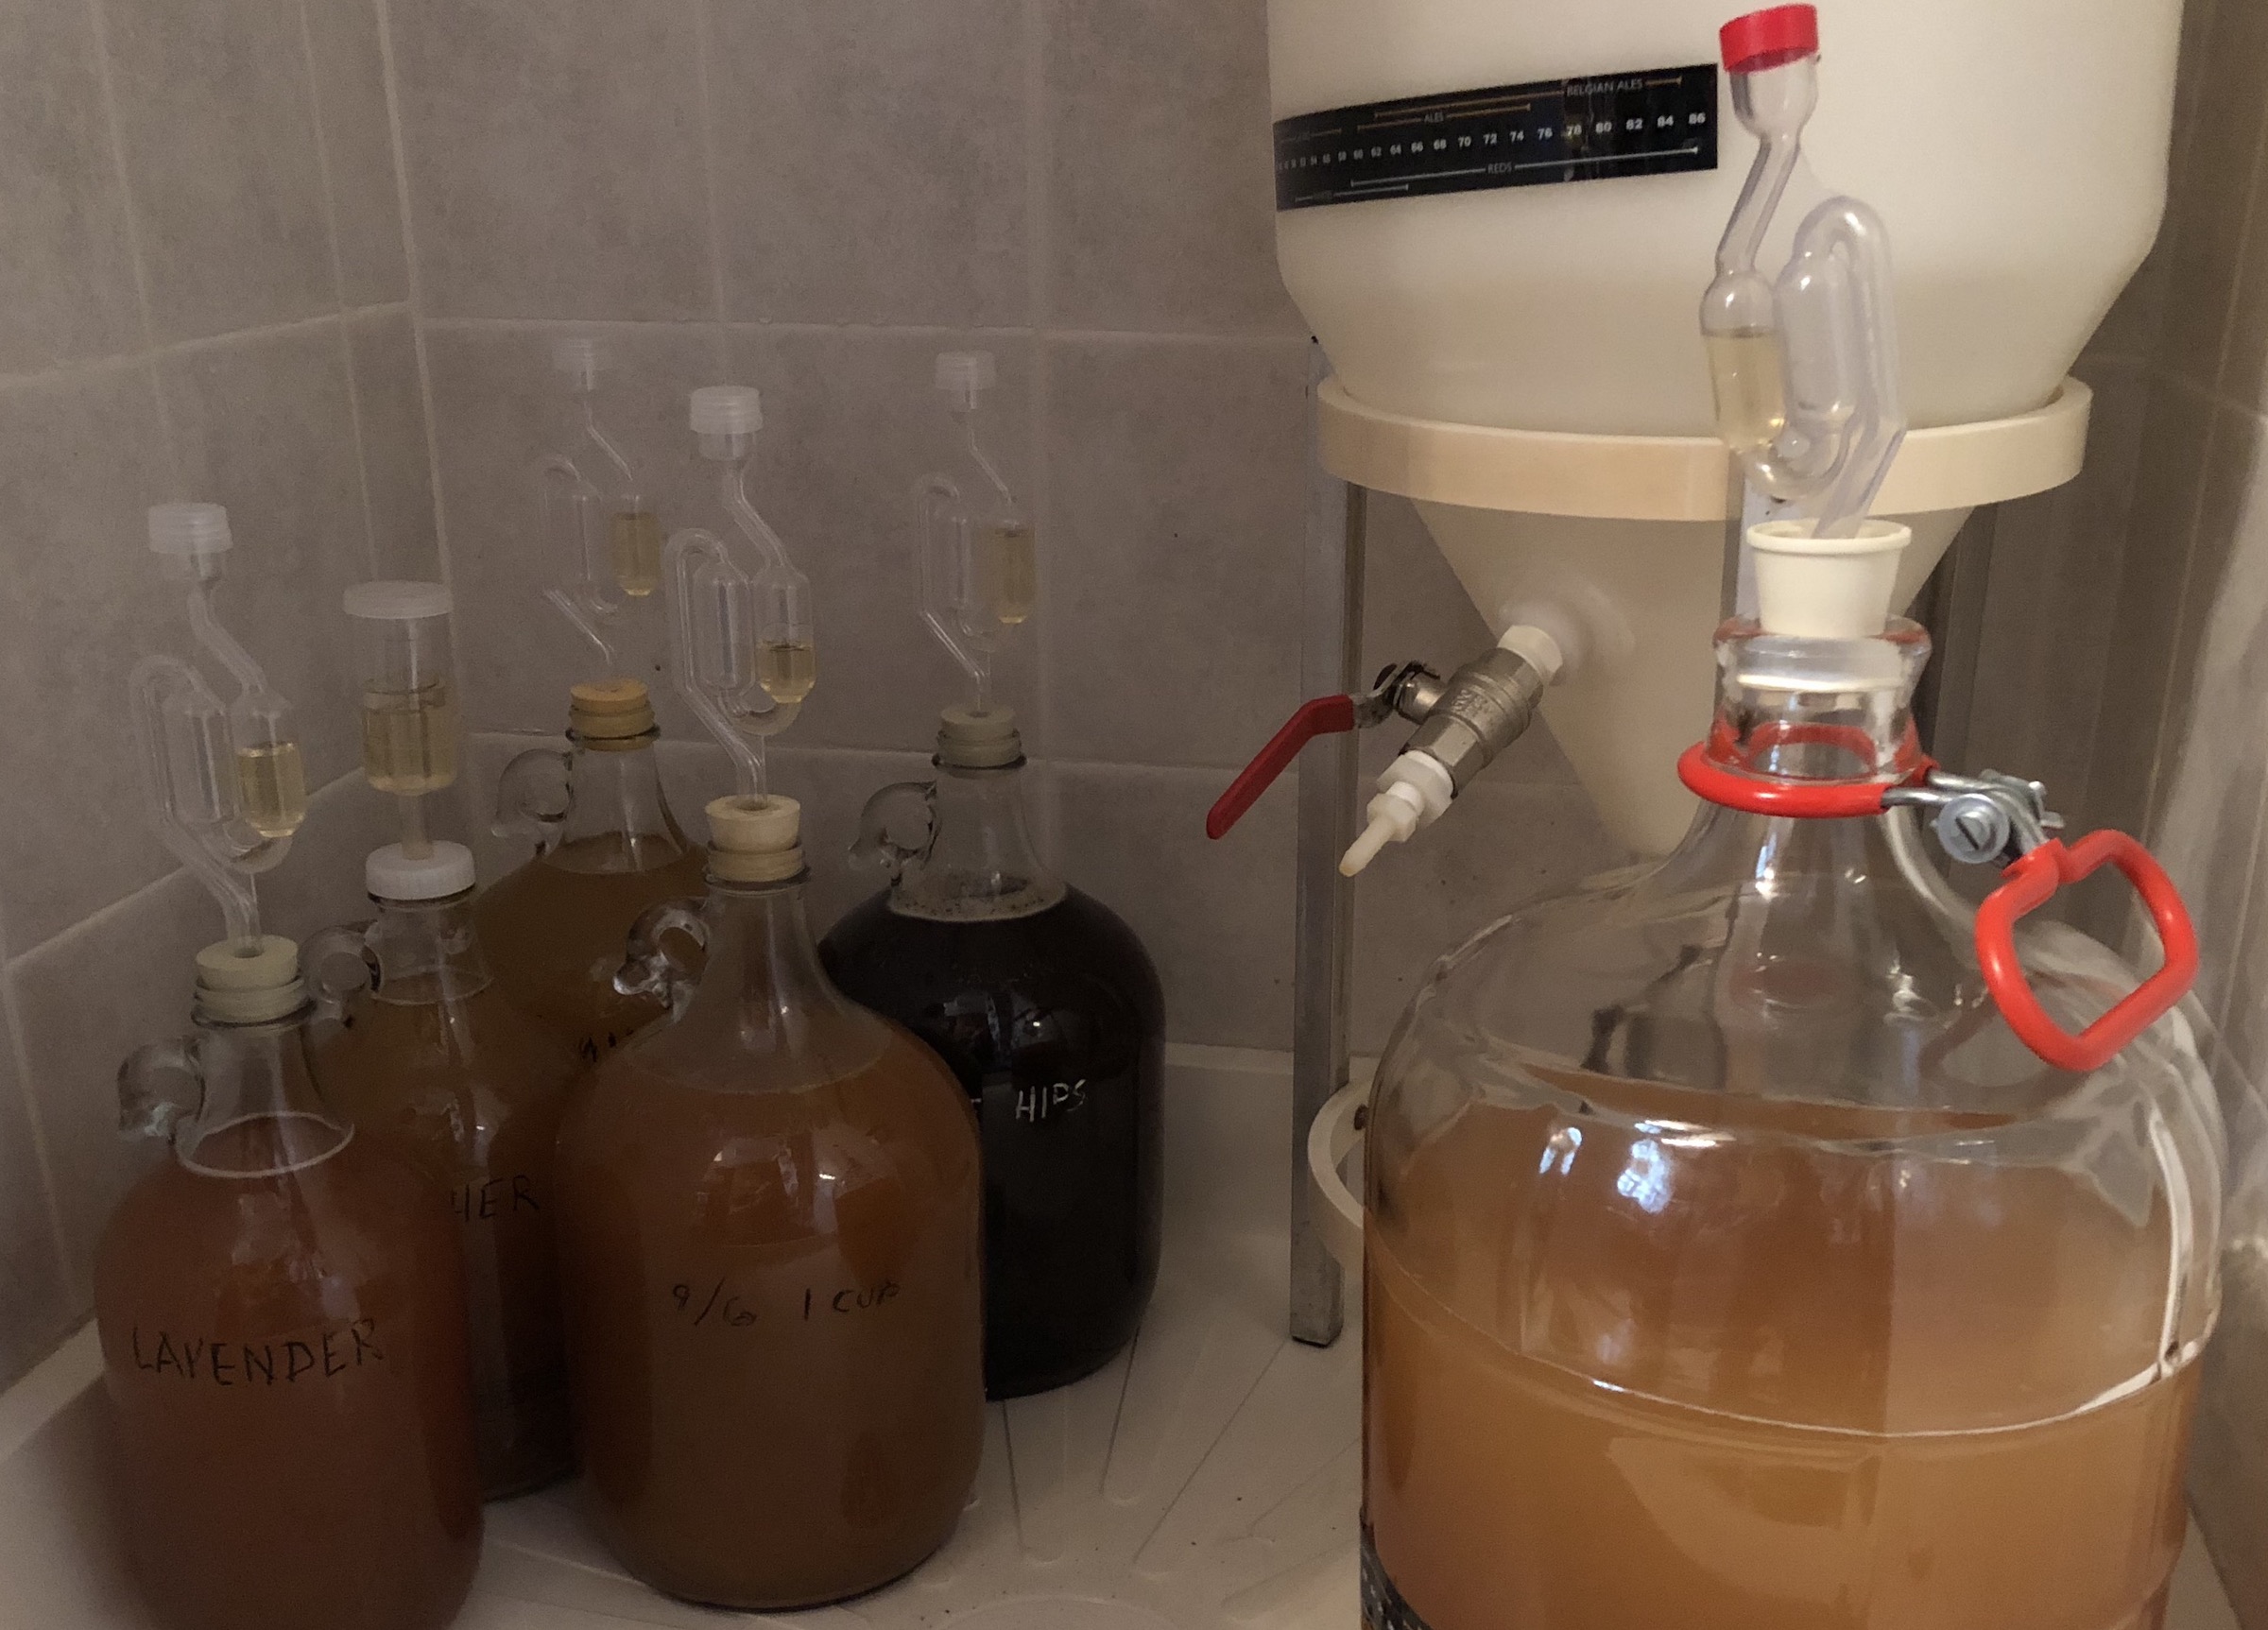
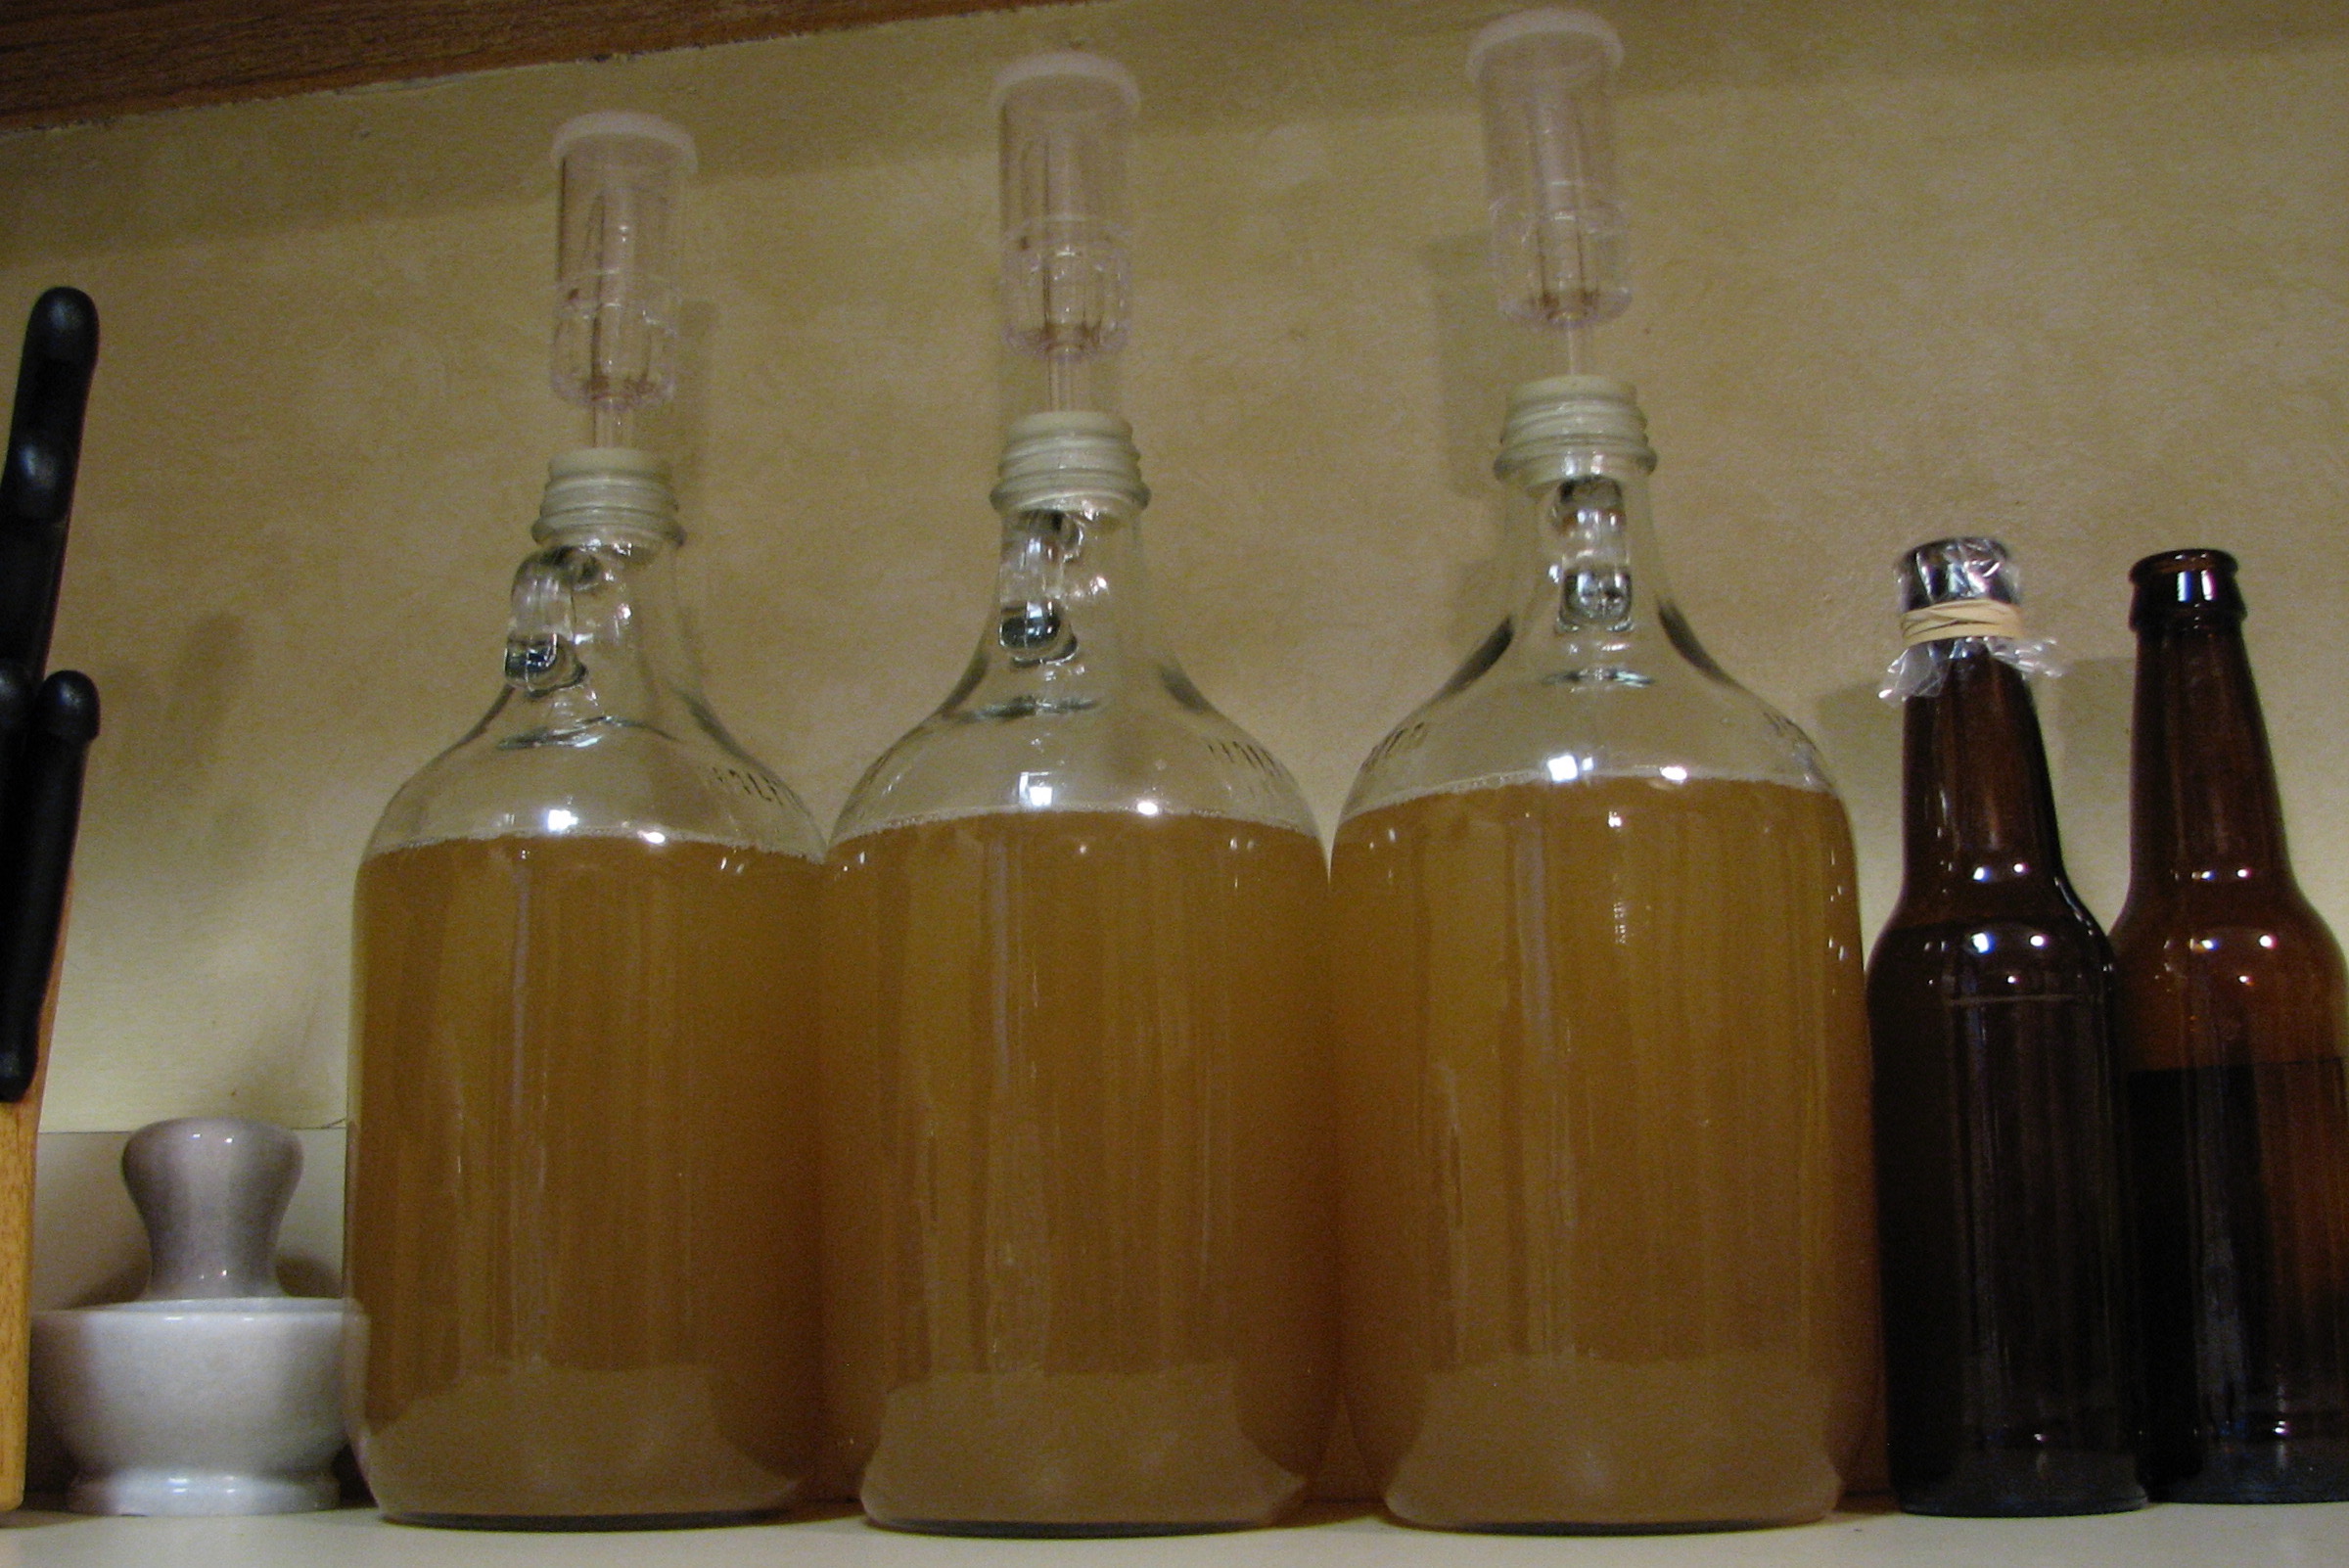
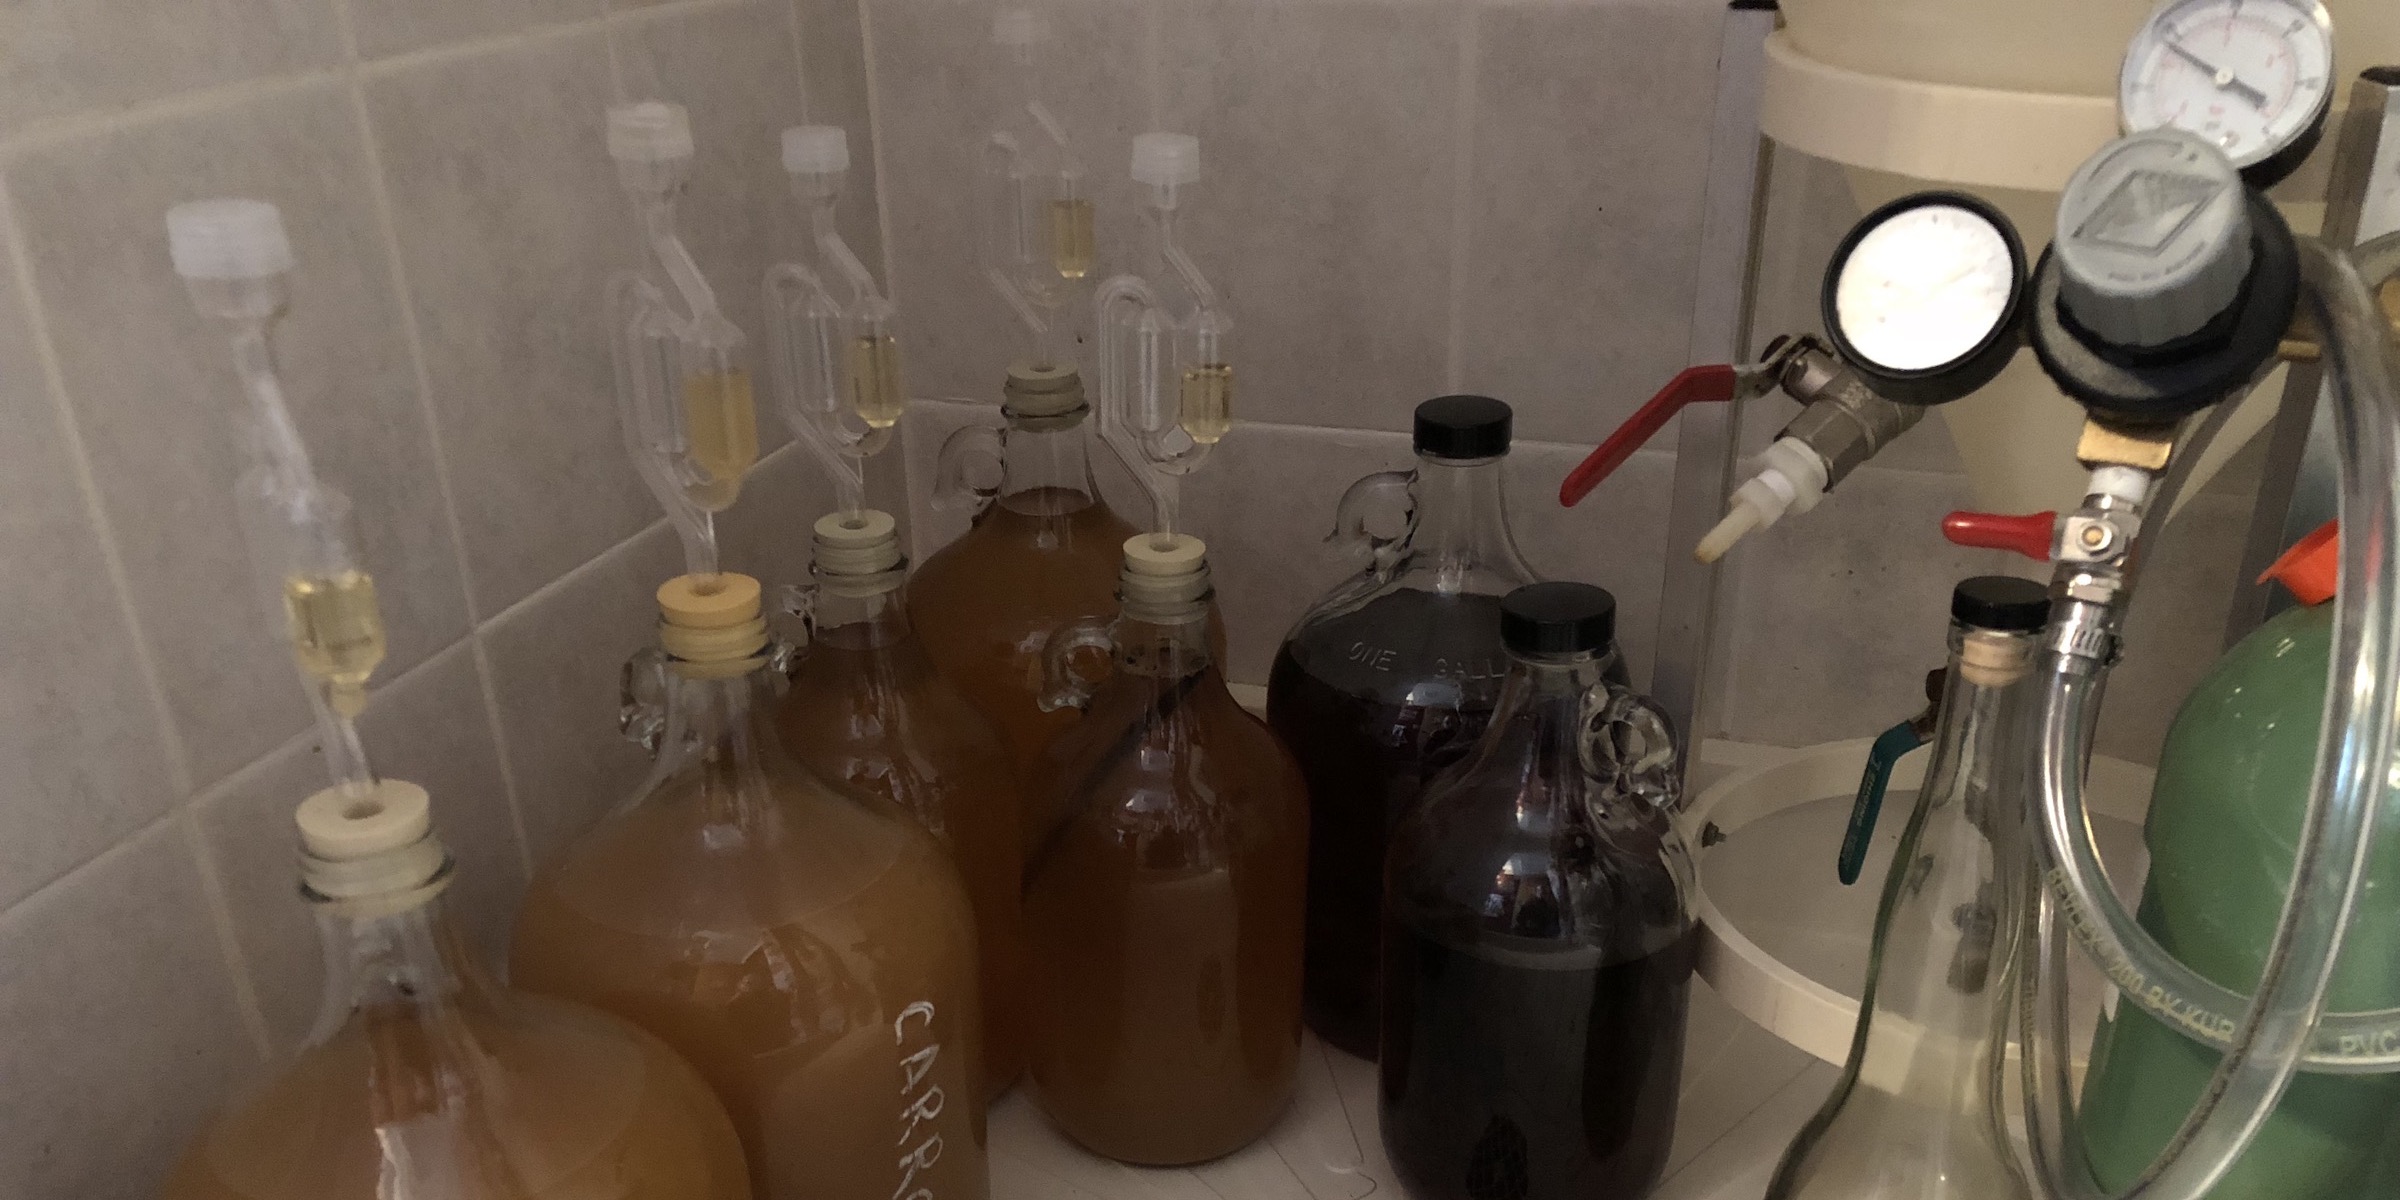
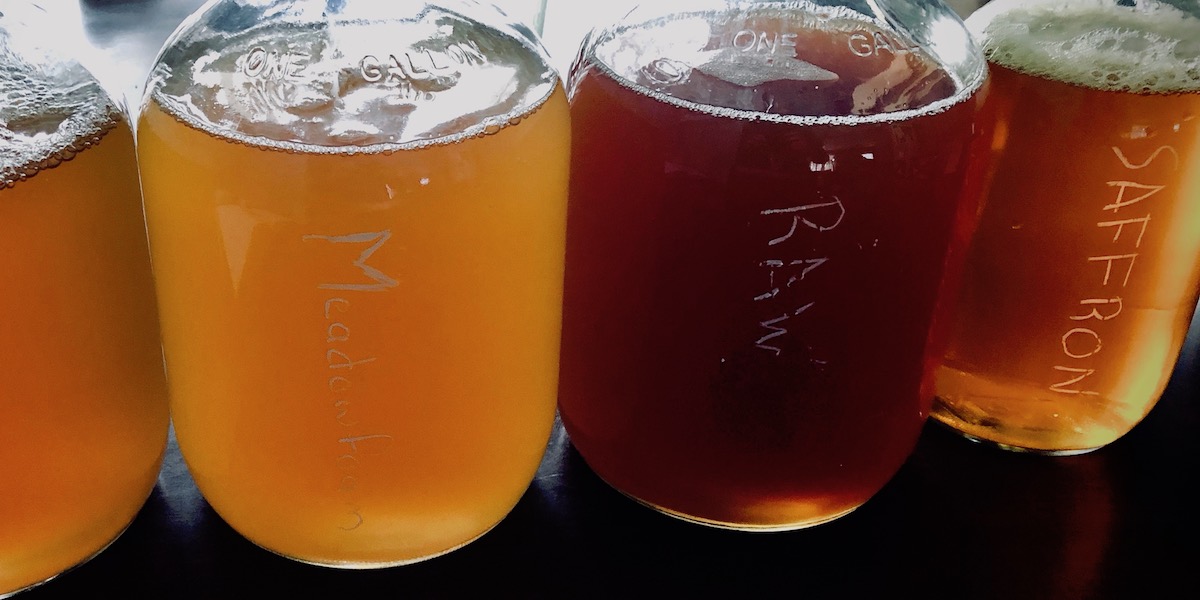
Through a long process of reading those books and experimenting I have become an outright decent mead maker. Along the way I have developed my own style. I like to experiment with honey varietals, adjuncts, and extraction techniques, so I normally make small one gallon batches. Also, I don’t have a temperature controlled fermentation chamber, so I only make mead during cooler months. Since I only ferment four or five months out of the year I end up having numerous small batches all fermenting at once, and I like to keep the ongoing maintenance to a minimum. These factors have shaped the process which I follow. So, in the spirit of sharing knowledge to help others produce better mead, I am sharing my process.
We start by thinking about the third most important ingredient: water. The only real rule here is to not use chlorinated city water. If you have chlorinated water then you need to remove the chlorine or purchase bottled water. I have never needed to remove chlorine from tap water, so I cannot speak from experience, but I would imagine that most carbon filtering systems will effectively remove chlorine. I use well water which goes through a carbon filtering and reverse osmosis process. The water I use is similar to the bottled water which can be purchased in 5 gallon reusable plastic carboys.
The day before I make a gallon of mead I place 1 quart of water in the refrigerator. We will be warming the water to help the honey dissolve quickly and to rinse the residual honey out of the jars. So, we will need to cool the honey back down before pitching the yeast. A quart of water chilled to about 50℉ will help drop the temperature to right around the proper pitching temperature.
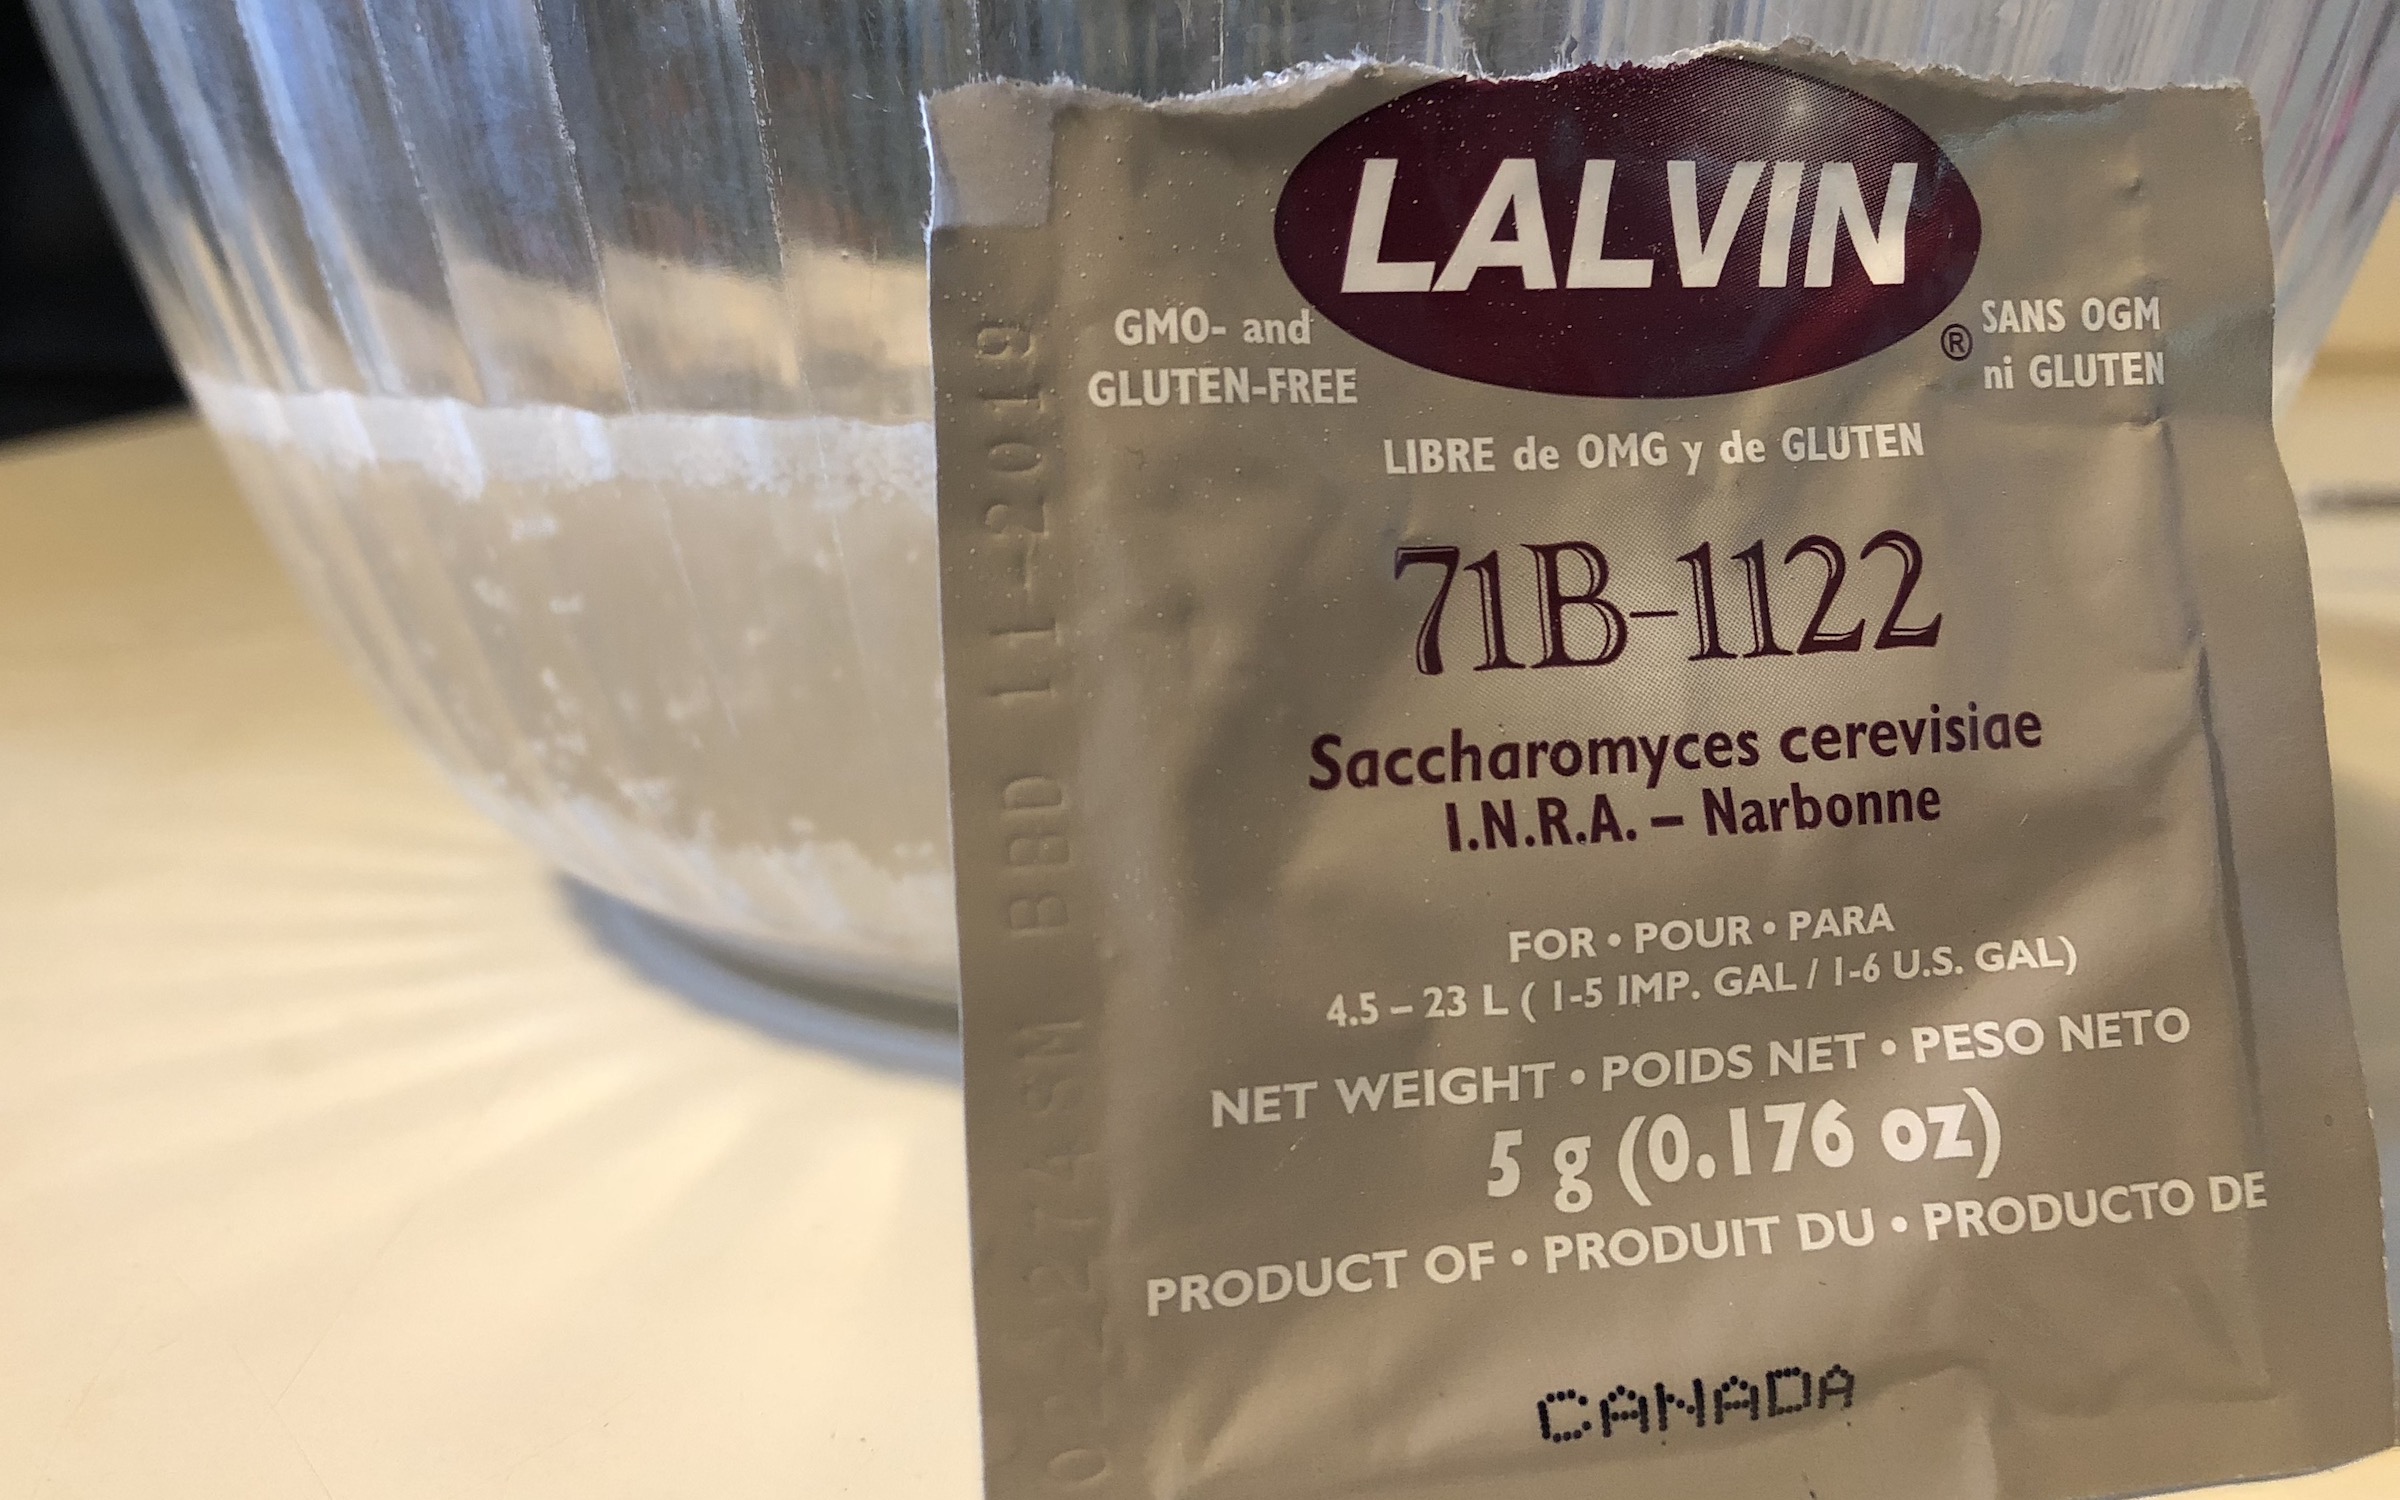
Though some yeasts say on the package that they can just be sprinkled on the wort, diluted honey is a little more hostile environment than wine must or beer wort, so I always rehydrate. The popular mead yeasts, 71B and D47, come with recommendations to rehydrate in water that is between 104℉ and 109℉. I always read the yeast package or spec sheet when I try a new yeast, but I almost always pitch the yeast when the water is at 104℉ (80℃).
As a side note, I used to just grab any bowl I had laying around for this. Because I am clumsy I decided to switch to a Erlenmeyer flask which has less of a propensity for tipping on its side. I have a 1000mL Erlenmeyer flask, but I would prefer a smaller one for working with 1 gallon batches. The lowest marking on the 1000mL flask is 400mL, which means that I must measure water before adding it to the flask rather than using the flask to measure. The ideal flask for gallon batches would have 100mL gradations. However, you will notice below that we are just weighing the water, so in the end it’s not that big of a deal.
Before adding the water I start by measuring out some dry goods. Place your rehydration vessel on a scale and tare it. Next, add the Go-Ferm. It has been my experience that this step is crucial to avoid fermentation problems. I have experienced many stuck fermentations, but I don’t recall one ever happening when I have used rehydration nutrients. I normally use 1.25 times, by weight, as much Go-Ferm as yeast. So, 4 grams of yeast would get 5 grams of Go-Ferm, and 5 grams of yeast would get 6 grams of Go-Ferm (actually 6.25, but my scale does not support sub-gram measurements). When in doubt, round down. Too much nutrients can be bad for the yeast.
With the rehydration nutrients measured out, add twenty times the weight of the nutrient in water. In the case where 6 grams of Go-Ferm was used, 120 grams, or 120 mL, of water needs to be added. The water should be 110℉. Swirl the nutrient and water mixture and then set it aside until it cools to 104℉. At that temperature pitch in the yeast and let it set for 20 minutes.
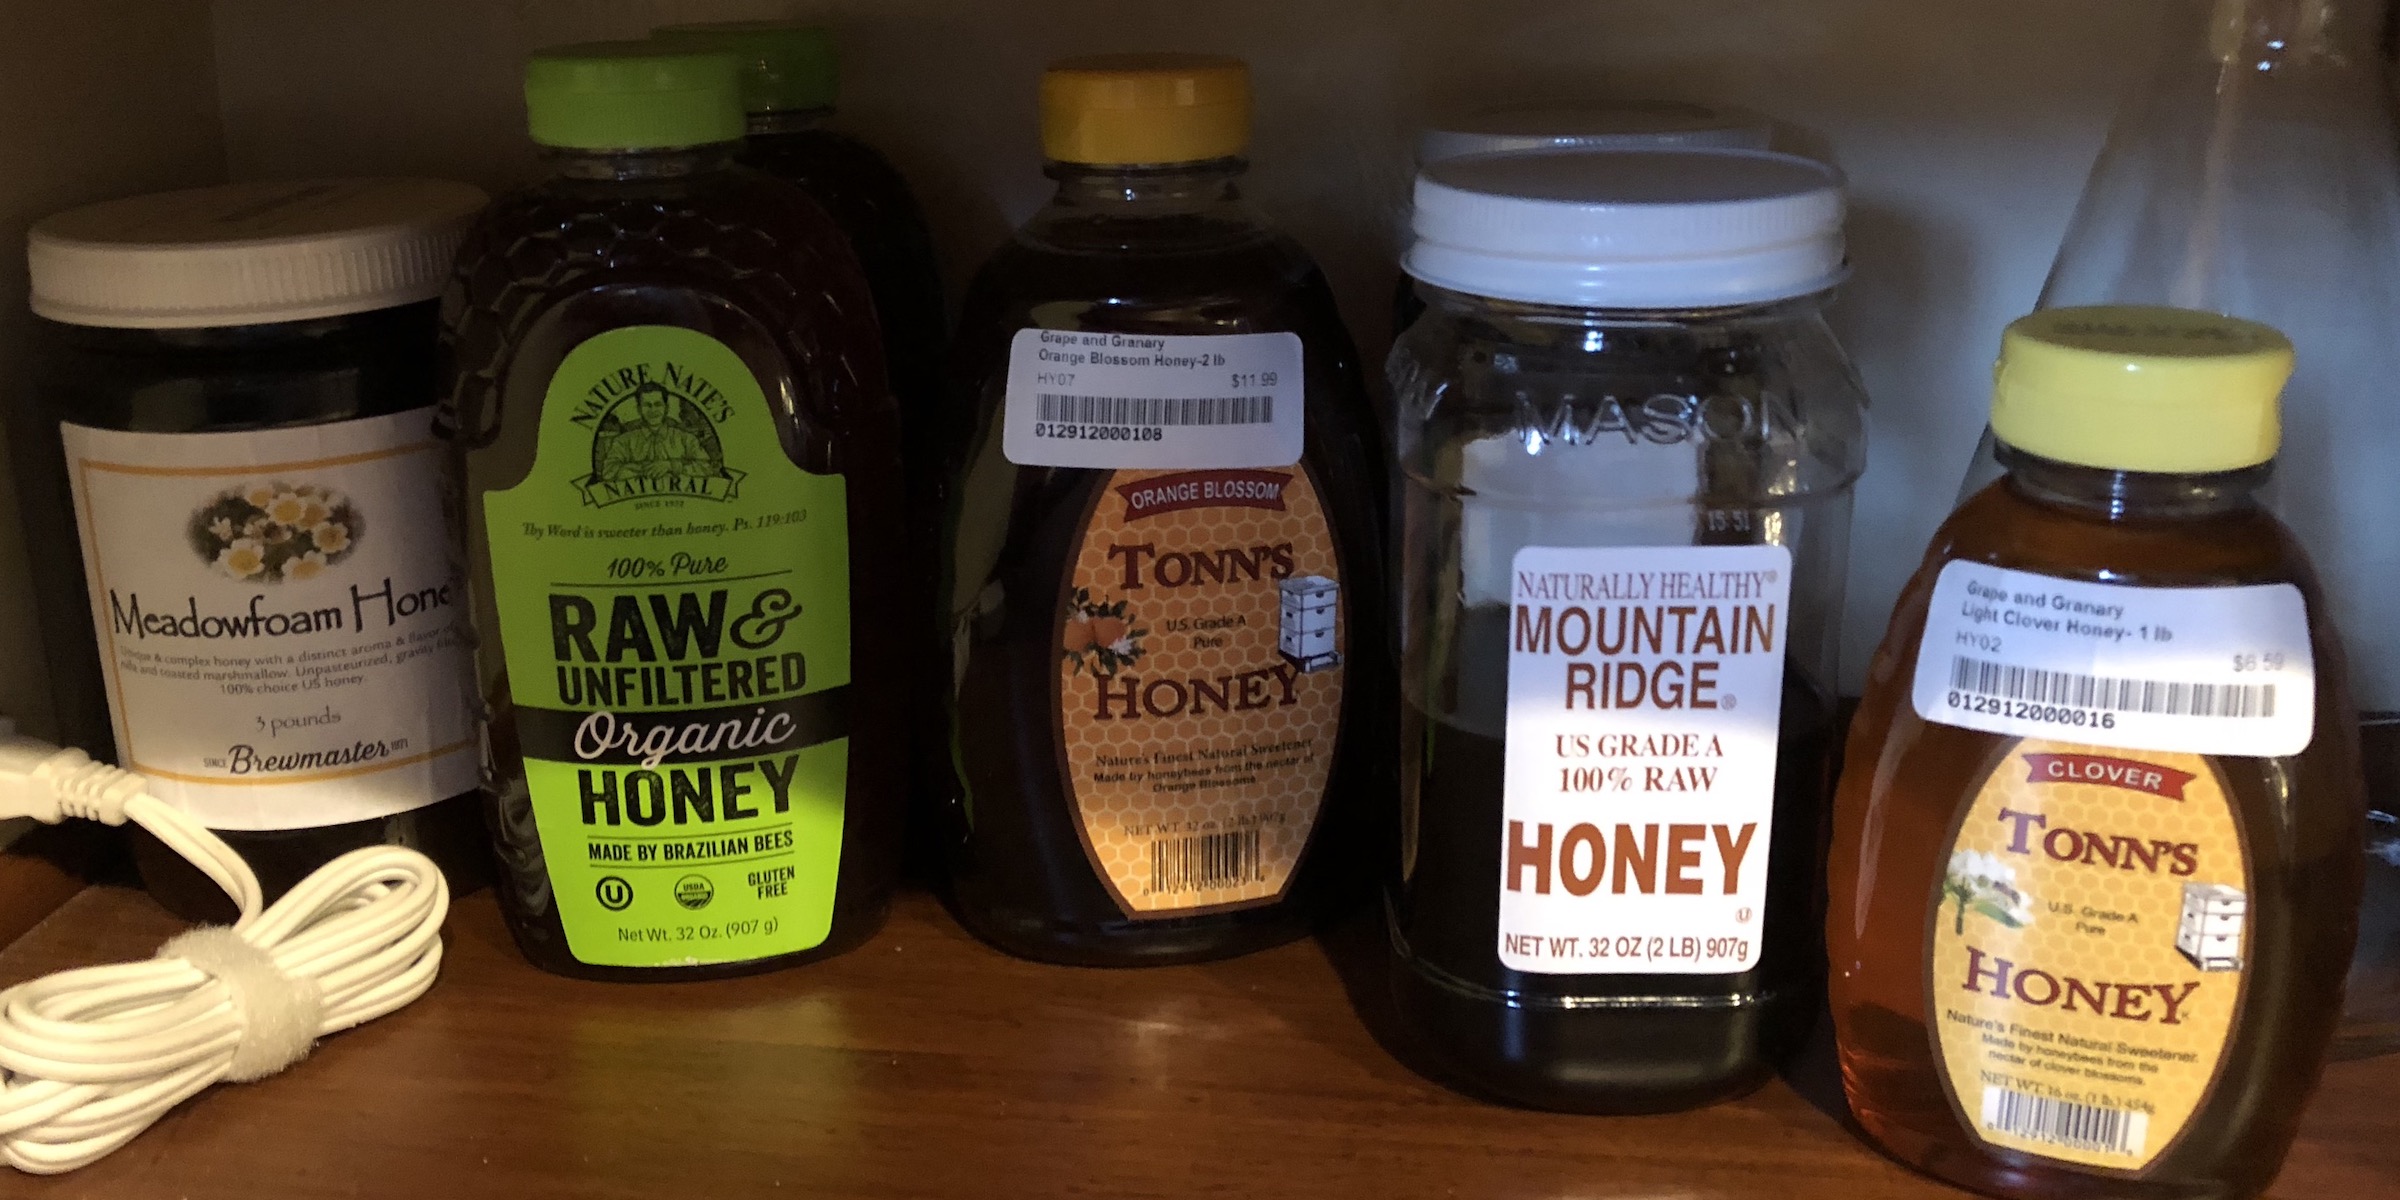
A rule of thumb I use is that 1 pound of honey will raise 1 gallon of mead by 5% alcohol. So, I normally use 3 pounds of honey to make a semi-sweet gallon of mead at around 12% alcohol. By the rule of thumb, 3 pounds of honey should produce a mead with around 15% alcohol. That is if the mead were fermented completely dry; all the sugars are converted into alcohol. If the fermentation can be stopped when the mead is at around 12% alcohol, then enough sugar remains in the mead to make it semi-sweet.
I have found that most people prefer a semi-sweet, if not sweet, mead. If you are not careful, dry meads can sometimes border on astringency. If the fermentation cannot be stopped at 12% alcohol, then it is best to save 8-10 ounces (by weight) of honey for back-sweetening. Honestly, even yeast with a listed alcohol tolerance of 12% will keep fermenting past 12%. This is especially true if the yeast are healthy, so getting a fermentation to stop at the desired alcohol level is rare. The only time I have been able to do so is when using certain types of beer yeasts. So, it might be wise to plan on back-sweetening. Once fermentation is complete, the mead is clear, and it has been stabilized, the reserved honey can be added to the mead. I have found mead which has been back-sweetened takes longer to clear, but it doesn’t need to be clear to taste good.
Before we talk about our fermentation, we should talk about sanitization. All brewers should take this extremely seriously. Cleanliness starts when you have finished using a piece of equipment. When fermentation is complete, I scrub and rinse out the fermentation vessel, and then clean it with an appropriate amount of B-Brite. After it has air dried I put the dry airlock back on it and place it in storage.
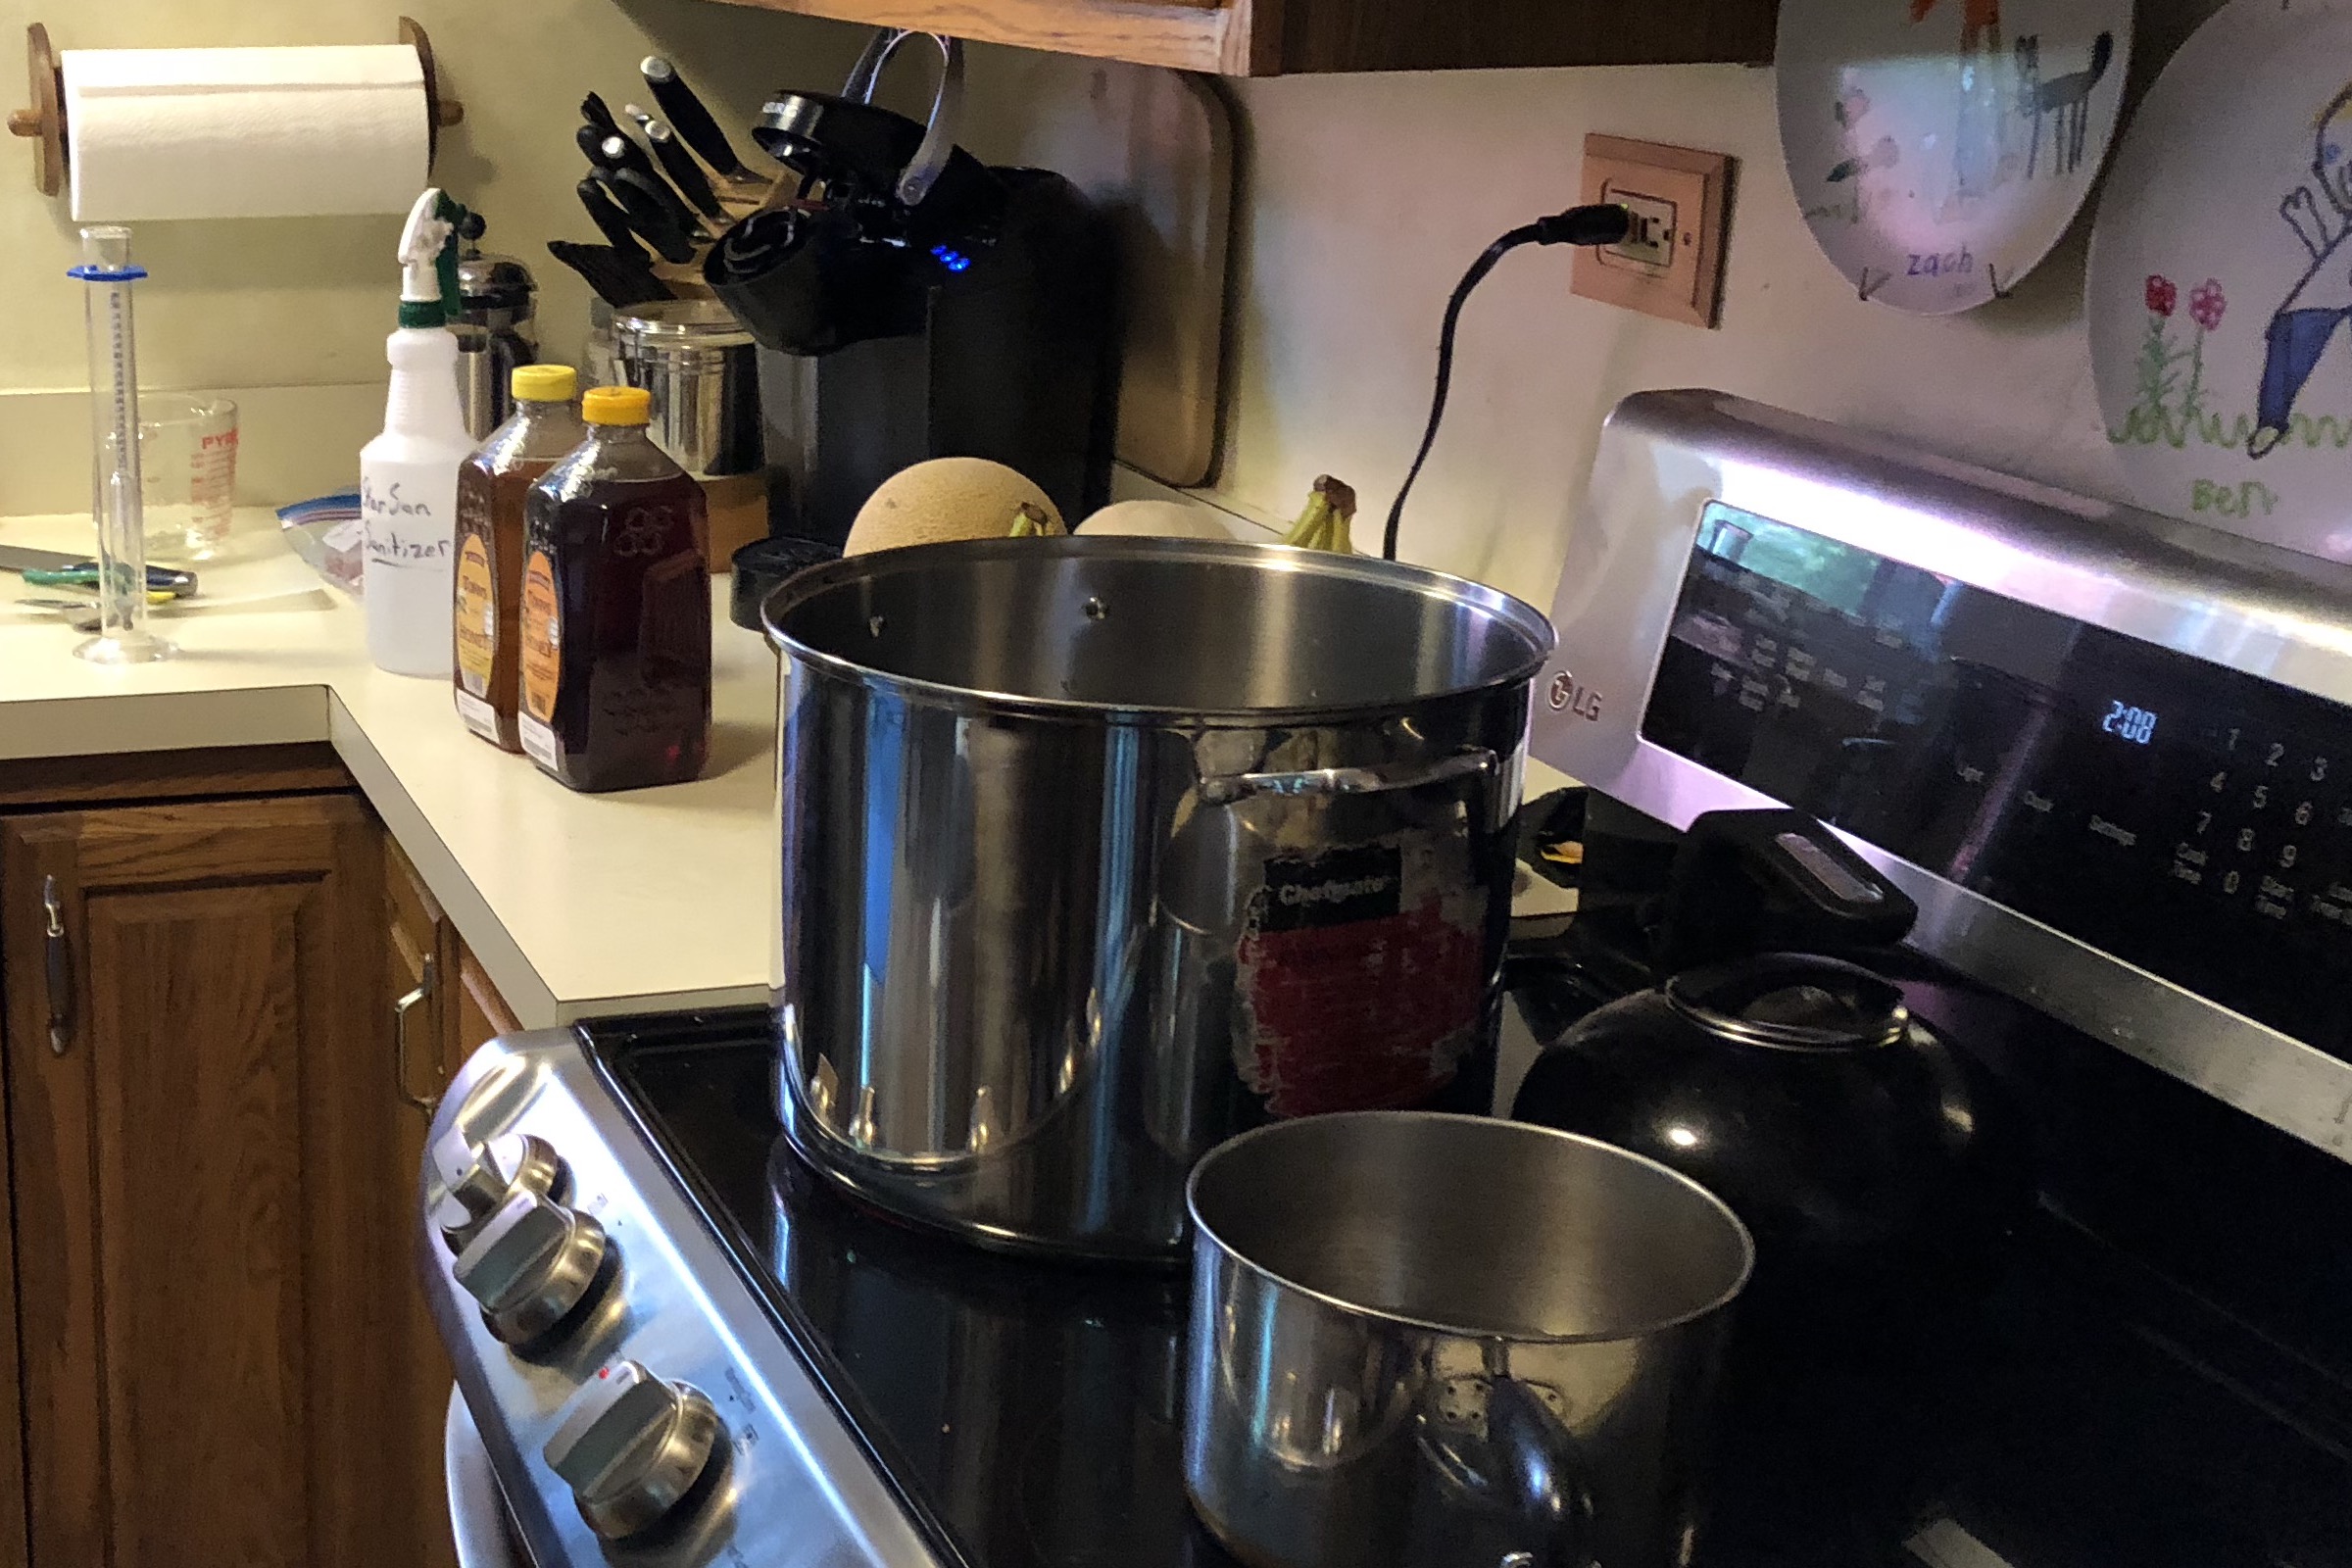
When it comes time to brew I start by making sure the spray bottle of diluted Star San is full. I sanitize the fermentor and airlock, then set them aside to dry. Next, every piece of kitchen equipment which will touch the honey is cleaned and sanitized. The pots are not going to get hot enough to kill all possible nasty organisms, so sanitize them. If you are using a spoon rest, sanitize it. I also clean, but not necessarily sanitize, every work surface before and after making mead. Star San is acidic, so it could damage certain types of countertops. This is especially true if it is undiluted or left to sit for a long time. This is one reason, besides for keeping your partner happy, why cleaning after brewing is important. Finally, undiluted Star San is clearly worse for the counters than diluted Star San. So, I dilute Star San over a concrete surface, never in the kitchen.
With sanitization complete and mise en place, it’s time to start making mead. A single gallon size or larger pot is required. If you are not saving honey to back-sweeten with, or have more than one jar of honey, then another small pot is needed to warm additional water. If using one pot then add one quart of water, otherwise split the quart amongst the two pots. Warm the water to no more than 120℉. While stirring, pour the honey into the large pot. Continue stirring until the honey and water mixture has a uniform viscosity and there are no clumps of honey. Rinse out any empty honey jars with hot water from the smaller second pot. Pour a cup of water into the empty honey jar, screw the lid on, and while holding the lid shake until the honey is dissolved in the water. Use caution (or some sort of glove) since the jar could become hot in your hands.
Using a funnel, add the chilled quart of water to the fermentor, then pour in the diluted honey mixture. Add 1 teaspoon of yeast nutrient and make sure everything is well mixed. I don’t use staggered nutrient additions. And, so far, I have not experienced any negative consequences from adding all the nutrients up front. But, it is worth mentioning though that too much yeast nutrient at once can be toxic to the yeast. Since nutrients were added during rehydration we need to be careful of how much is added at this stage.
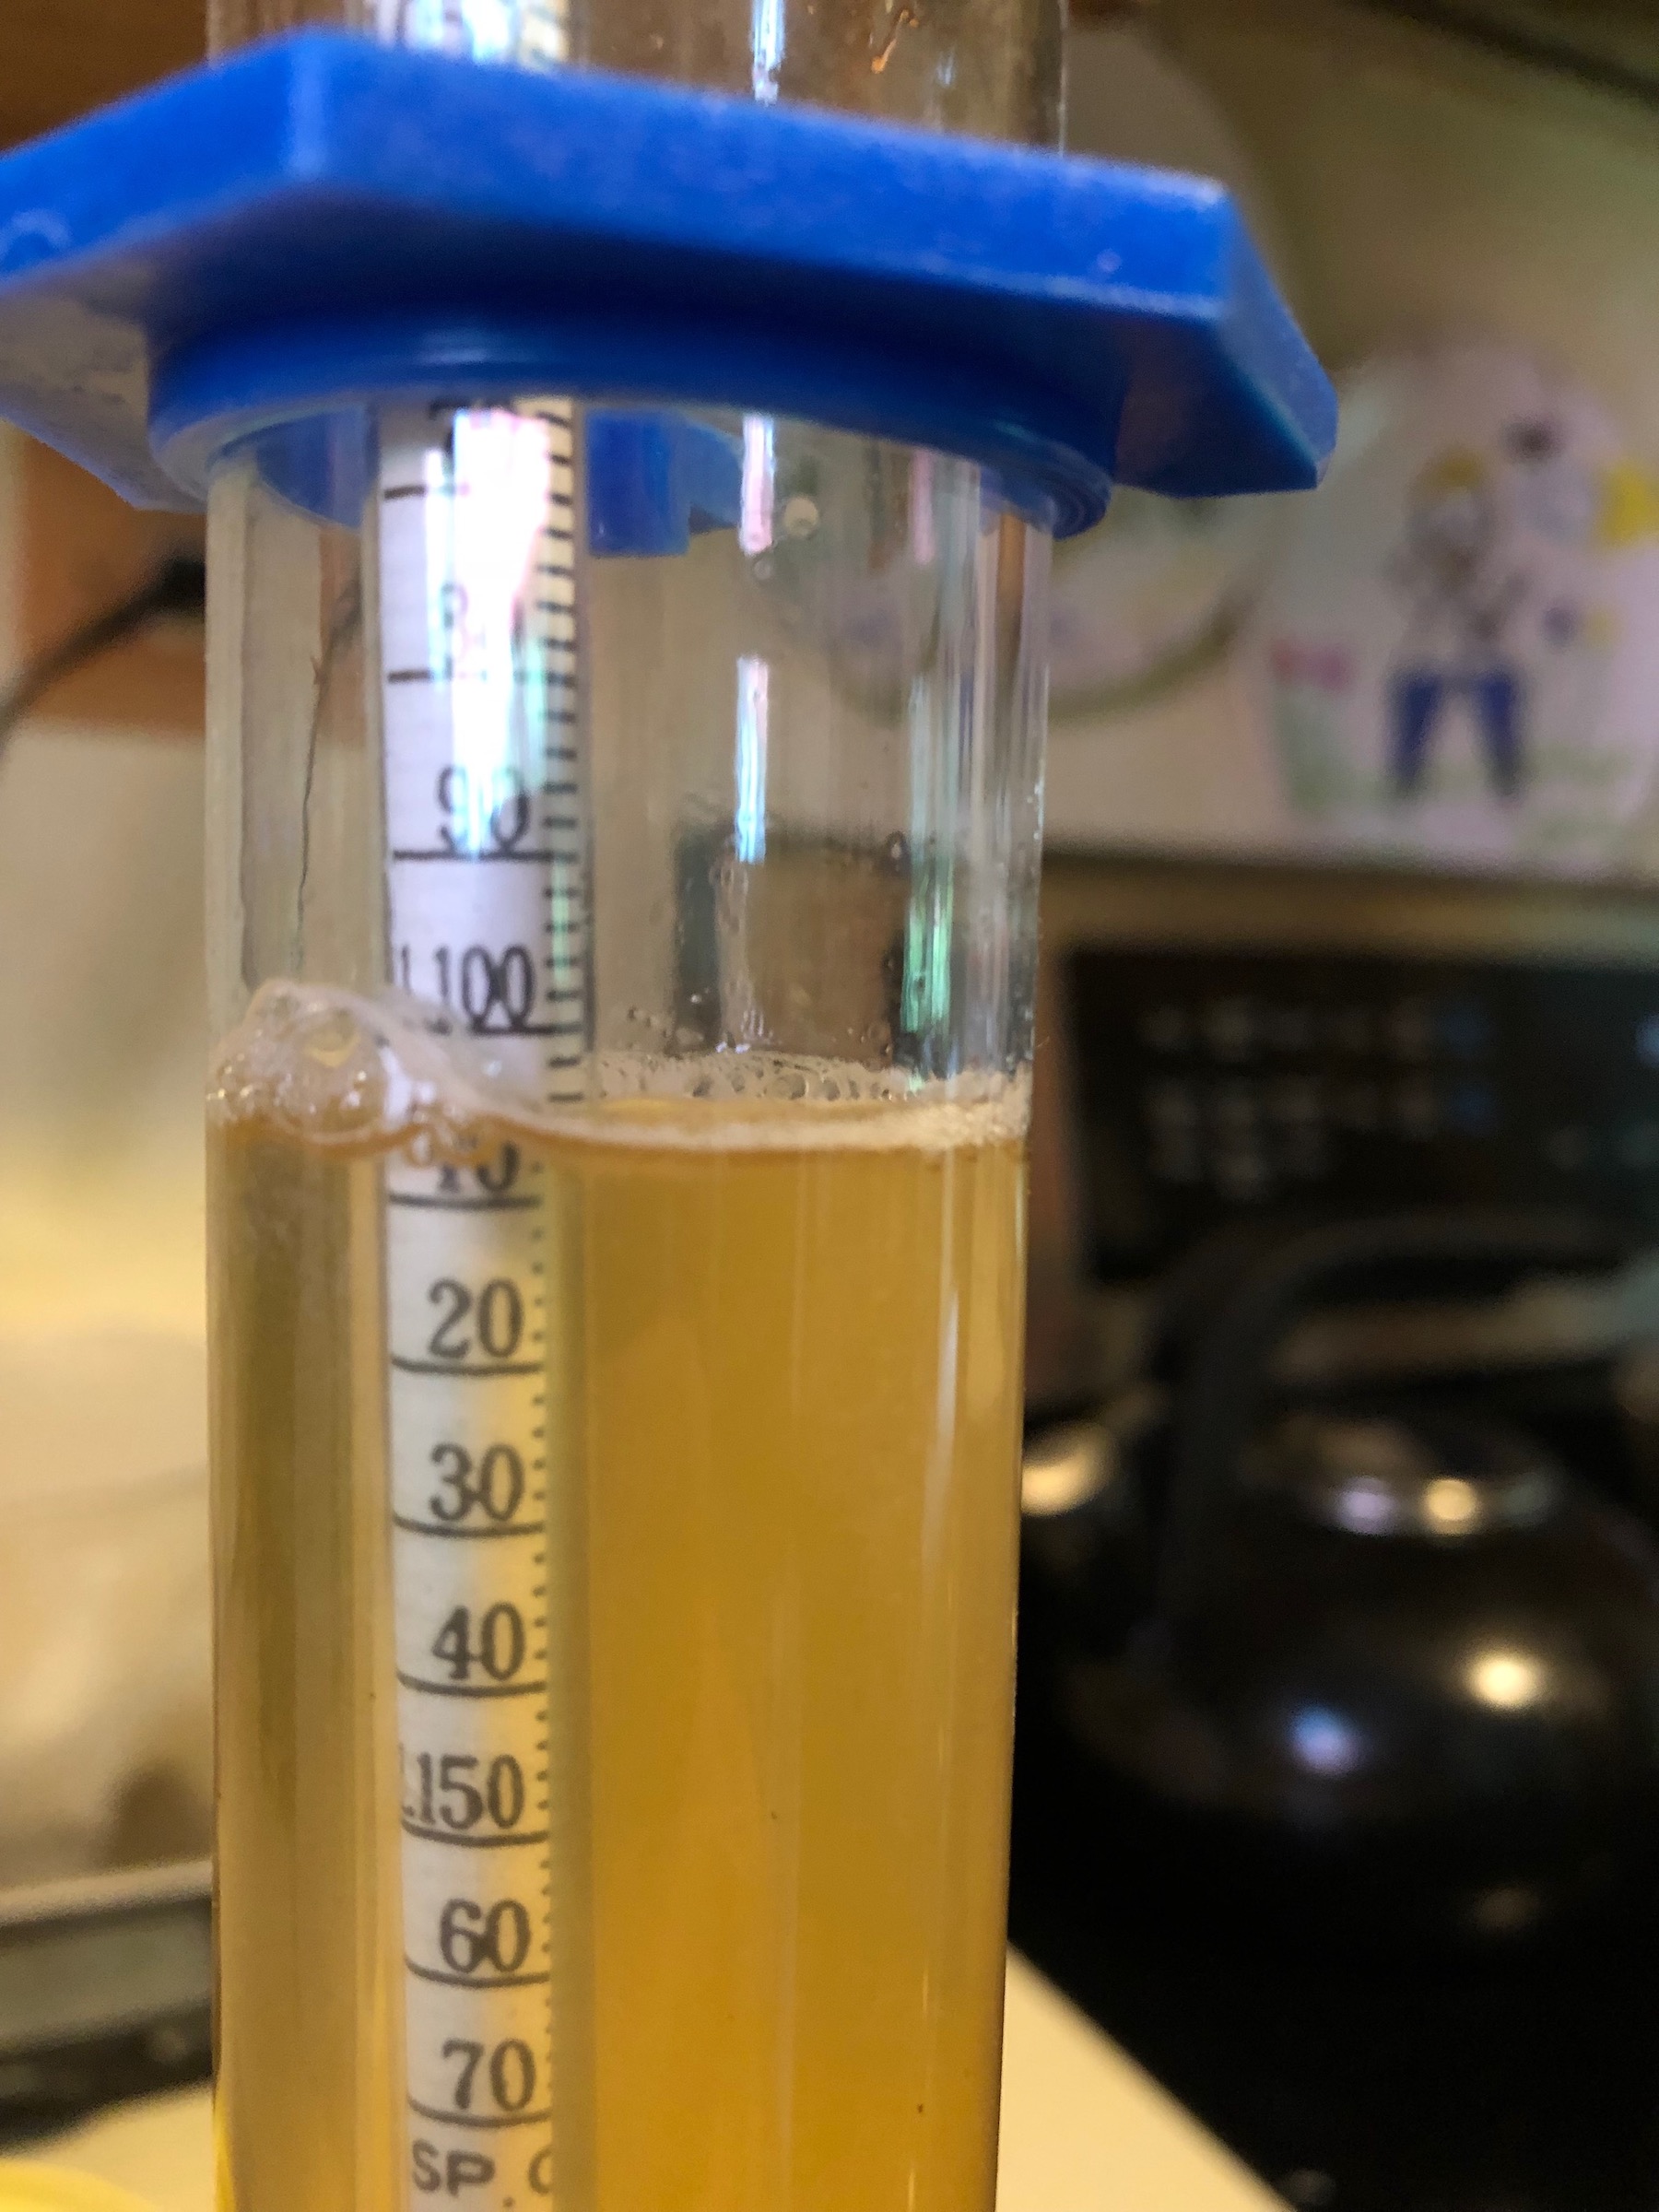
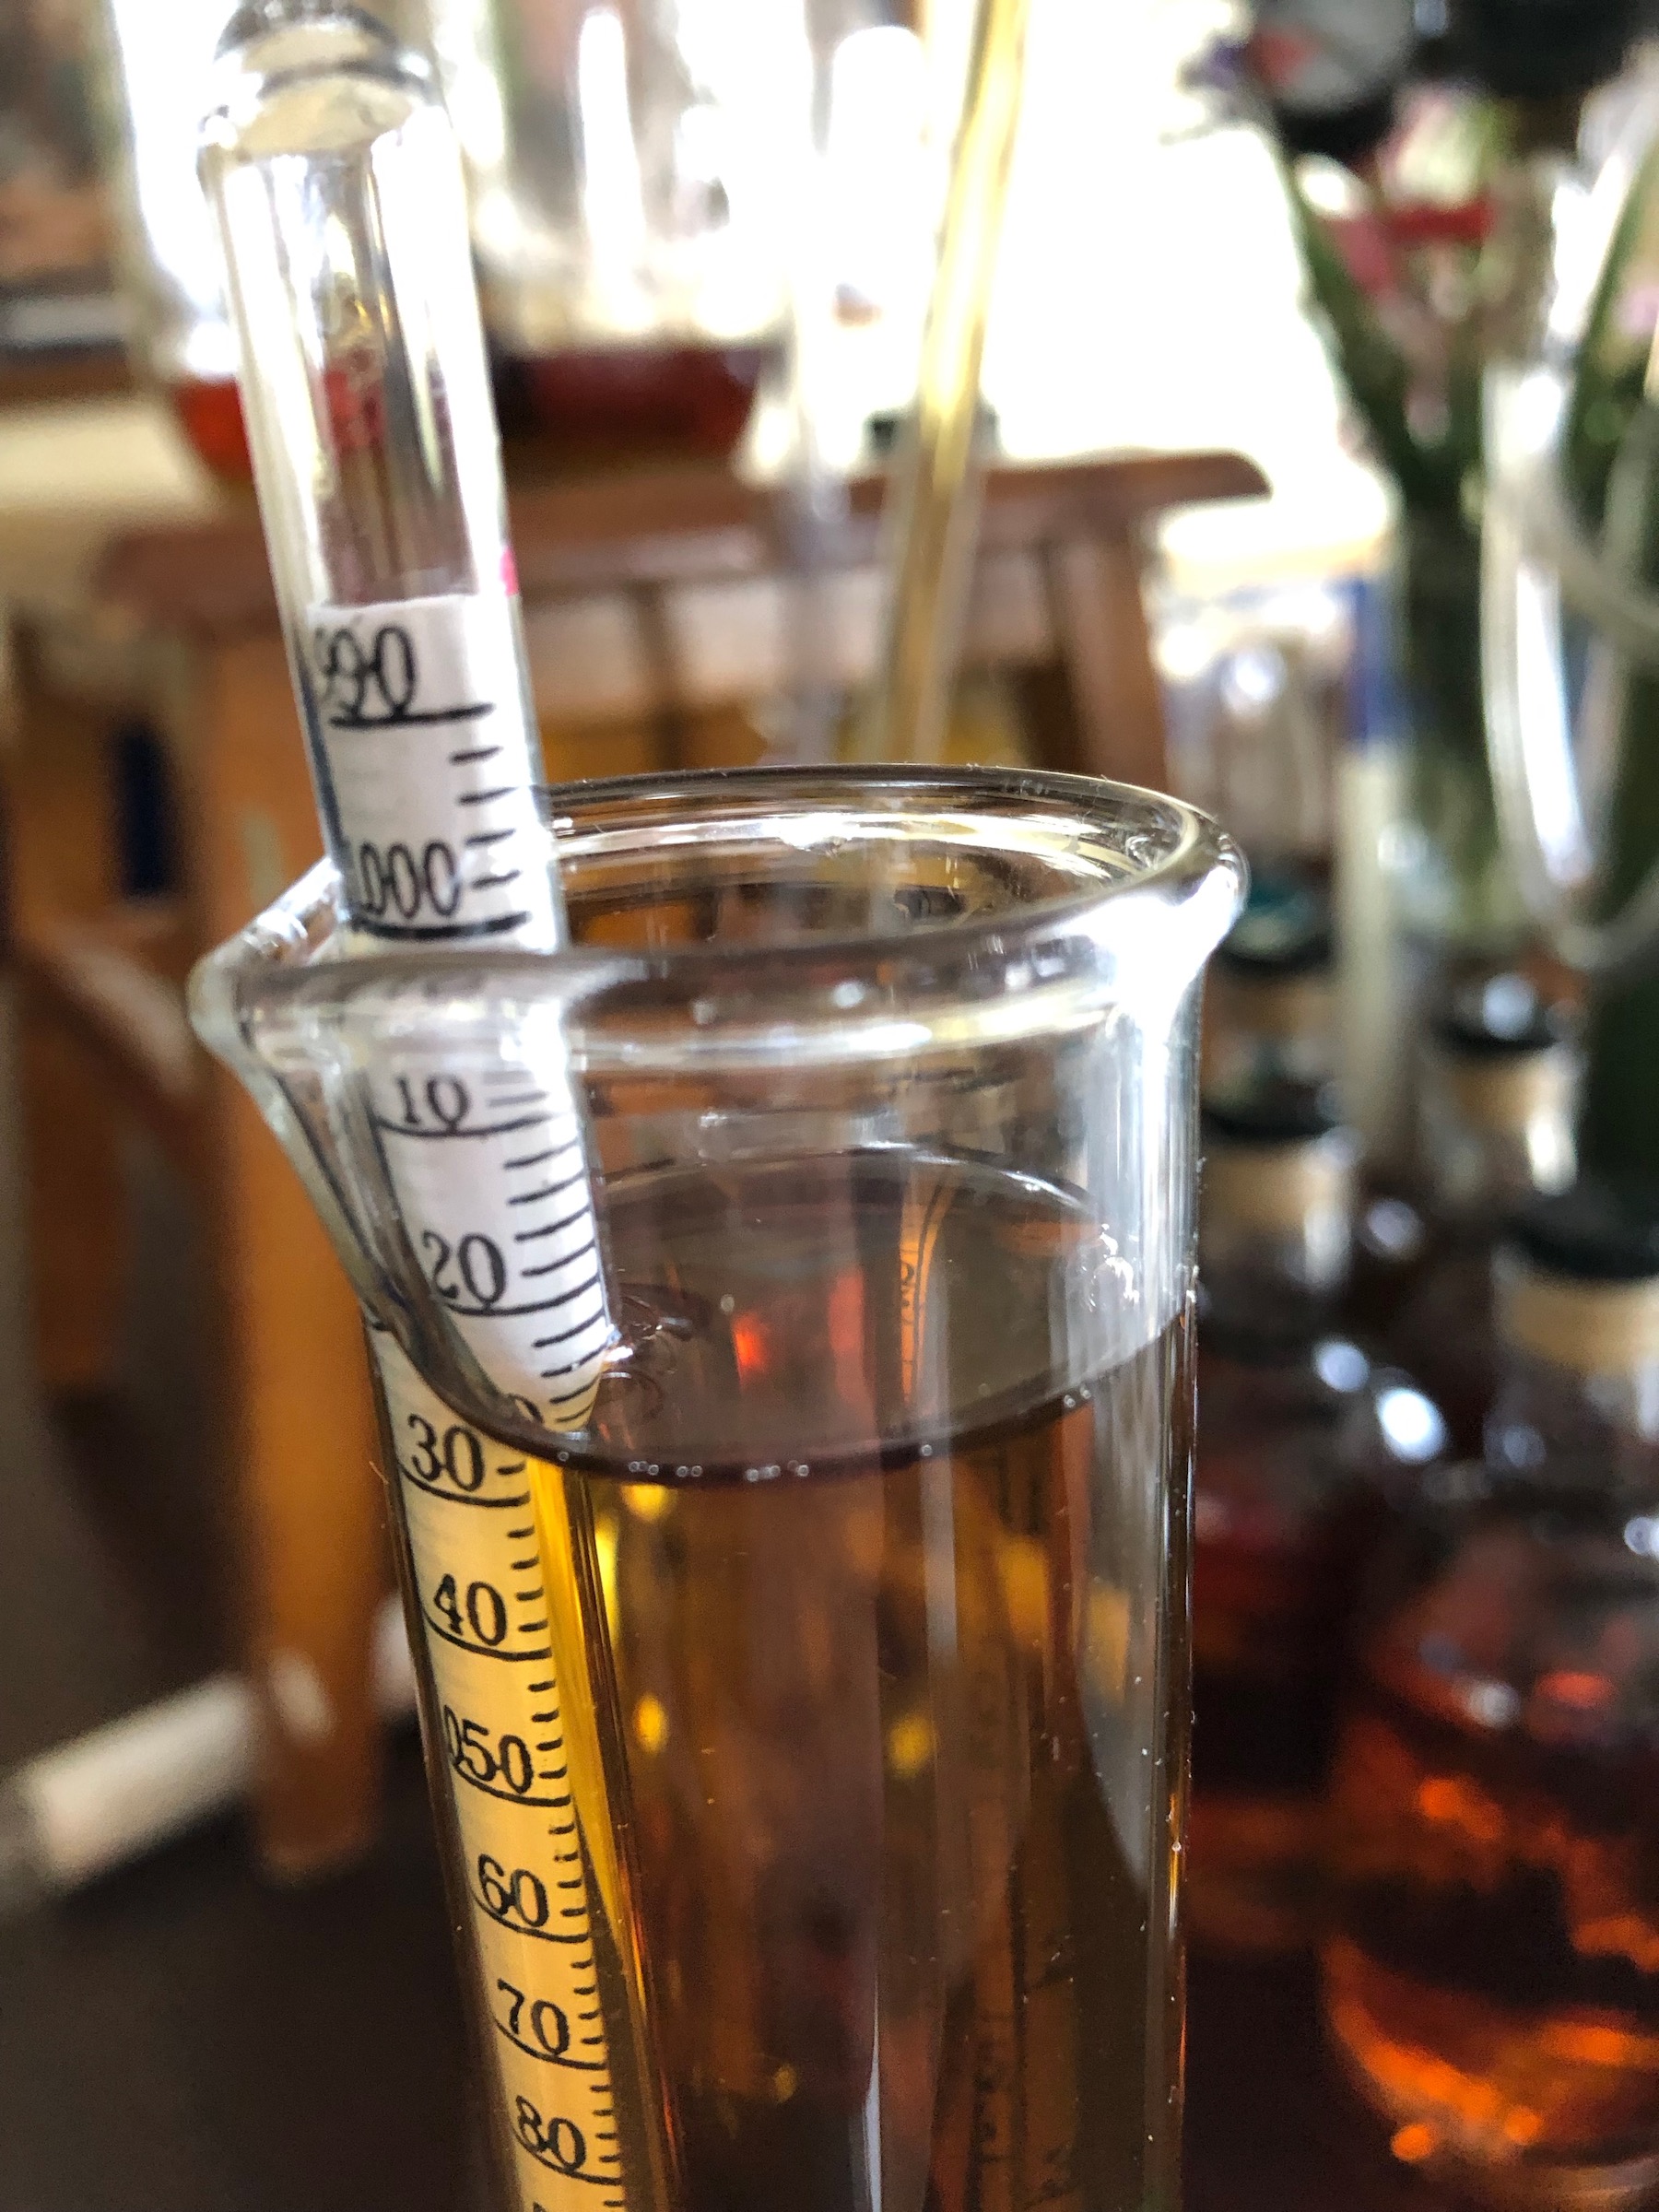
Either take the initial gravity reading now, or wait until after the yeast has been pitched. Either way, make sure to record an initial specific gravity reading. Without knowing how much sugar was in the mead to begin with you can never really check how fermentation is progressing.
Once the honey water is below 104℉ and the yeast starter has rehydrated for 20 minutes, pitch the yeast into the fermentor. I normally cap the gallon jug and carefully give it a good shake to make sure everything is well distributed. The cap is replaced with an airlock and the jug is placed in a cool dark place.
If you have brewed beer then you may think that this is the easy part – nothing to do but sit back and wait for the yeast to do its job. However, when making mead, the fermentation process is much more interactive. In the early stages of fermentation the carbon dioxide produced by the yeast stays in solution; it’s as if the density or stickiness of the honey holds it in. Fermentation seems to proceed more quickly when the carbon dioxide levels are actively managed. Of course it may have less to do with the actual carbon dioxide levels and more to do with keeping the yeast distributed throughout the must. Regardless, we are going to call it degassing, because that is potentially the most exciting part.
Before discussing carbon dioxide management, we should first mention temperature control. Temperature heavily influences how the yeast go about converting sugar into alcohol. Depending upon the temperature and the compounds available in the must, the yeast will produce differing compounds along with the alcohol. To minimize the production of compounds which give off-flavors, the fermentation temperature must be kept within the range that is specified for the strain of yeast which is being used. Yeast strains which have a large acceptable temperature range are commonly used for for mead-making. Lalvin 71B works best between 59℉ and 86℉. I prefer to stick to the low side of the temperature range and encourage the yeast to work slowly. One of the reasons I only make mead during the winter is that the temperature of my basement stays consistently below 68℉ during that time.
Managing the carbon dioxide level is simple, the fermenting mead just needs degassed. With small one-gallon batches all that is required is picking up the jug and slowly swirling it so that the contents get stirred. I like to make sure that sedimentation gets stirred back into the wort. Be careful, if you stir too infrequently or too quickly you could be rewarded with a gusher of sticky foam flowing from the airlock. This can also happen if something, such as nutrients when using a staggered nutrient schedule, is added to the must before it is degassed; it is the same thing that happens when Mentos is dropped in Diet Coke.
We are primarily concerned with small batches here, but be aware that larger batches require a little more planning. I have fermented 3 gallon batches in a 6 gallon cylindroconical fermentation vessel. Degassing required removing the lid, stirring with a sanitized paddle, sanitizing the lid, and closing everything back up. With that level of effort every day it may be tempting to ferment 5 gallons or more at once. However, I have had a 3 gallon batch easily produce enough foam to fill the 3 gallons of headspace in the fermentor.
Regardless of how careful you are, eventually you will stir too quickly and get a small volcano of sticky sweet foam erupting from your airlock. When the overflow happens, just make sure to thoroughly clean it up. Otherwise literally everything will get annoyingly sticky, and it will attract even more fruit flies than normal. I sanitize a spare airlock and swap them out before cleaning the outside of the jug and the surface on which it sits.
Carbon dioxide should begin building up after about 24 hours. Watching carbon dioxide levels is one way to judge the vigor of fermentation. For the first week or two plan on degassing twice a day, and then once a day for the next one or two weeks. After about a month, fermentation will have slowed and carbon dioxide levels will increase much more slowly.
Once fermentation calms down it is no longer necessary to swirl the bottles for degassing. At this point the fermentors can be left alone and the yeast can be allowed to settle. Once a thick layer of sediment forms and the mead starts looking clearer it is time to rack the mead into another container. Usually I will take a gravity reading and taste the mead when I rack it. If the gravity is not low enough or it tastes sweeter than expected, then I know that there could be a problem. Don’t forget to to thoroughly clean the primary fermentor before putting it away.
In the secondary fermentor the mead should be checked at least once a week. It could take a month or two, but the mead should begin to clear. Depending on the batch, it may be desirable to rack one more time. I don’t like to have a lot of sediment in the jug when I go to bottle. Less sediment in the fermentor translates to a lower probability of sediment getting into the bottles. Once the batch is no longer producing carbon dioxide or sediment, it’s almost time to prepare it for bottling. To verify that fermentation is complete take specific gravity readings a few days apart and verify that it is no longer changing.
Now is when the mead should be back-sweeten, if back-sweetening is required. Pour any reserved honey into the mead and mix it vigorously. I find it helpful to first warm the honey by placing the jar into a bath of hot water.
This is also the time to stabilize the mead. I don’t currently know anyone who is known to be sensitive to sulfites, so I always start with the antioxidant potassium metabisulfite. I am also careful to let people know that the mead contains sulfites; it says so on the label. Through fermentation the yeast will use most of the oxygen in the mead, so if none is introduced then oxidization shouldn’t be a huge problem. But, however careful you are, oxygen will be introduced when transferring mead between containers. The potassium metabisulfite will bind to it and produce potassium salt. This extends the life of the mead by reducing the potential for oxidation, and starves microorganisms of oxygen they need to multiply. Potassium metabisulfite also produces sulfur dioxide gas which is toxic to humans, so never use large quantities of it in an enclosed area.
Potassium metabisulfite comes packaged as campden tablets. Each tablet contains enough potassium metabisulfite to treat 1 gallon – crush the tablet before adding it to the mead. I recommend these for beginners because they are easy, but in the long run it is probably better to switch over to potassium metabisulfite powder which doesn’t need to be crushed.
Yeast can live in an anaerobic (oxygen free) environment; they do so during fermentation. So, adding potassium metabisulfite will not stop residual yeast from converting sugar into alcohol and carbon dioxide. If the mead has been fermented dry, then at this point there is neither oxygen nor sugar for the yeast to consume. If the mead has residual sweetness or if it was back-sweetened, then there is sugar available for the yeast to continue working. Bottling mead, or any fermented beverage, while yeast and sugar are present can lead to exploded bottles or popped corks. This is why most commercial mead (and wine) has potassium sorbate added to it.
Technically, potassium sorbate does not prevent the yeast from converting sugar into alcohol and carbon dioxide either. It just prevents the yeast from reproducing. That is why it is not an effective means of stopping an active fermentation. Adding ½ teaspoon of potassium sorbate for each gallon of mead will ensure that the number of yeast in the mead will not increase. Over time residual yeast will die off naturally until no more are left to cause problems. Potassium sorbate also inhibits the growth of any other organisms which may have snuck into the mead. Do not add potassium sorbate without also adding potassium metabisulfite; if certain bacteria are present then the potassium sorbate could interact with it in ways which nasty produce off-flavors.
I have to be honest. I hardly ever use potassium sorbate. I’m not saying that this is a great idea, but there are a few reasons why I can get away without using it. I reduce the probability of wild infections through very strict sanitation practices. I reduce the risk of bottle explosions by either fermenting to dryness or fermenting to conditions which are hostile to the yeast. I also keep the bottles at cellar temperatures to reduce the activity of any microorganisms which may be present in the mead. Finally, I don’t make a lot of mead, so it doesn’t stick around long enough to spoil. Adding potassium sorbate is not hard, and I already use potassium metabisulfite, so I should probably just do it. Yet I never do. I am fully aware that this could come back to bite me at some point, and if I were selling mead I wouldn’t take that risk. So, this is the only time I will encourage you to do as I say and not as I do. Use the potassium sorbate and sleep easier.
About a week before bottling I do a fining step. This is not necessary, but I like to give mead away, so I want it to be as bright and clear as possible. I will say that with the more widespread appearance of hazy IPAs people are more accepting of brews which are cloudy. And, depending upon the level of residual sugar and other factors, some mead may take a long time to become crystal clear. Regardless, I usually use Kieselsol and Chitosan as directed. This step can be safely skipped.
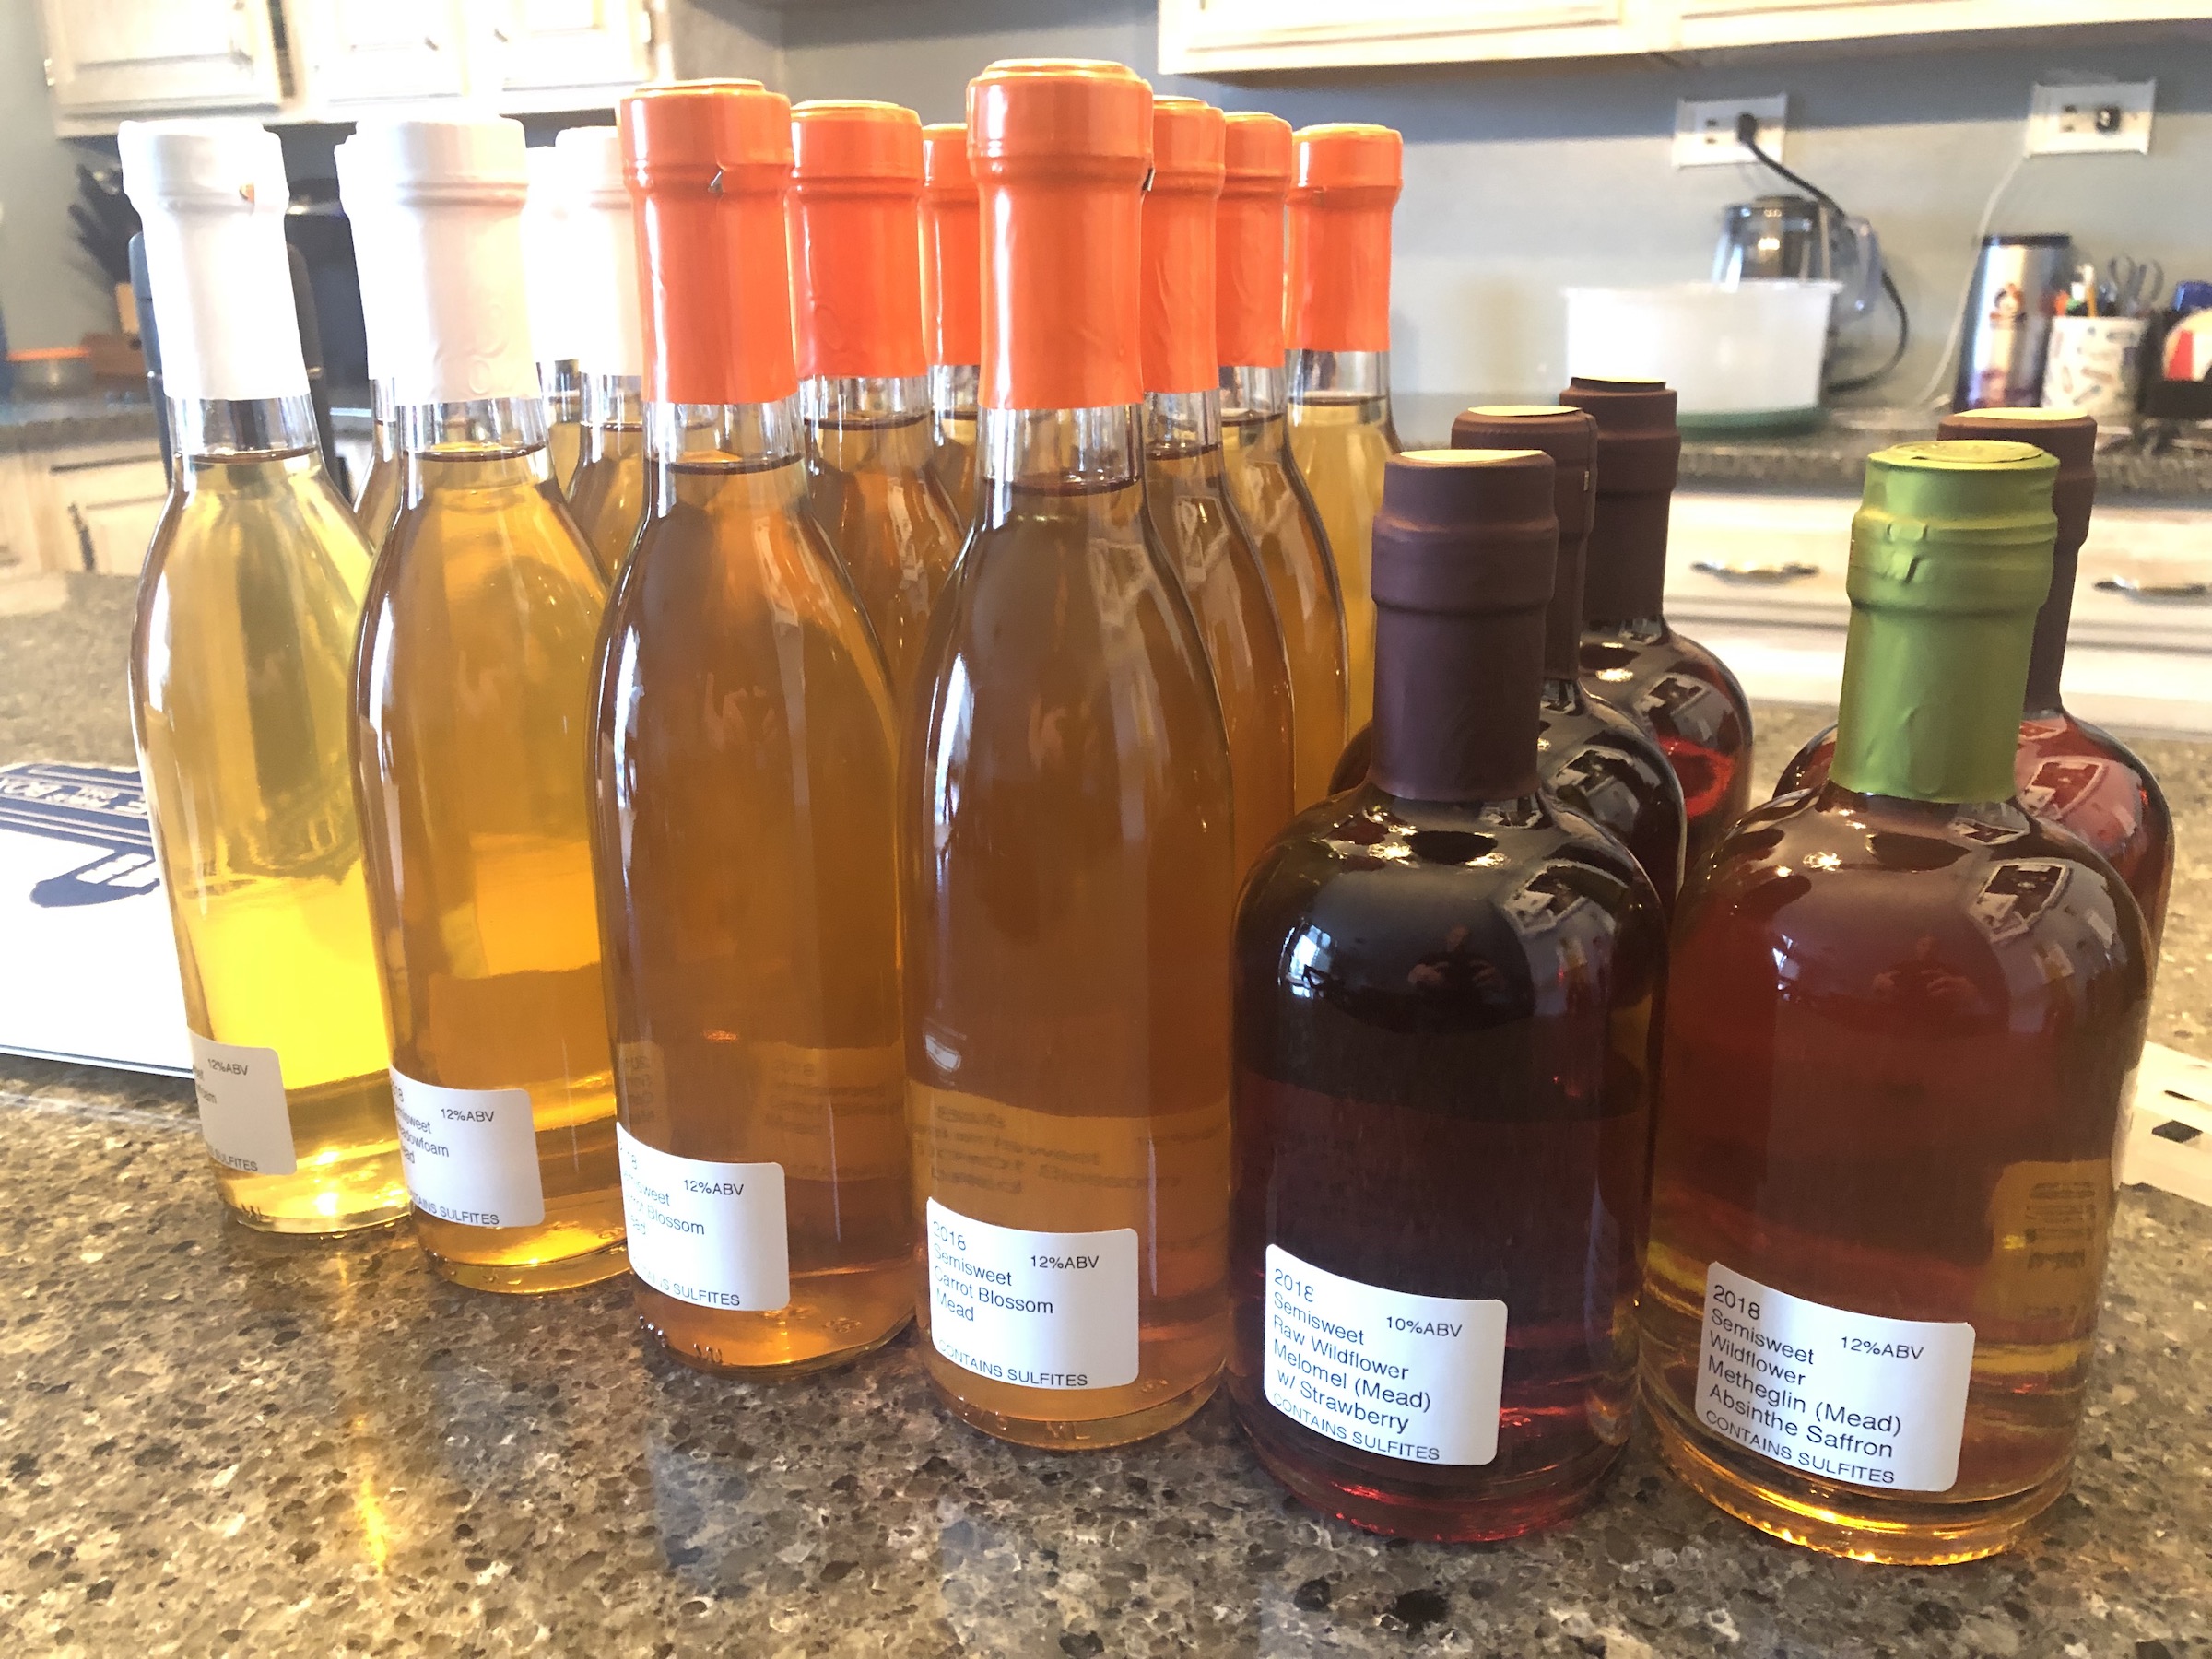
Bottling begins with cleaned and sanitized bottles. I clean and sanitize the bottles and caps before putting them in storage. I do this when I reuse bottles and when I purchase new ones. Currently I either use swing top bottles or screw top bottles with reusable plastic caps. I used to use beer bottles, but I wanted to switch to clear bottles which show the color of the mead, and I wanted everything to be as reusable as possible. I like the swing top bottles the best, but I always fill at least a couple screw top bottles. The screw tops are slightly more cost effective to give away. They cost $2.00 each, versus $2.88 for the swing tops.
Even though I know that I put the bottles and caps away clean, I’m more of a belt and suspenders person when it comes to sanitization. So, I steam clean each bottle before filling it. Some people run their bottles through the dishwasher on the steam cycle, which probably works better than the method I use. I use a hand-held steam cleaner to manually steam each bottle.
Once the bottles, caps, and filling equipment are all clean, filling the bottles is a straight forward task. I have tried a few different siphoning methods over the years; I recommend spending the $10 and getting a proper auto siphon. The only trick is getting it started. The plunger on the bottling wand needs to be depressed when the siphon is primed so that the air can escape and the liquid can flow. I normally put the filling wand in a bottle, hold the bottle in my right hand, and simultaneously hold the wand down in the bottle so that the plunger is depressed. I grab the body of the auto siphon with my left hand and use my right hand, which still has the bottle and wand in it, to prime the siphon. Alternatively, you could just get a friend to help you with this step.
After each bottle is filled I replace the headspace air with CO₂ and then cap the bottle. Most people don’t have a CO₂ tank sitting around, and this step isn’t strictly necessary, but since I have CO₂ available I use it. When all the bottles have been capped I wipe them down, dry them off, and top them with shrink wrap capsules. It never works out that there is a perfect amount of mead for the number of bottles I want to fill. The last bottle is always a partial. I use the mead in that final bottle to take the final gravity reading, and then I leave it out to be consumed. There are online calculators for determining the alcohol content when you know the original gravity and the final gravity.
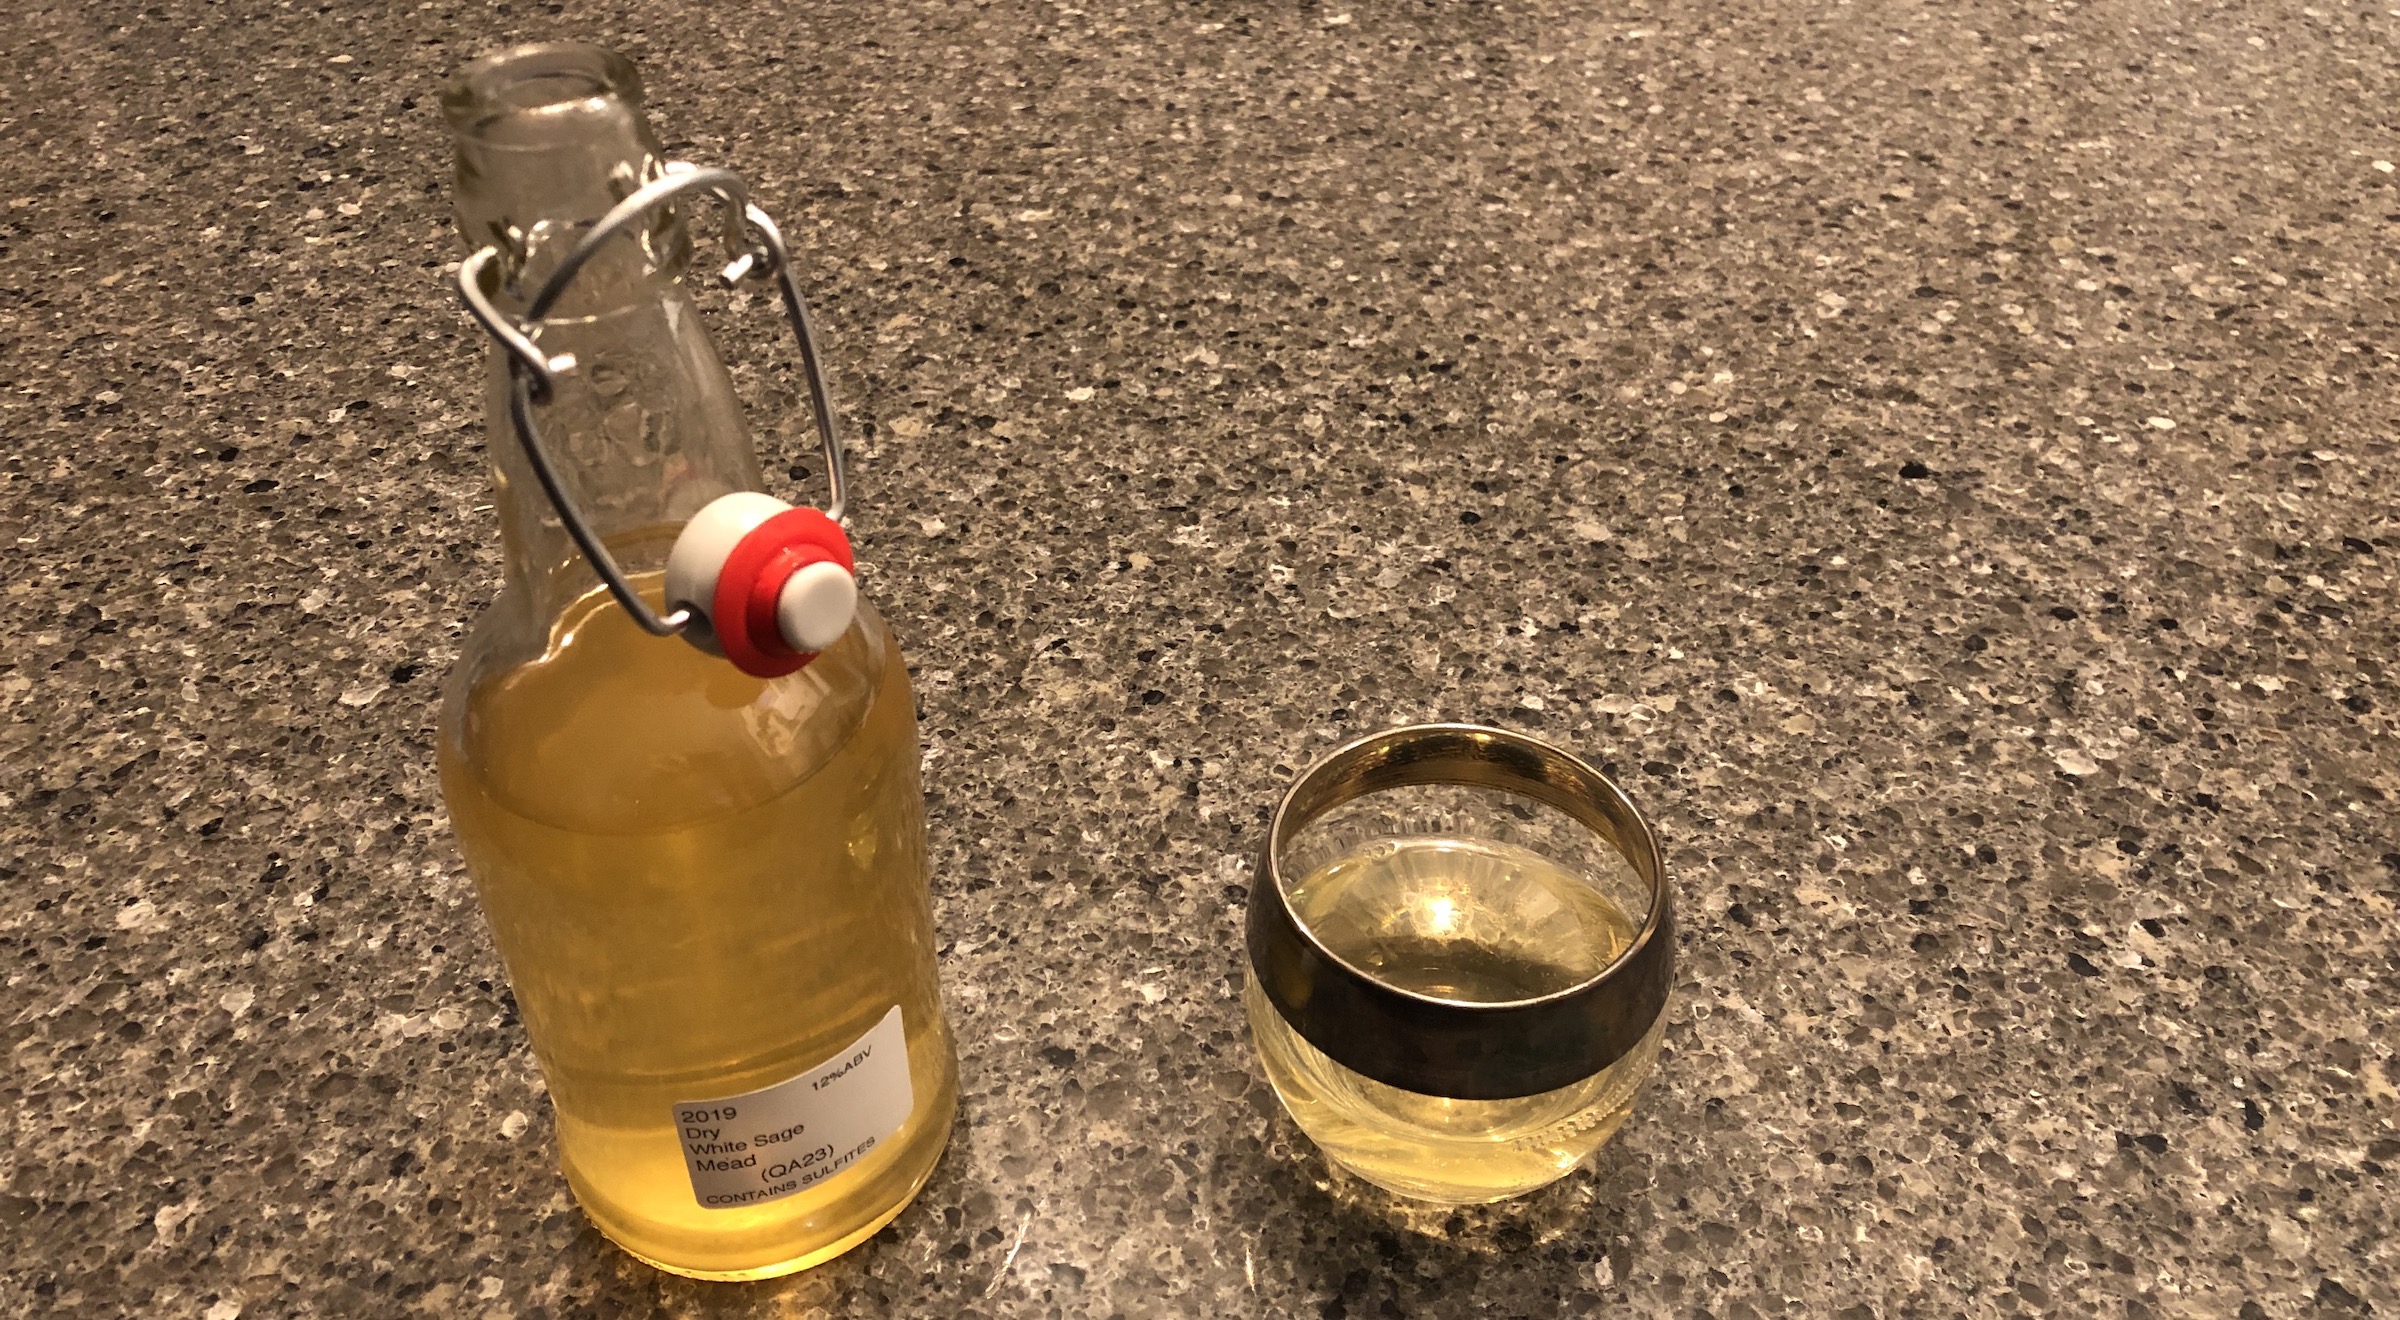
If I am tasting mead to write down its characteristics, then I use a Glencairn Whisky Glass. That is a great glass for doing critical tasting, but when I am tasting mead for enjoyment I use either my favorite double-walled 8oz glass or a small 4oz whiskey glass. Honestly, the glass doesn’t really matter, use a glass which makes you happy and encourages you to enjoy the mead. I like to use different glasses to help keep me in the right mindset when critically tasting the mead.
According to scientific research on how temperature affects sweet taste, as the temperatures of a beverage drops below 68℉ the perceived sweetness of the beverage also drops. I have never tried serving hot mead, so I never serve it above room temperature (around 74℉). This means that more often than not the serving temperature will impact how sweet the mead is perceived to be. The starting point I use as a recommendation for a semi-sweet mead is ten degrees Fahrenheit below fermentation temperature. Most of my meads are fermented around 64℉, so I normally shoot for serving them at about 54℉. Then again, as I write this I am enjoying a dry mead, which was fermented at 64℉, at room temperature (72℉). So, the range could be ±10℉ from the fermentation temperature.
Sometimes I use a yeast which ferments at 58℉. That yeast also has a lower alcohol tolerance, so it leaves the finished mead much sweeter. This sweet, lower-alcohol mead is great when it is served chilled, especially on a hot summer day. I guess the moral of the story is to experiment and find the temperature which you prefer to consume your mead at. Stated differently, drink your mead, if it doesn’t taste great then consider if it may taste better when served at a different temperature.
And that’s it. We started with water, yeast, and honey, and we ended up with a drink fit for a king. Hopefully this process demonstrates that making great mead is not that difficult. Rest assured, if a mediocre brewer like me can make tasty mead, then so can you.
I am not sponsored by The Grape and Granary. I get no revenue or benefit from linking to their site. It just happens to be the closest locally owned brewshop, and I prefer to support local businesses. You should do the same and support you local brewshop, it could be a great resource for you.