I previously wrote about setting up Tensorflow for object detection on macOS. After getting everything set up on the Mac I very quickly decided that it would be worth it to get Tensorflow running on something other than my main development computer. Running Tensorflow to train computer visions models on my Mac consumed all available computing resources. Nothing else could be done while the training was in progress. And, it was not taking advantage of the GPU. Using a dedicated Ubuntu machine with a GeForce GTX 1060 graphics card would be a much better option.
It took a lot of work to get a GPU enable version of Tensorflow installed and running properly. Then, after it was working for a few months, a kernel update caused it to suddenly stop working. I didn’t immediately know that the problems were caused by a kernel update, I though some other updated dependency was the culprit, so I didn’t just roll the kernel back and call it a day. Again I had to spend a good amount of time piecing together different references in order to get everything working properly. I documented everything in one place to make the process easier in the future.
The real moral of the story is probably that it is worth it to use cloud-based compute resources for these sort of tasks. That is especially true if the task allows for TPUs to be used. Regardless, if you have an unused gaming or mining machine sitting around and want to get Tensorflow running on it, this is how I did it.
It is worth noting that it is possible to run Tensorflow in a Docker container. However, the underlying system will still need all of the GPU drivers and toolkits installed to support the nvidia-docker component which enables GPU access inside of the container. So, at that point there seemed to be little value in using Docker. Making sure that the GPU was accessible by the system was the hardest part. But, even if you are interested in using Tensorflow in Docker, you will still find value in these instructions.
The first step is to make sure that the machine has all of the general dependencies installed. Most of these things will probably already be installed on a development system, but for a newly created Ubuntu installation these steps will surely be required.
sudo apt update
sudo apt upgrade
sudo apt install openssh-server
sudo apt install linux-headers-$(uname -r)
sudo apt install \
    autoconf automake build-essential curl default-jdk g++ gcc \
    libbz2-dev libffi-dev liblzma-dev libncurses5-dev \
    libncursesw5-dev libreadline-dev libsqlite3-dev libssl-dev \
    libtool llvm make pkg-config protobuf-compiler \
    python-dev python-numpy python-pip python3-dev python3-numpy python3-pip \
    swig tk-dev unzip wget xz-utils zip zlib1g-dev
Ubuntu seems to come use an older version of the gcc compiler by default. I ran into some trouble compiling the Nvidia drivers with that old version, so a newer compiler version was needed. Rather than replacing what was already installed, these steps install an alternate version.
sudo add-apt-repository ppa:ubuntu-toolchain-r/test
sudo apt update
sudo apt install gcc-5 g++-5
sudo update-alternatives --install /usr/bin/gcc gcc /usr/bin/gcc-5 20
sudo update-alternatives --install /usr/bin/g++ g++ /usr/bin/g++-5 20
It is possible that a kernel update could cause problems for the Nvidia drivers. In the best case, simply recompiling the drivers may be required. In the worst case the drivers may no longer compile properly. If you do not want to risk having Tensorflow unavailable at an inopportune time, then you may want to lock kernel images and prevent them from being updated.
sudo apt-mark hold linux-image-generic linux-headers-generic
The system must have a working Nvidia graphics card. To check that a supported card is available to the system use the command lspci | grep -i nvidia. The command should give a result similar to what is shown below.
01:00.0 VGA compatible controller: NVIDIA Corporation GP106 [GeForce GTX 1060 6GB]
01:00.1 Audio device: NVIDIA Corporation GP106 High Definition Audio Controller
Installing multiple versions of the Nvidia drivers will most likely result in problems. So, before continuing check that there are no drivers already installed. The command to do that is dpkg -l | grep nvidia; apt list --installed cuda cuda* nvidia nvidia*. If there are no results, then no drivers are installed. If drivers are already installed, and they are outdated or not working, then they need to be removed. The command to remove existing drivers is sudo dpkg --purge *nvidia*; sudo apt purge cuda cuda* nvidia nvidia*.
Now the latest drivers can be installed. For the latest instructions see the Nvidia page.
wget https://developer.download.nvidia.com/compute/cuda/repos/ubuntu1804/x86_64/cuda-repo-ubuntu1804_10.0.130-1_amd64.deb
sudo dpkg -i cuda-repo-ubuntu1804_10.0.130-1_amd64.deb
sudo apt-key adv --fetch-keys https://developer.download.nvidia.com/compute/cuda/repos/ubuntu1804/x86_64/7fa2af80.pub
sudo apt update
sudo apt install cuda
sudo reboot
After the system is rebooted, the drivers should be loaded as kernel modules. To verify that the appropriate kernel drivers have been loaded the command lsmod | grep nvidia should return something like what is listed below.
nvidia_drm             40960  0
nvidia_modeset       1040384  1 nvidia_drm
nvidia              16588800  19 nvidia_modeset
drm_kms_helper        172032  2 nvidia_drm,i915
drm                   401408  14 drm_kms_helper,nvidia_drm,i915
ipmi_msghandler        53248  2 ipmi_devintf,nvidia
If the kernel module is loaded, then the system management interface should be able to access the hardware. The command nvidia-smi should show something like:
Sat Jan  5 11:25:19 2019
+-----------------------------------------------------------------------------+
| NVIDIA-SMI 410.79       Driver Version: 410.79       CUDA Version: 10.0     |
|-------------------------------+----------------------+----------------------+
| GPU  Name        Persistence-M| Bus-Id        Disp.A | Volatile Uncorr. ECC |
| Fan  Temp  Perf  Pwr:Usage/Cap|         Memory-Usage | GPU-Util  Compute M. |
|===============================+======================+======================|
|   0  GeForce GTX 106...  Off  | 00000000:01:00.0 Off |                  N/A |
|  0%   34C    P8     8W / 120W |      0MiB /  6078MiB |      0%      Default |
+-------------------------------+----------------------+----------------------+

+-----------------------------------------------------------------------------+
| Processes:                                                       GPU Memory |
|  GPU       PID   Type   Process name                             Usage      |
|=============================================================================|
|  No running processes found                                                 |
+-----------------------------------------------------------------------------+
It is also possible to check that CUDA is working by using /usr/local/cuda-10.0/samples/bin/x86_64/linux/release/deviceQuery and/or /usr/local/cuda-10.0/samples/bin/x86_64/linux/release/bandwidthTest. Those commands will probably need to be compiled however. Make the tools with the command cd /usr/local/cuda-10.0/samples && sudo make.
Tensorflow requires Python. Whenever one is working with Python it is a good idea to use some sort of version management system. I prefer to use pyenv. Here are the basic steps to get it installed.
git clone https://github.com/pyenv/pyenv.git ~/.pyenv
echo 'export PYENV_ROOT="$HOME/.pyenv"' >> ~/.bashrc
echo 'export PATH="$PYENV_ROOT/bin:$PATH"' >> ~/.bashrc
echo -e 'if command -v pyenv 1>/dev/null 2>&1; then\n  eval "$(pyenv init -)"\nfi' >> ~/.bashrc
## log out and back in, then this will work
pyenv install 3.6.6
pyenv global 3.6.6
Once the appropriate Python version is selected the required Python packages can be installed.
pip install Cython contextlib2 pillow lxml jupyter matplotlib numpy wheel
pip3 install Cython contextlib2 pillow lxml jupyter matplotlib numpy wheel
This is not required unless the Tensorflow Docker images are going to be used. For the latest instructions see the Docker page
sudo apt install apt-transport-https ca-certificates software-properties-common
curl -fsSL https://download.docker.com/linux/ubuntu/gpg | sudo apt-key add -
sudo apt-key fingerprint 0EBFCD88
sudo add-apt-repository "deb [arch=amd64] https://download.docker.com/linux/ubuntu $(lsb_release -cs) stable"
sudo apt update
sudo apt install docker-ce
sudo docker run hello-world
sudo groupadd docker
sudo usermod -aG docker $USER
sudo systemctl enable docker
After logging out and back in, then Docker should work. To test that Docker is working properly use the following command.
docker run hello-world
In order to access the GPU from within Docker, the nvidia-docker module is required.
curl -s -L https://nvidia.github.io/nvidia-docker/gpgkey | sudo apt-key add -
DISTRIBUTION=$(. /etc/os-release;echo $ID$VERSION_ID)
curl -s -L https://nvidia.github.io/nvidia-docker/$DISTRIBUTION/nvidia-docker.list | sudo tee /etc/apt/sources.list.d/nvidia-docker.list
sudo apt update
sudo apt install -y nvidia-docker2
sudo systemctl restart docker
After another restart, Docker should be able to access the graphics card. It is possible to test that using the command listed below.
docker run --runtime=nvidia --rm nvidia/cuda:10.0-base nvidia-smi
If something goes wrong, the command nvidia-container-cli -k -d /dev/tty list will show any errors from the nvidia docker container. But, hopefully there are no errors. It should now be possible to run Tensorflow inside of a Docker container. Here is the command to run it with Python 3.
docker pull tensorflow/tensorflow:latest-gpu-py3
And, here is the command to run it with Python 2.
docker pull tensorflow/tensorflow:latest-gpu
First, let’s make a project area to keep all of the Tensorflow repositories we are going to fetch.
mkdir -p ~/code/tensorflow
cd ~/code/tensorflow
Then, clone the Tensorflow models repository.
git clone https://github.com/tensorflow/models.git
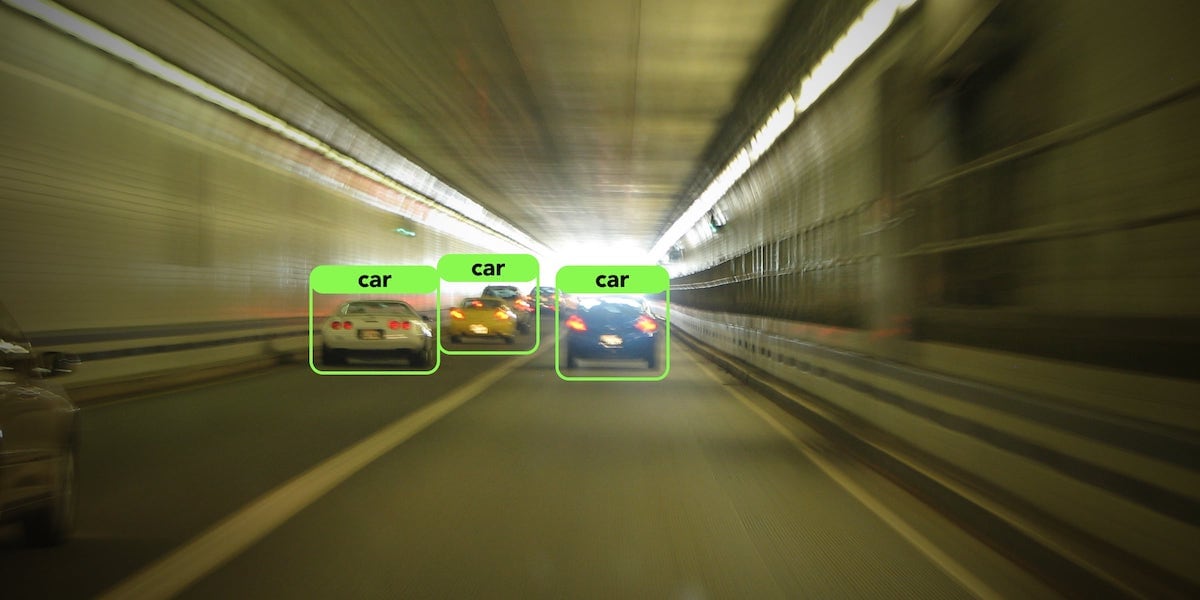
COCO is short for common objects in context and is a large dataset of images that is commonly used to evaluate object detection techniques. We will not be using the COCO API directly since we are going to do transfer learning, but it is probably required if you define a new architecture and want to test and compare that architecture against existing ones.
git clone https://github.com/cocodataset/cocoapi.git
cd cocoapi/PythonAPI
make
cp -r pycocotools ../../models/research/
cd ../..
Next, compile the proto files.
cd models/research
protoc object_detection/protos/*.proto --python_out=.
cd ../..
When using the Tensorflow object detection API, it is important that the PYTHONPATH environment variable be set correctly. To see what your Python path should be, use the command
echo $PYTHONPATH:$(pwd)/models:$(pwd)/models/research:$(pwd)/models/research/slim:$(pwd)/cocoapi/PythonAPI
The results of that command need to be added to your shell startup script. If you are using bash that will either be ~/.profile or ~/.bashrc. If you are using zsh, then it will be ~/.zshrc. Edit that file and add a line to the end which begins with export PYTHONPATH=. Directly after the equal sign, without any spaces, add the path which we printed out above. The singular command to accomplish that is
echo "export PYTHONPATH=$PYTHONPATH:$(pwd)/models:$(pwd)/models/research:$(pwd)/models/research/slim:$(pwd)/cocoapi/PythonAPI" >> ~/.profile
Depending upon which version of Python is used, it may be necessary to change some of the cloned code. If you encounter errors regarding unicode it may be necessary to change instances of unicode( with str(, such as in the example below.
vi models/research/object_detection/utils/object_detection_evaluation.py
          # change: category_name = unicode(category_name, 'utf-8')
          # to:     category_name = str(category_name, 'utf-8')
We are now ready to actually start training an object detection model. Configuring a training session will be covered in a future post, but to finish out this post we will assume that there is a properly configured project located at /home/$USER/data/PROJECT_NAME. The machine that I am currently using only has one GPU, so only one Tensorflow session can run at a time; it will use all of the available GPU resources. So, it is safe to assume that there will be only one project directory. We accomplish that by linking the current actual project directory to /tfp as shown below.
sudo ln -s /home/$USER/data/PROJECT_NAME /tfp
Finally, the Tensorflow object detection training can be started.
cd ~/code/tensorflow
python models/research/object_detection/model_main.py --pipeline_config_path=/tfp/models/battery.config --model_dir=/tfp/models/model/train --alsologtostderr
To monitor the progress of training launch Tensorboard.
tensorboard --logdir=/tfp/models/model