A few years ago when I started shooting film I decided to digitize the negatives using a light box and an old 2011 Canon EOS Rebel T3i. This digitizing process worked great for 35mm and was decent for 120. But, once I began shooting a 4x5 view camera, I needed a different way to digitize the larger negatives. I found an old Epson Perfection V700 for a reasonable price and was ready to begin scanning negatives.
Scanned negatives still need to be inverted and color corrected. I assumed that since the V700 was designed with negative scanning it mind the stock scanning software would be more than adequate. I quickly found my assumption to be incorrect. Not only were the drivers lacking functionality, the color conversions were wildly off. This sent me on a journey to find the least costly way to scan my film negatives with a decent amount of quality.
I did not set out to compare the functionality or design of the various scanning softwares. My main concern was whether or not they could simply invert a color film negative properly. If they could not convert colors correctly then a nice interface would matter little. Fortunately, none of them have nice user interfaces, they are all horrendous in their own way.
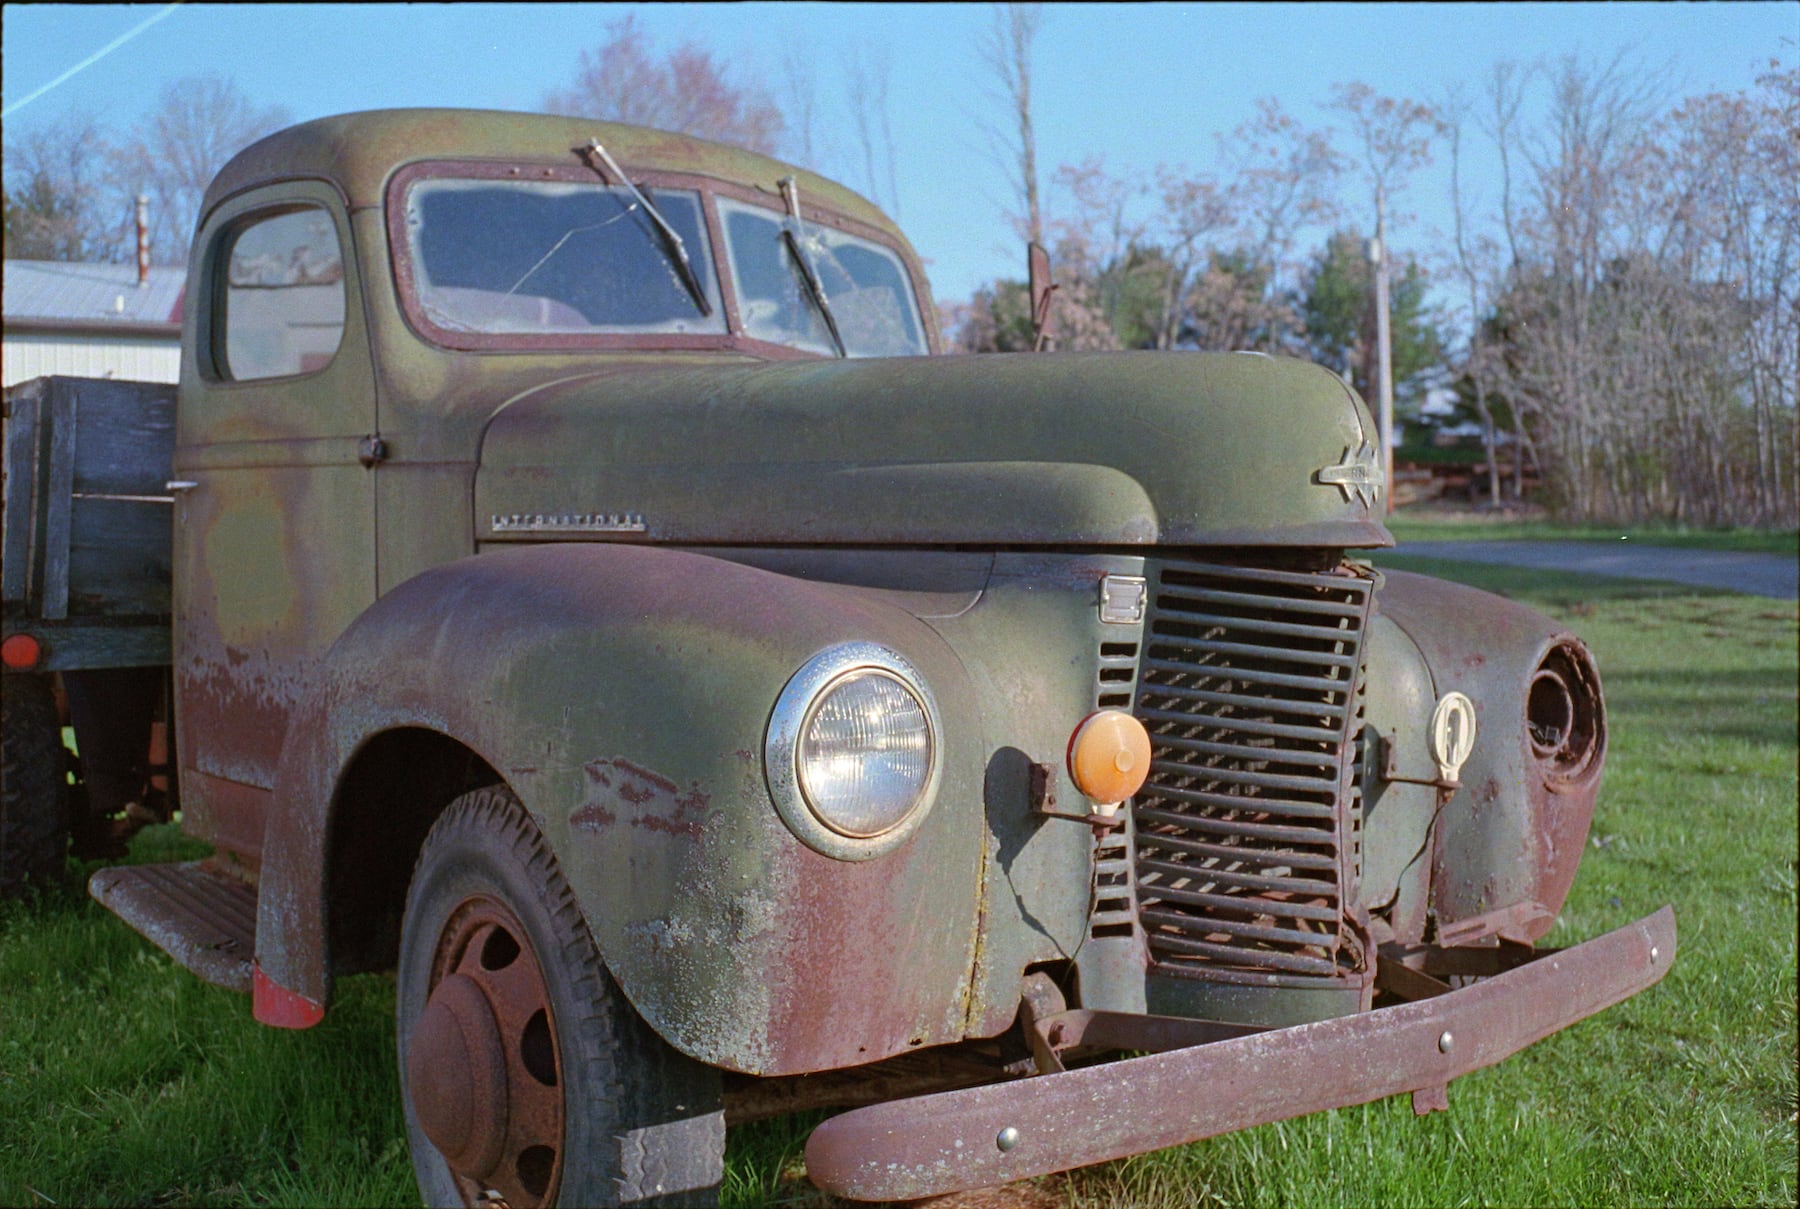
Whenever you are doing a comparison you need a reference point to compare against. I could have dug out some negatives that I had scanned by a lab, but I instead decided to compare against my existing workflow. The color conversion portion of my current workflow is performed by a Python script which I wrote. I assumed that all of these paid software offerings would easily best my little console app. I want to say that without a doubt they did not, but I will let you make the final call. Images created by my script are on the left.
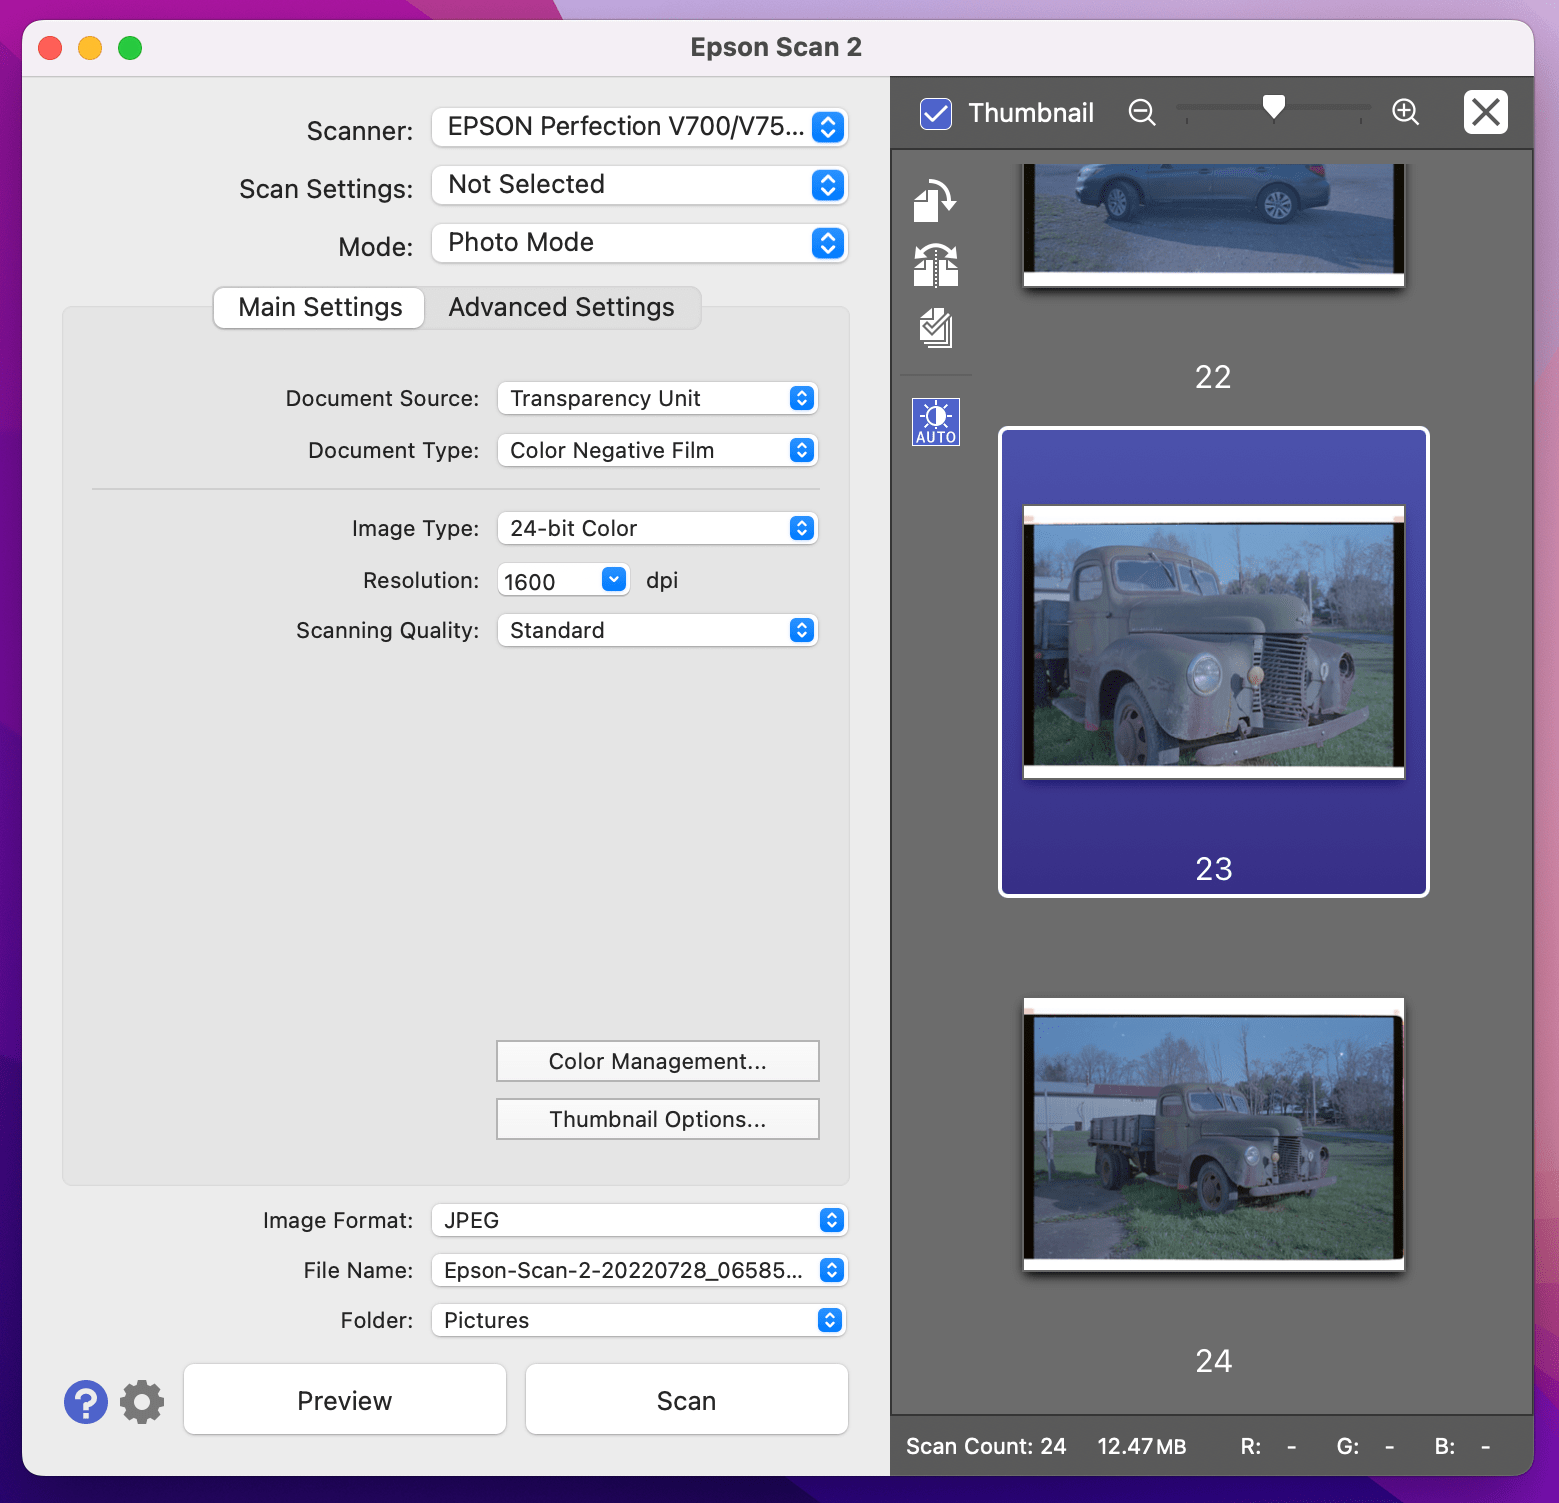
For some reason I expected the software bundled with the Epson Perfection V700 to provide better results than this. It appears to have barely been able to remove the blue cast that the negative takes on once it is inverted. In fairness to Epson, they probably assumed that people would not rely upon the software bundled with the scanner. Seriously, their target audience probably had the annual subscription to Lightroom and used Negative Lab Pro. Honestly, I would have gladly paid to use Negative Lab Pro, but I can’t really justify the Adobe subscription.
Epson Scan 2
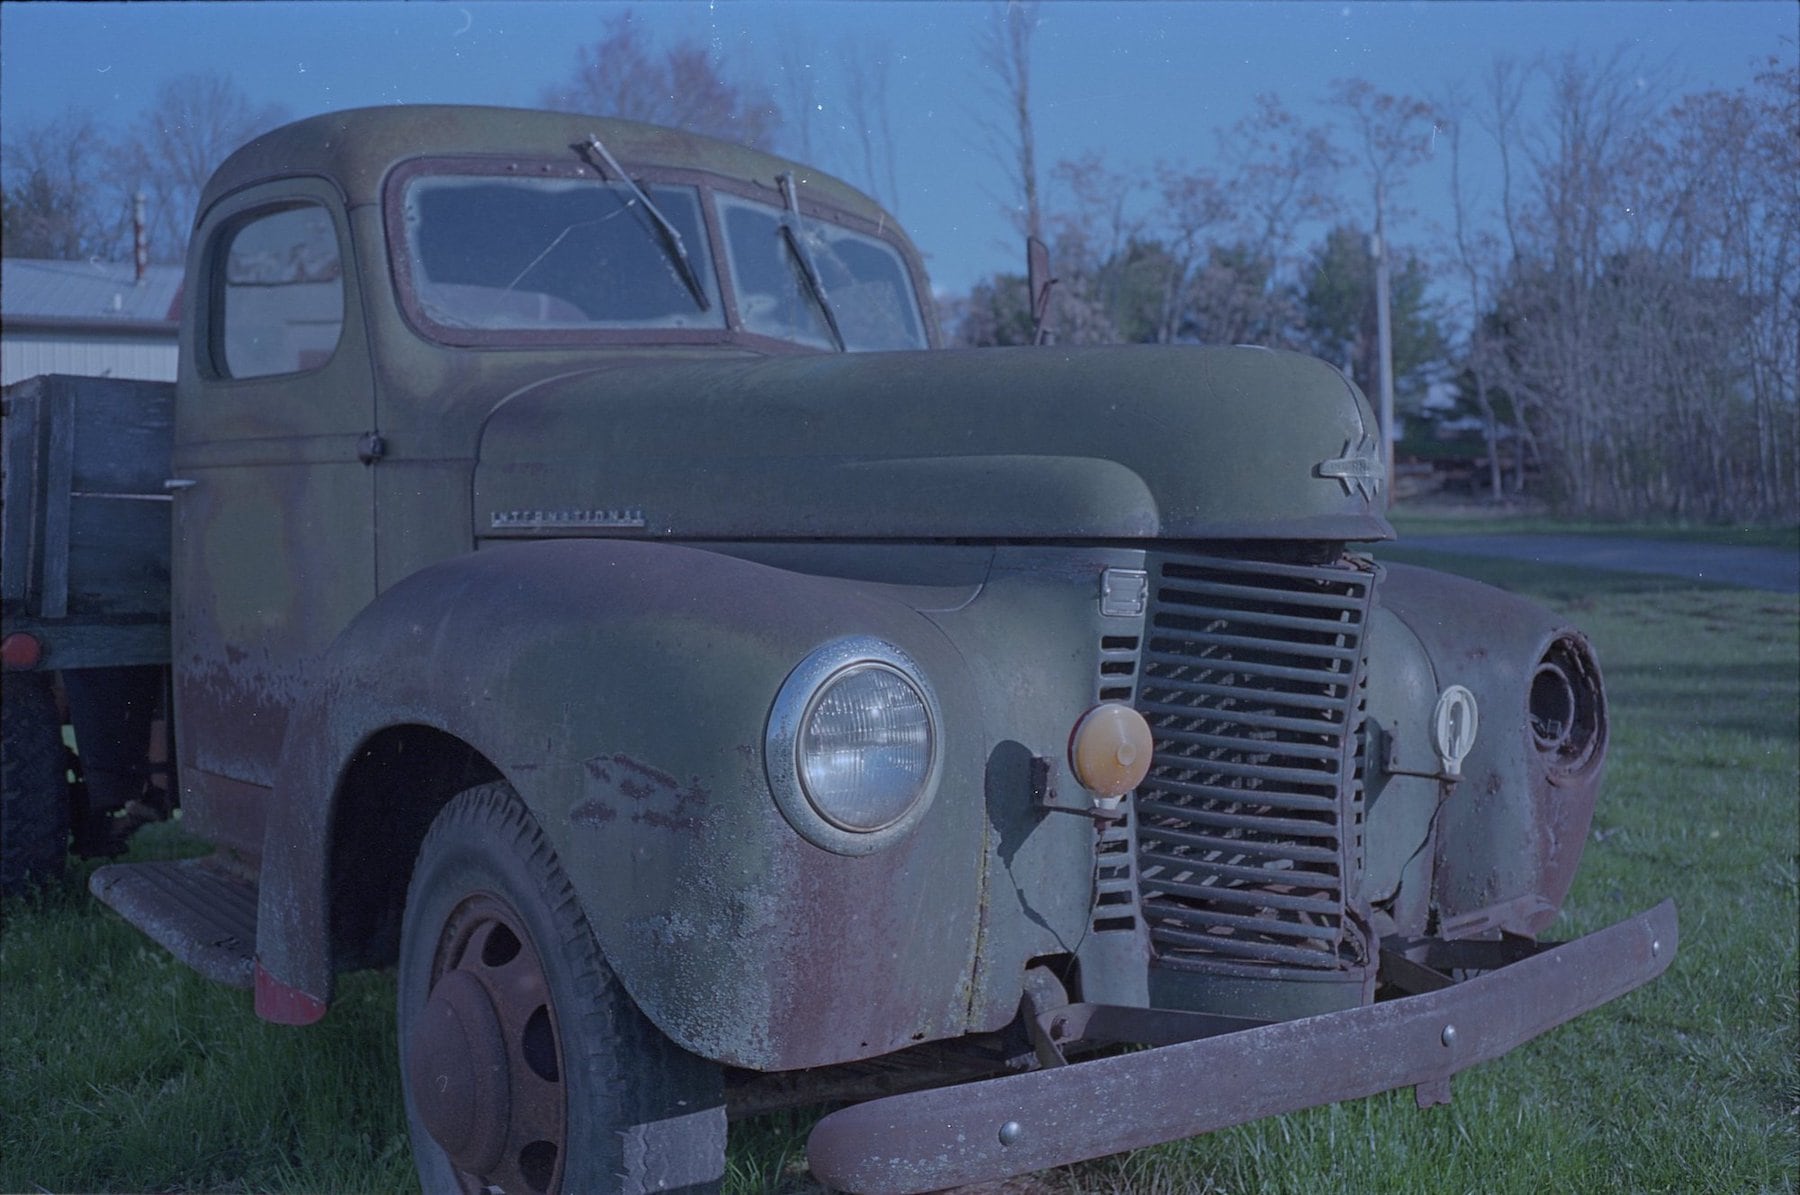
The interface for Epson Scan 2 is not terrible, but it is not great either. Multiple scans can be queued up in batch, however the areas must be selected manually. This works fine for 4x5 negatives, since only 2 can be scanned at once, but it would be rather inconvenient for 35mm or even 120. Interestingly, this tool does not allow access to some of the scanners advanced features,
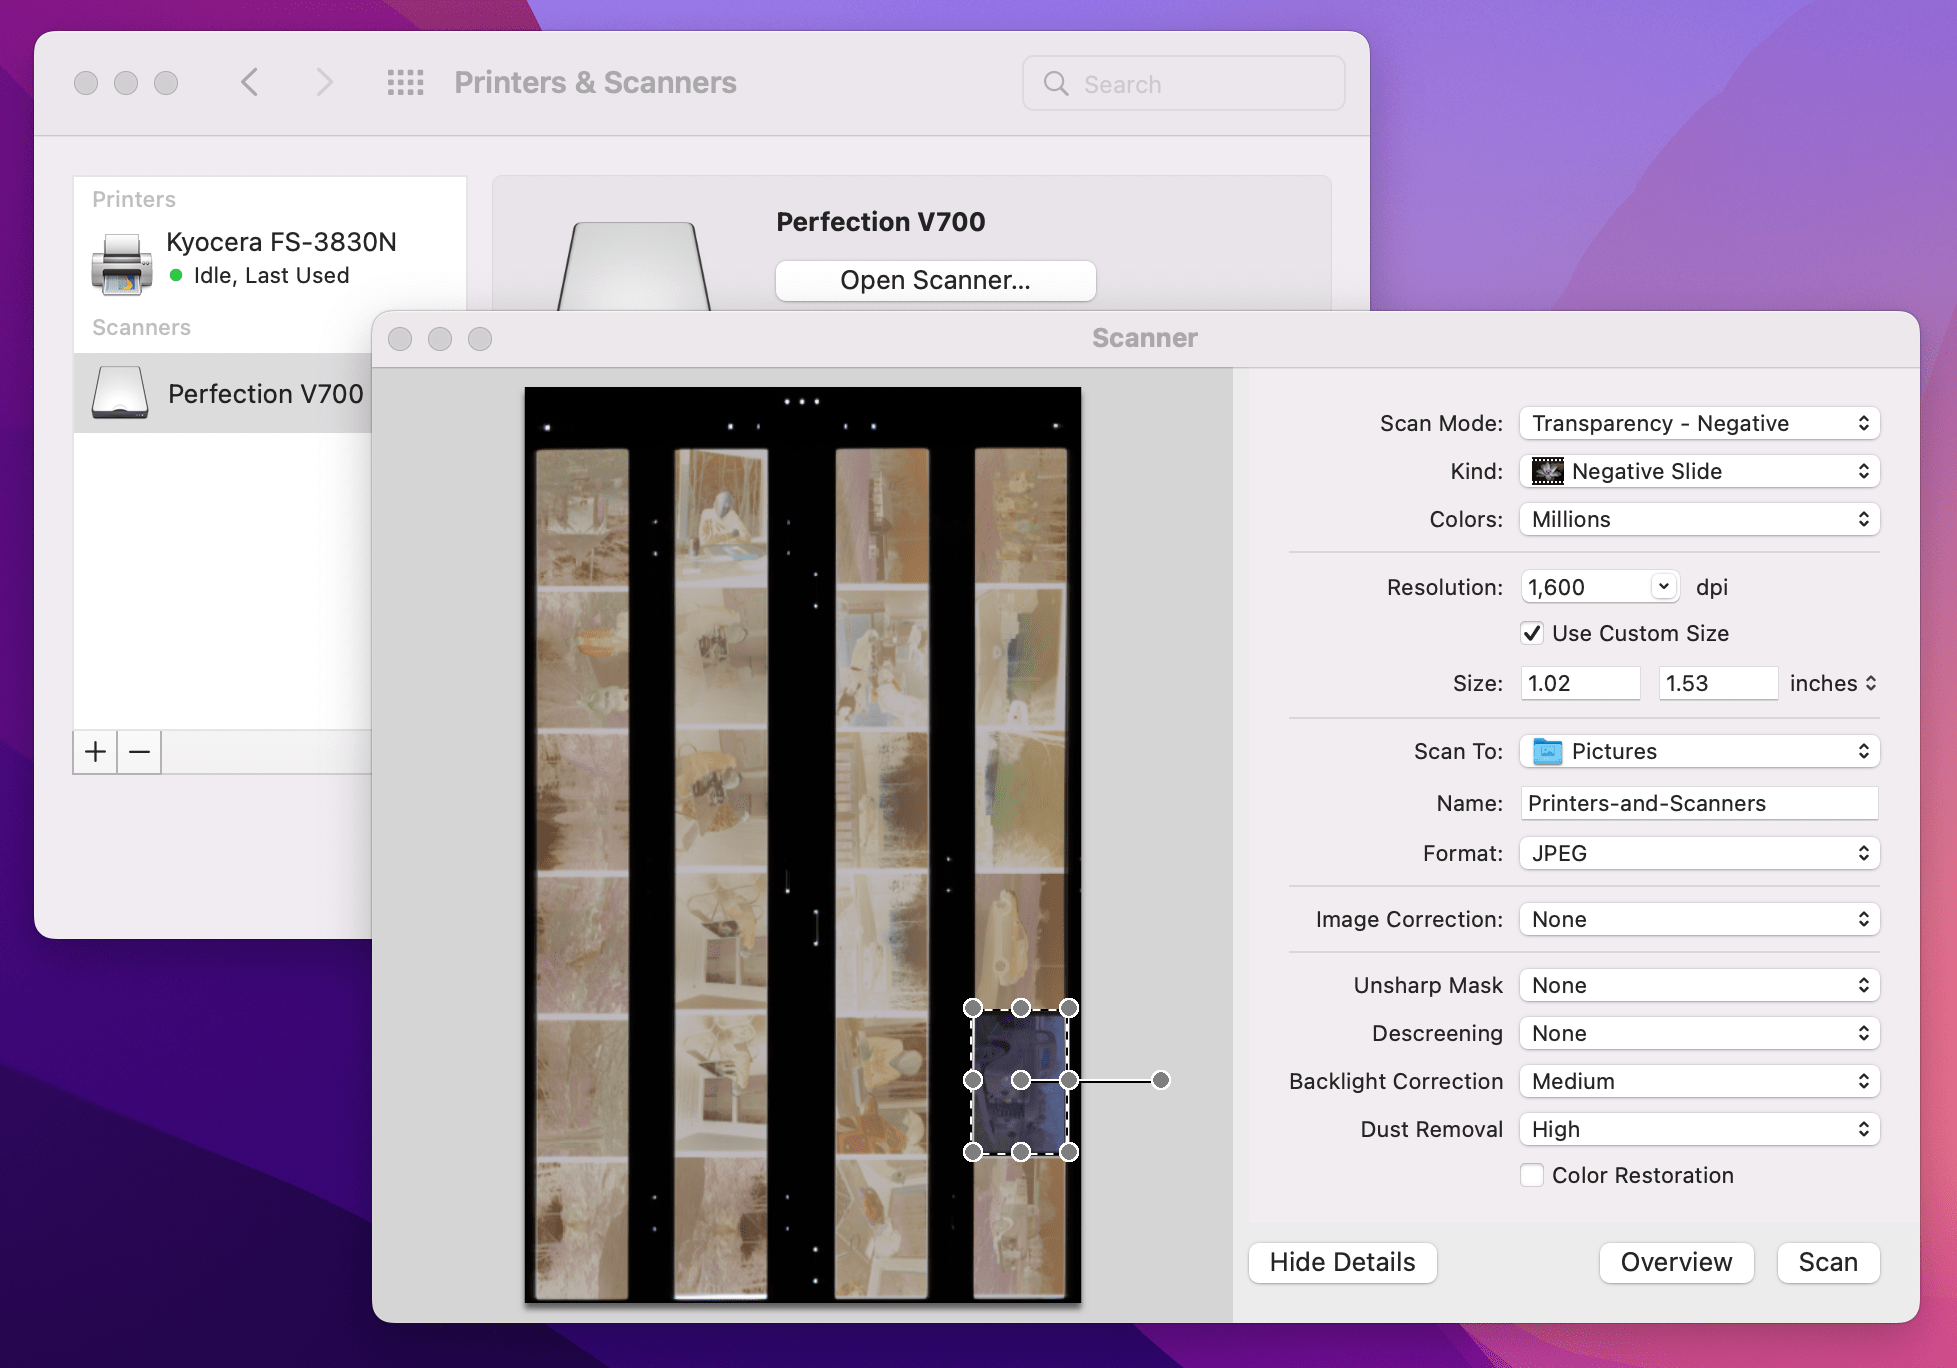
It probably wouldn’t have matter how good the color conversion from MacOS Printers and Scanners turned out, using the interface to scan negatives would have been an onerous task. This tool was designed to scan documents, it only allowed for selecting one scan area at a time. I am almost certain that I have used this app with other scanners and was able to select multiple areas to scan. When you need the feature the most, it’s missing.
Printers & Scanners
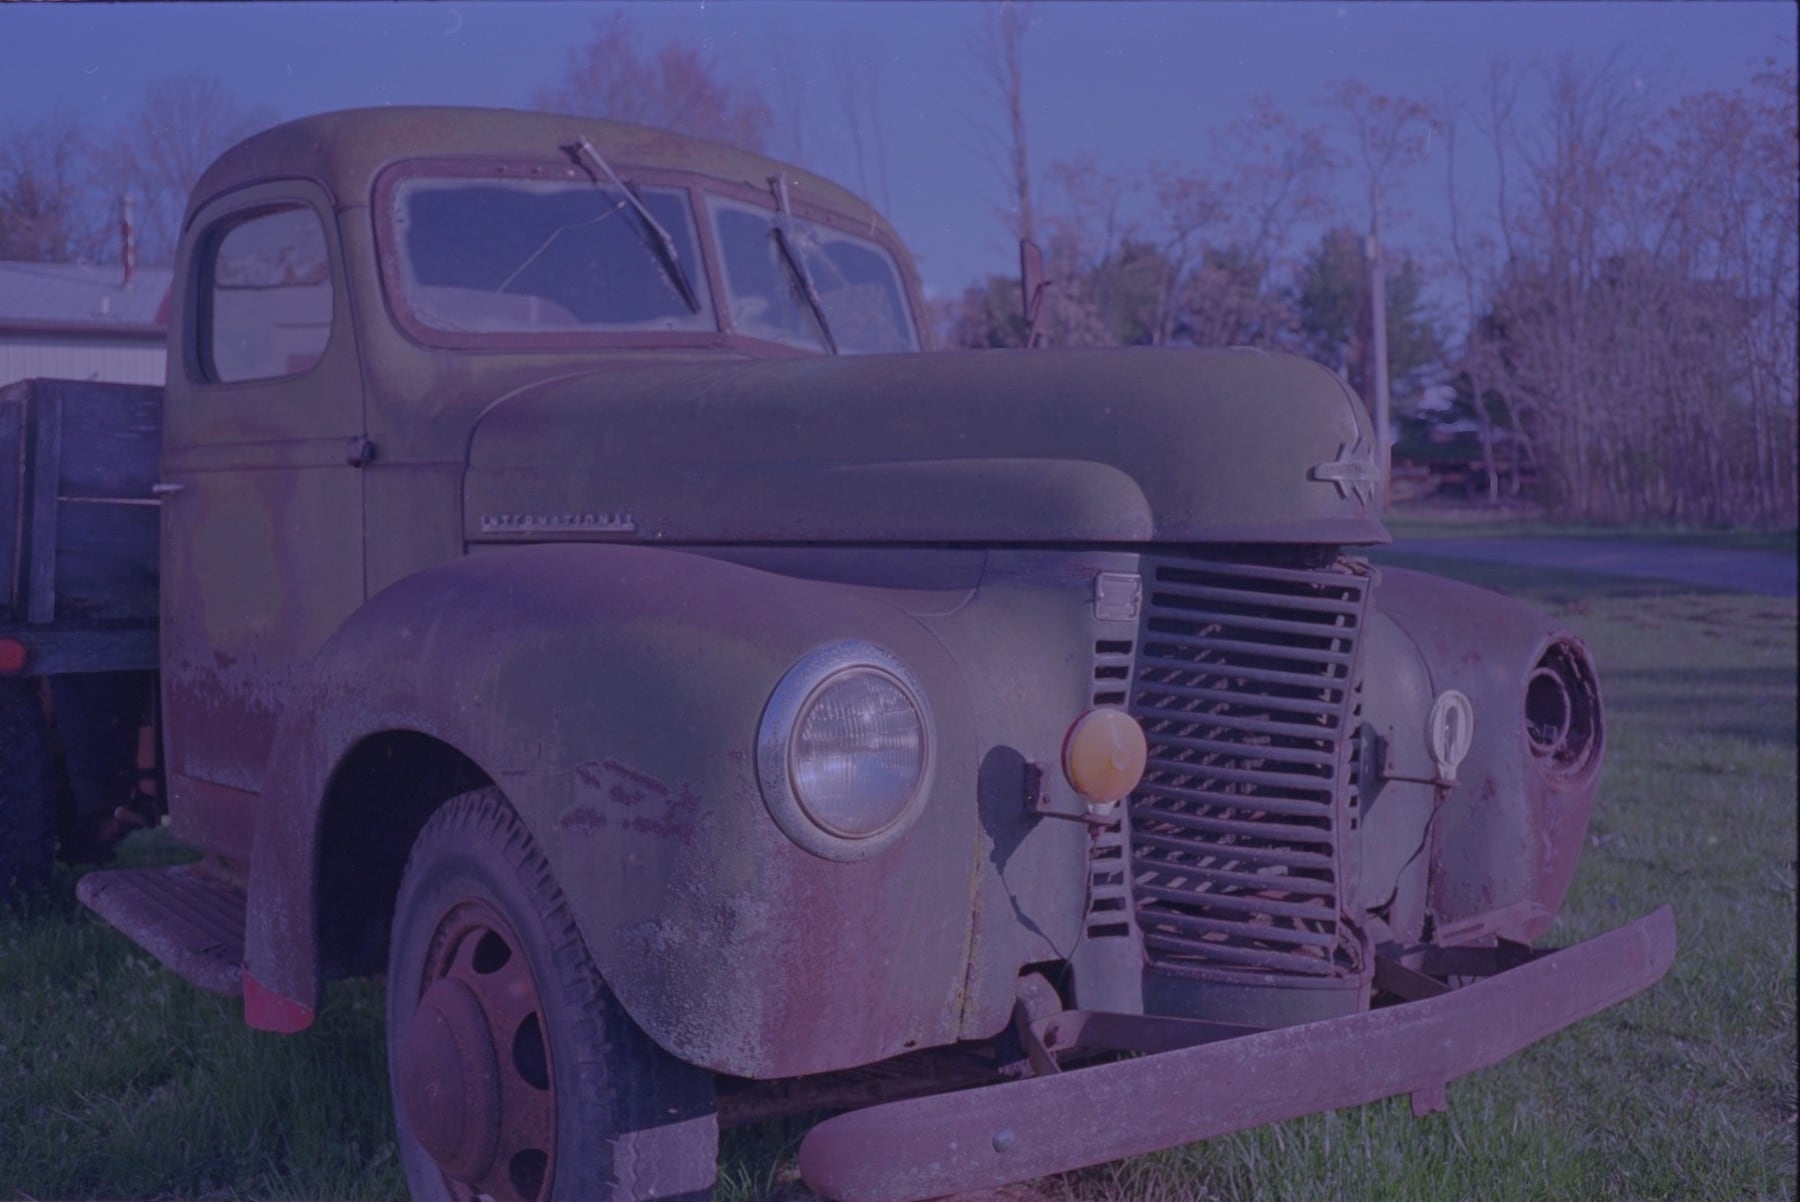
I assumed that the Printers & Scanners app was just a very thin wrapper over driver functionality, so I was surprised that the results were even worse than the results provided by Epson Scan 2. While Epson Scan 2 created some highly cyan images, Printers & Scanners created some wildly magenta images.
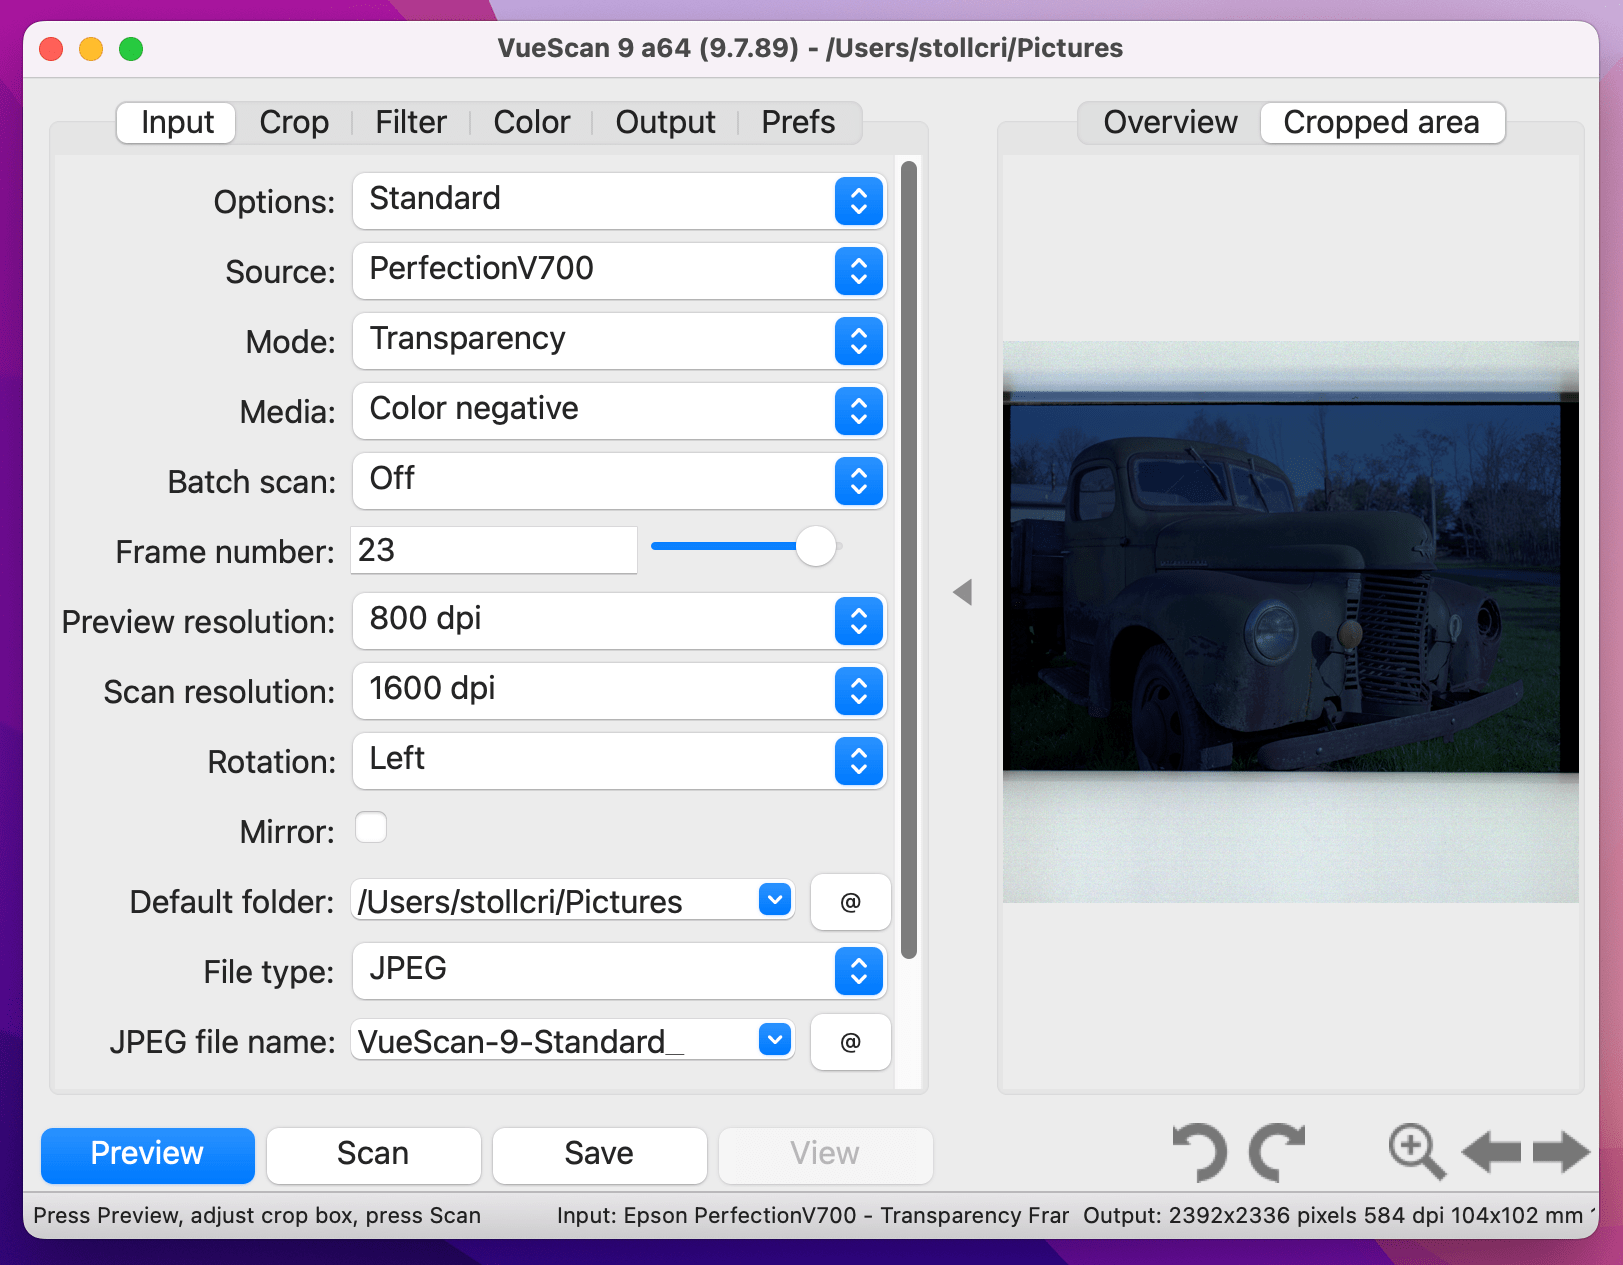
This is literally the worst interface I have used in in a very long time. Back when I was in college and could not afford to purchase software I would go to Sourceforge and download apps that were written by high school kids. They were better than this. The interface could have been designed by someone who got high and wondered what would it be like if an entire app was crammed into the settings pane of a Windows XP program.
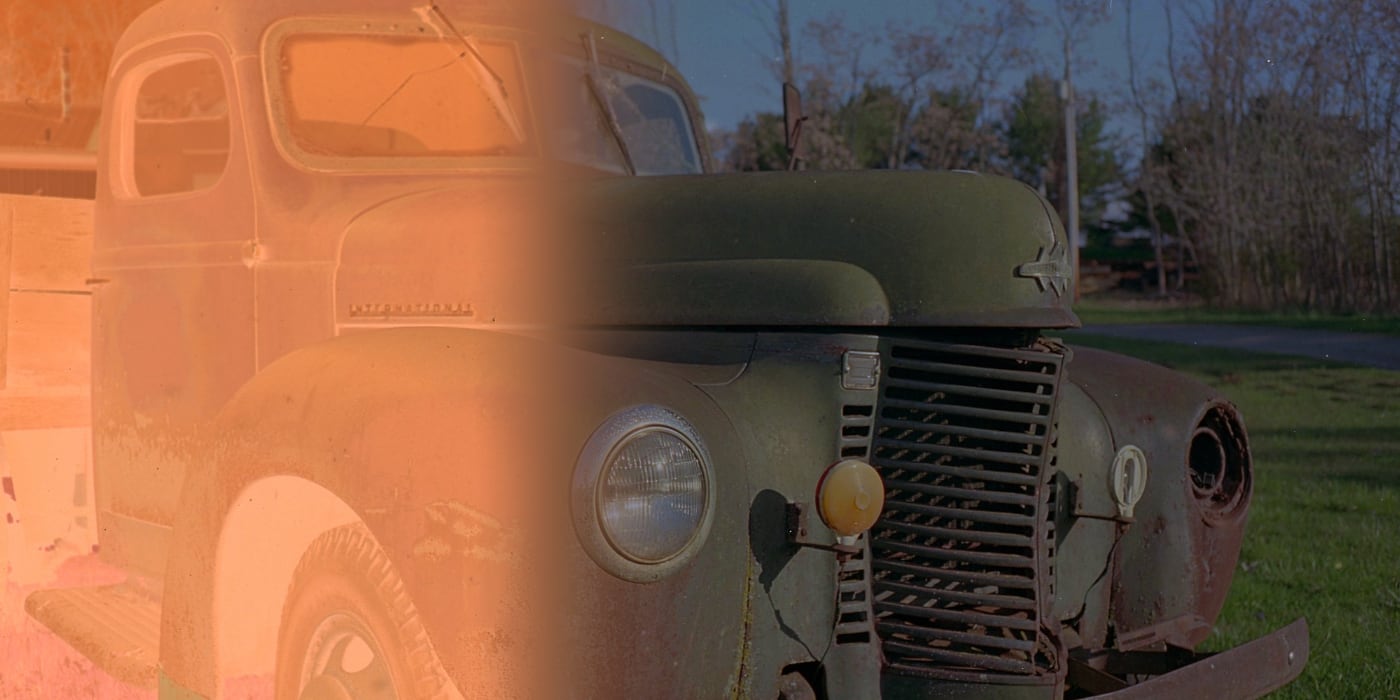
VueScan 9
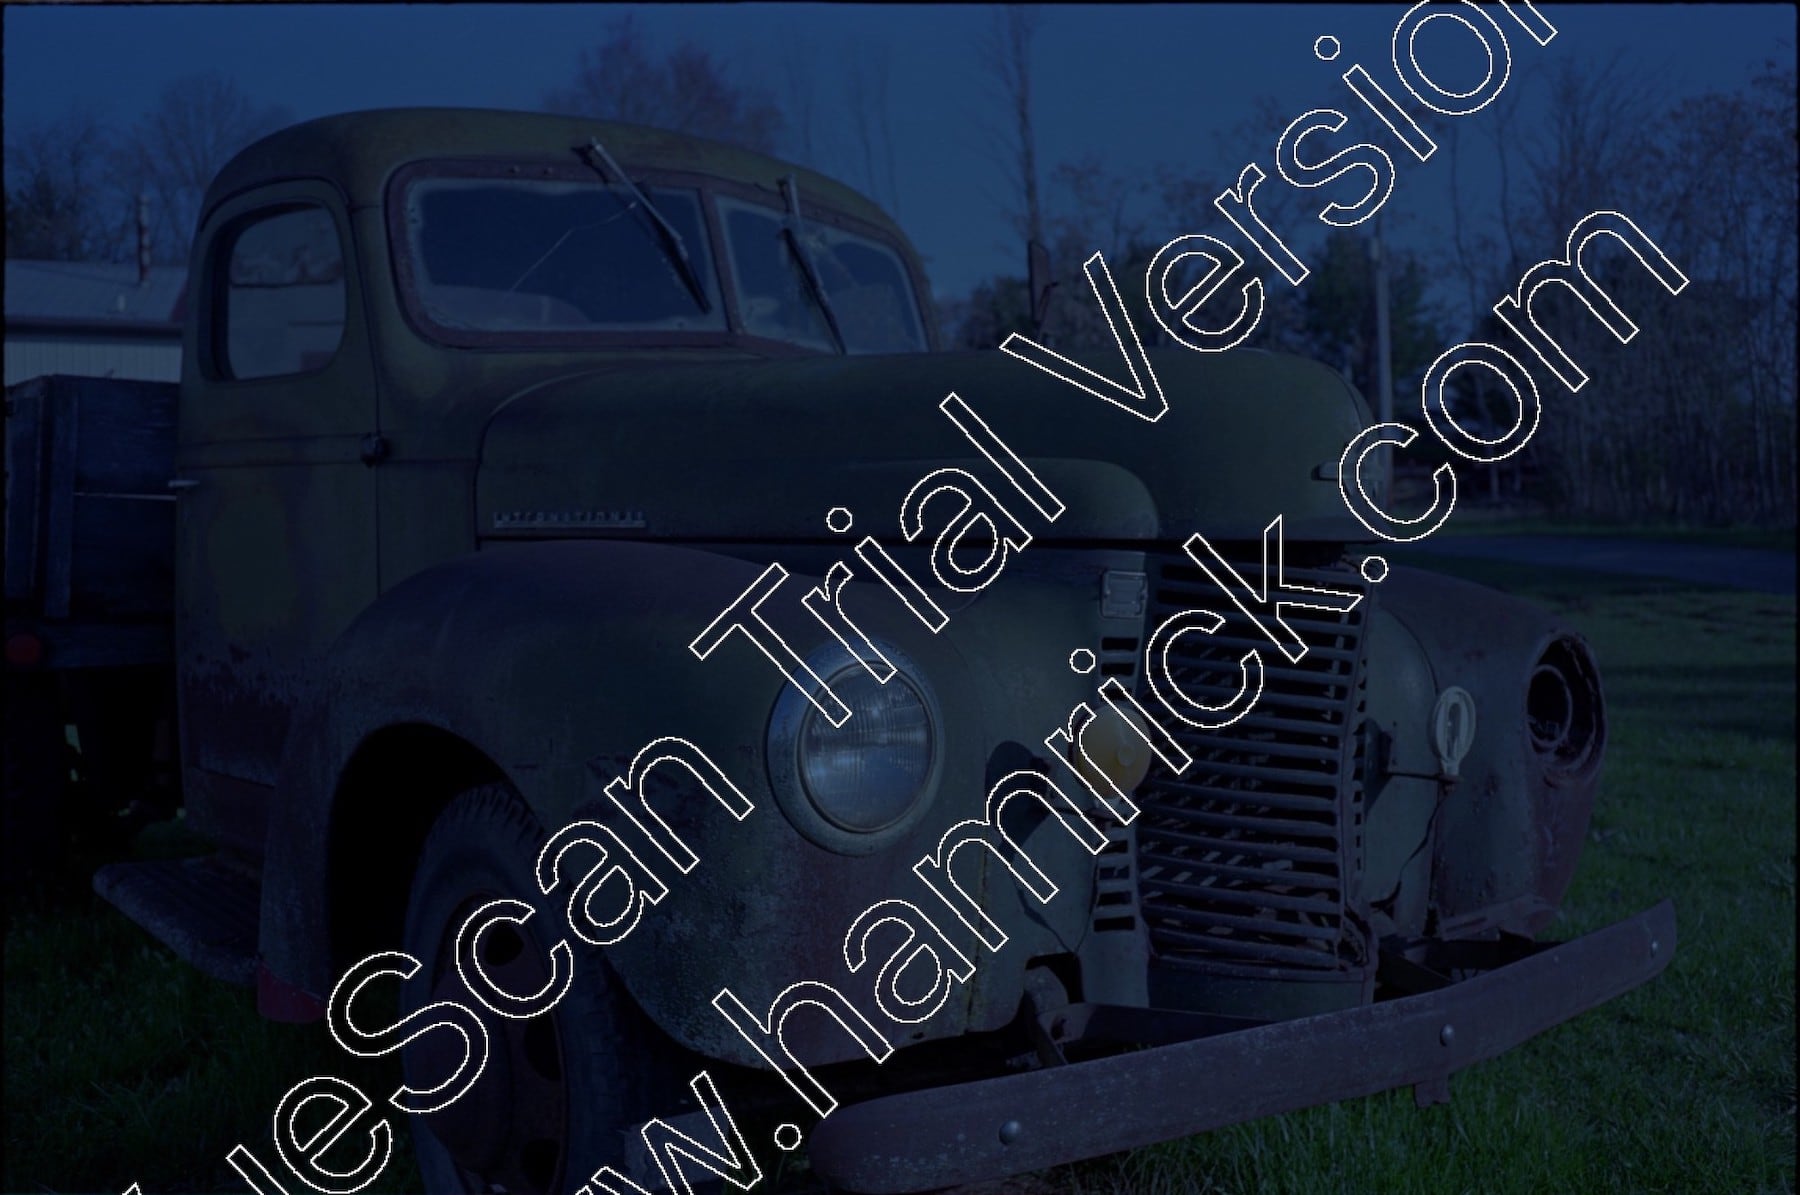
Fortunately for me I won’t have to use the VueScan interface again. It yielded the worst results of any of the negative scanning tools. The makers of this app work hard to make sure no one gets a free conversion in demo mode; it’s funny to consider that they may actually think the reason people are not paying them for this pile of garbage is because it is somehow being used for free. Free is too much to charge for this app.
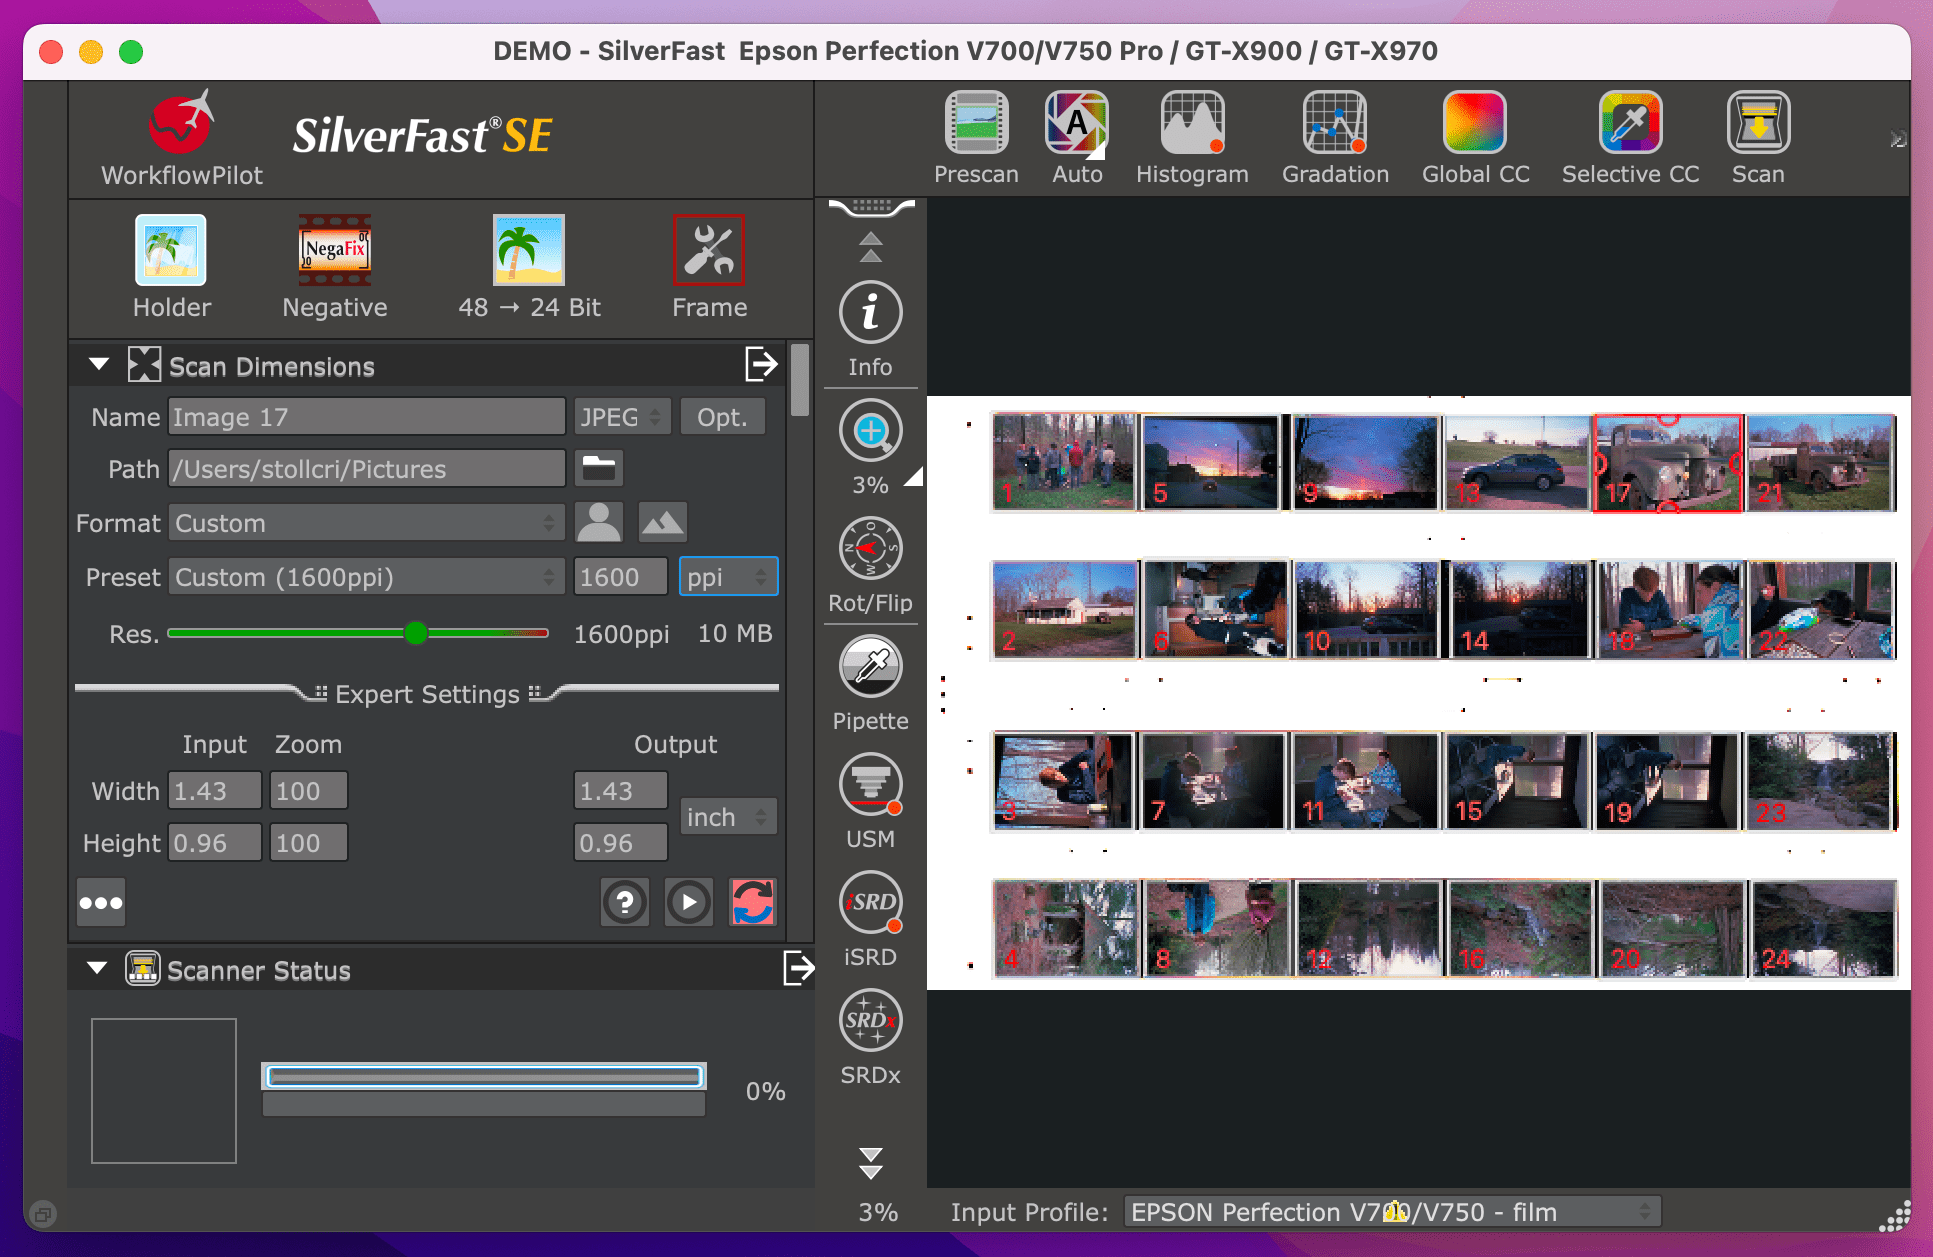
The interface of SilverFast is reminiscent of Winamp 2, but without the helpful skeuomorphism. It is another interface that I am not a fan of. However, it was usable and packed a lot of functionality in a small space.
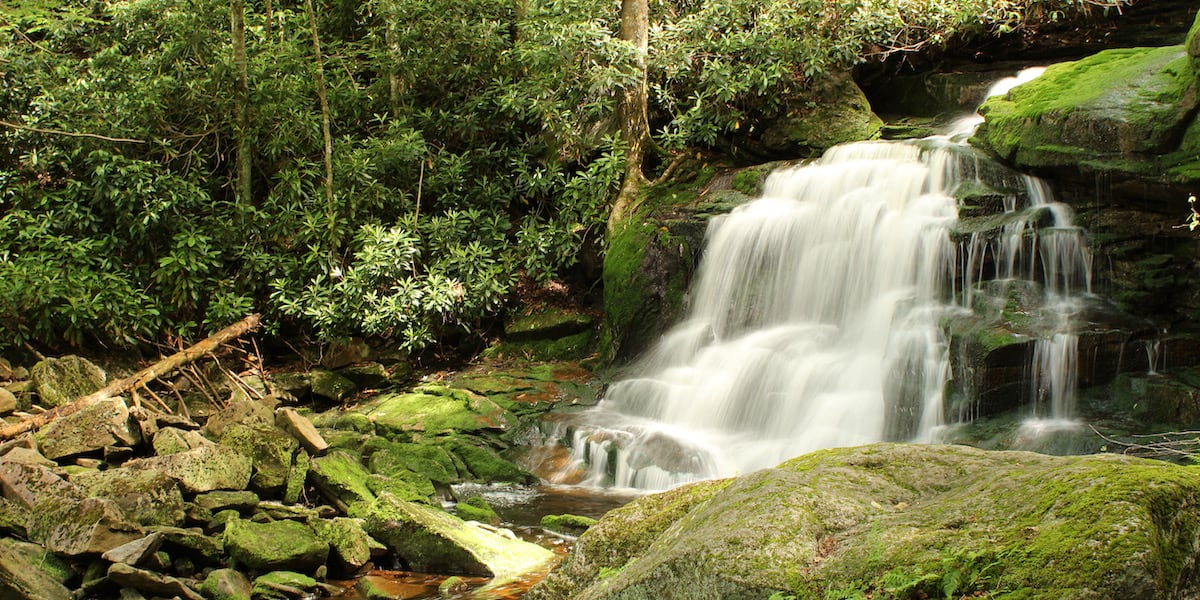
SilverFast SE
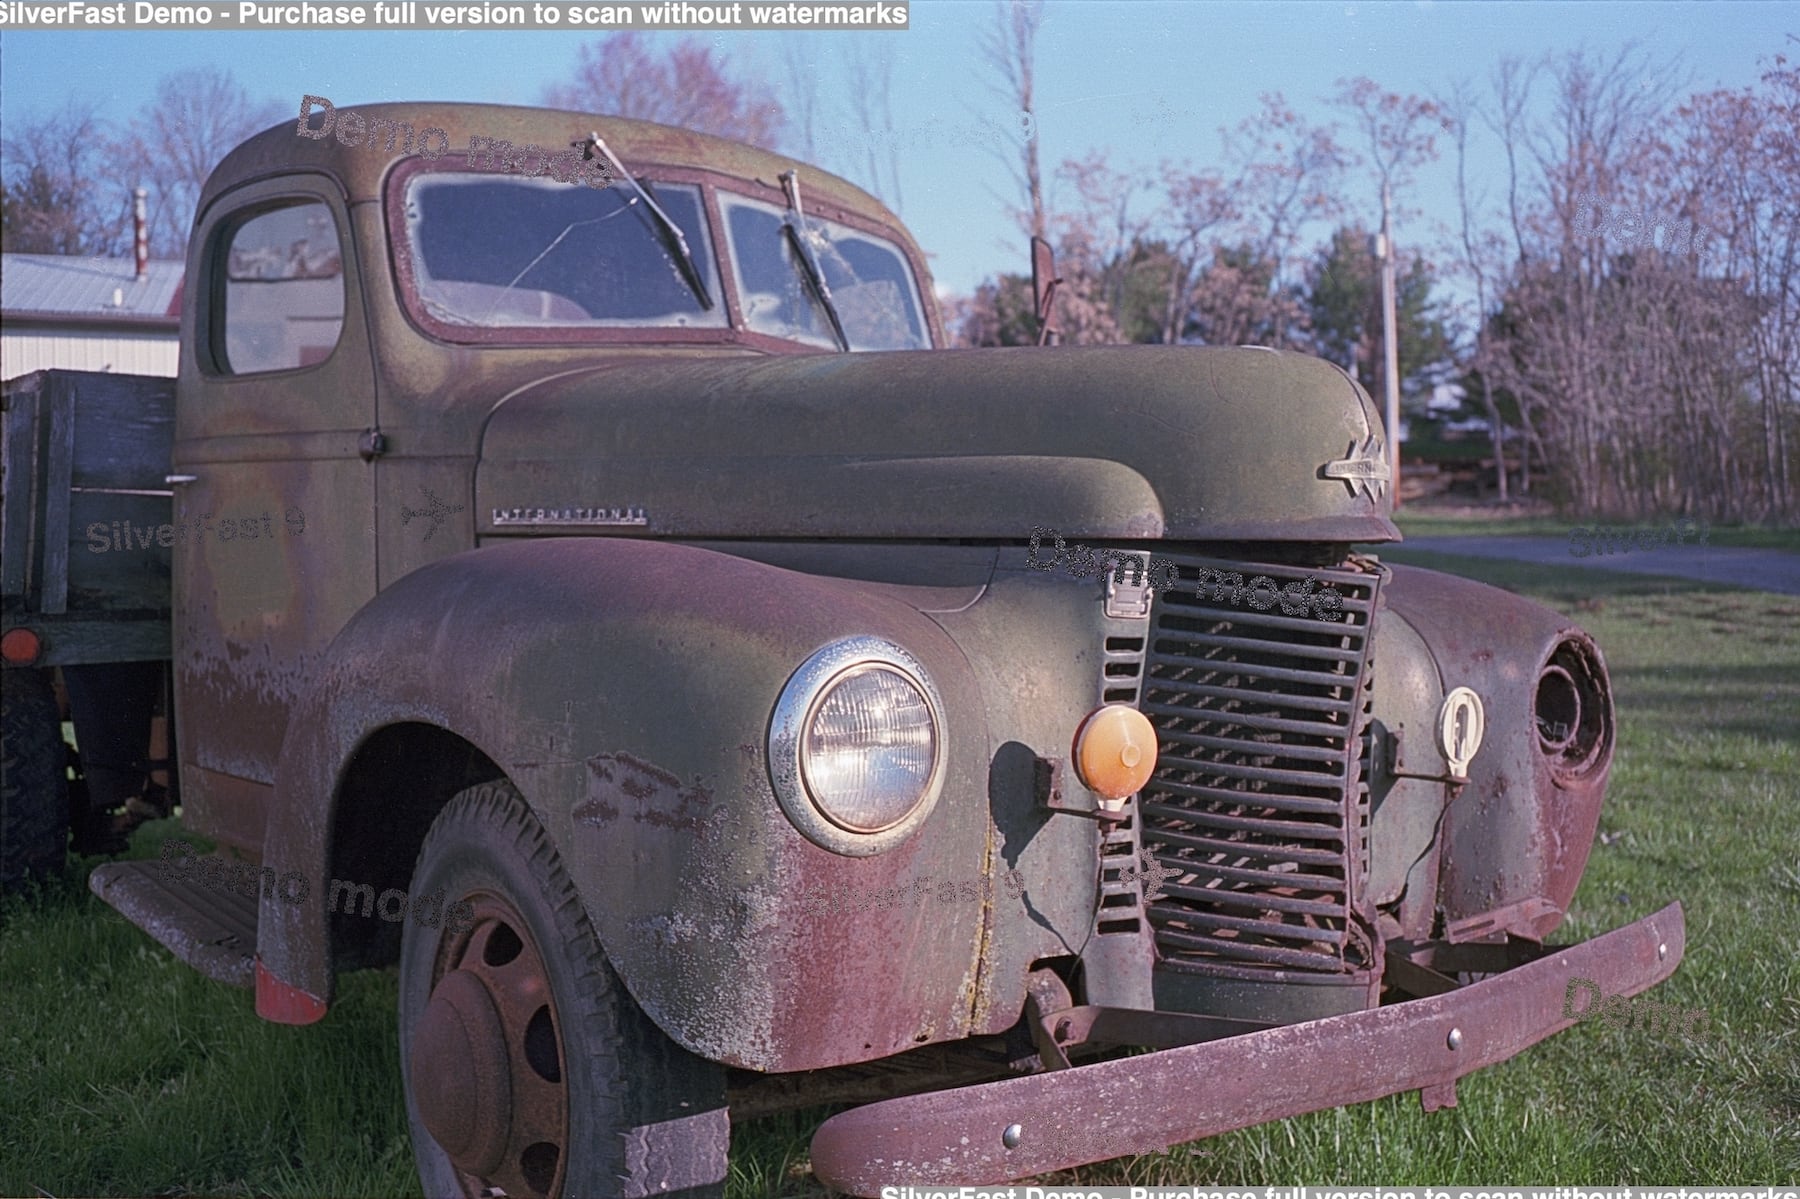
SilverFast provided the best results. This was the only time where I could believe that the results were better than those created by my Python script. I want to say that the SilverFast results have more red than the actual scene did, but I could also see how the results from my script could be puling towards the green side of the spectrum.
So, after a mildly annoying tour of film scanning and conversion software, I purchased SilverFast. But, in the end, I use it less than I imagined. Most of my medium format work has been in black and white; compared to inverting color, creating positives from black and white negatives is very easy. The moral of the story is, don’t purchase film scanning and conversion software unless you are sure you really need to.
The negative in the comparison was Kodak Ektar 100 shot on a 1999 Nikon 35Ti.