![]()
In his talk at CodeMash this year, Joel Byler mentioned a platform named Nerves which quickly and easily packages up Elixir projects for embeded applications. Joel said the platform boots in seconds, the framework takes care of all the low-level tasks, and the tooling handles all the work required to convert Elixir applications into embeddable firmware. It sounded too good to be true, so I had to try it out.
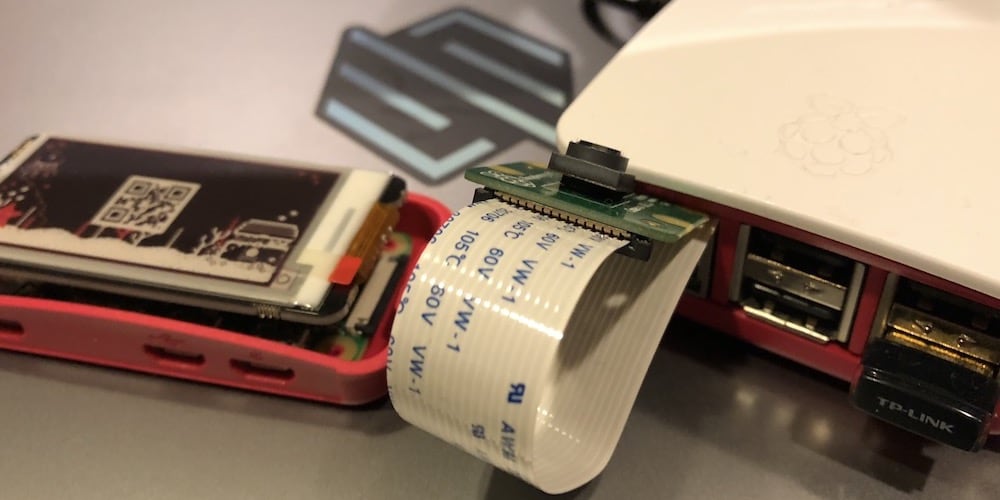
Getting up and running was actually super easy; I installed Nerves and built my first app in minutes. And, it did boot up incredibly fast, but that first app didn’t actually do anything. I needed to get my device connected to the wireless network so that I could start doing more interesting stuff, and that is when I ran into problems. I have a Raspberry Pi 2 which doesn’t have built-in WiFi, so I have a TP-Link TL-WN725N USB adapter. Unfortunately, Nerves Raspberry Pi 2 system only supports Ralink RT53xx (rt2800usb), RealTek RTL8712U (r8712u) and RealTek RTL 8192 (rtl8192cu) devices.
My first thought was, “I guess I will have to get the latest Raspberry Pi Zero to get this thing working.” Maybe I just wanted an excuse to buy a new little toy, but I’m supposed to have technical skills, so I shouldn’t buy my way out of this problem. Besides, I have used the TL-WN725N adapter in the past and I knew that there was a Linux driver for it. The question was, how do I get that driver installed in Nerves? Here is how I made it work.
Fortunately, I found a post from Wendy Smoak which gives a detailed description of how to build and use a custom nerves system. Below is my adaptation of the process which Wendy described. Please visit Wendy’s site for a more detailed description; it has some nice gifs.
Like so many things nowadays, it starts by spinning up a docker container. Rather than starting a vanilla Ubuntu Docker image and then manually performing the required steps, we are going to create a Dockerfile. First, we need to get some other things in place.
cd ~/code
mkdir nerves
cd nerves
mkdir custom_system
git clone https://github.com/nerves-project/nerves_system_br
git clone https://github.com/stollcri/nerves_system_rpi2
touch Dockerfile
The Dockerfile we just created needs to contain the following:
FROM ubuntu

RUN DEBIAN_FRONTEND=noninteractive apt-get update && \
    DEBIAN_FRONTEND=noninteractive apt-get install -yq \
        git \
        g++ \
        libssl-dev \
        libncurses5-dev \
        bc \
        m4 \
        make \
        unzip \
        cmake \
        wget \
        cpio \
        python \
        bzip2

WORKDIR /tmp
Next, we will build the image and run the container.
docker build -t nerves_rpi2 ./
docker run -it \
	-v $(pwd)/nerves_system_br:/tmp/nerves_system_br \
	-v $(pwd)/nerves_system_rpi2:/tmp/nerves_system_rpi2 \
	-v $(pwd)/custom_system:/tmp/output \
	nerves_rpi2 \
	/bin/bash
The commands below will need to be ran inside of the Docker container we just fired up. The step make menuconfig is where the new drivers are selected. Typing / opens the search dialog. In this case we are looking for the 8188 driver and it was located under Target Packages, Hardware Handling, rtl8188eu. The make steps below will take a long time and will consume just as much battery power, so make sure you can get your laptop plugged in.
# inside the Docker container
./nerves_system_br/create-build.sh nerves_system_rpi2/nerves_defconfig rpi2_out
cd rpi2_out
make
make system
make menuconfig
make savedefconfig
cd ..
./nerves_system_br/create-build.sh nerves_system_rpi2/nerves_defconfig rpi2_out
cd rpi2_out
make
make system
cp nerves_system_rpi2.tar.gz /tmp/output
exit
Back on our host system, we need to expand the image which we created while inside of the container. Then, we will set an environment variable which tells Nerves to use the custom system we created in that directory.
cd custom_system
tar -xzvf nerves_system_rpi2.tar.gz
export NERVES_SYSTEM=$(pwd)/nerves_system_rpi2
Note: If you trusted me and were willing to use v0.20.0 of nerves_system_rpi2 (the current version as of February 2018), then you could avoid all of the work I just described. On my fork of the nerves_system_rpi2 repo, I created release v0.20.8188 and attached the nerves_system_rpi2.tar.gz file which we just created.
At this point we can burn a firmware image with all the required drivers, but we still need to set up something on the Elixir side that will access the network. We could create a new Nerves project, but to make sure that everything is working properly it may be easier to just checkout my example repo, at least for now. Make sure to insert a memory card to write to before executing mix firmware.burn; it will be automatically ejected once the firmware is burnt.
cd ~/code
git clone https://github.com/stollcri/nerves_one
cd nerves_one
export MIX_TARGET=rpi2
export NERVES_NETWORK_SSID="WiFi_Name"
export NERVES_NETWORK_PSK="WiFi_Password"
mix deps.get
mix firmware
mix firmware.burn
Plug the memory card into the Raspberry Pi and power it up. It will connect to the wireless network and start an ssh server.
We can use ssh to connect to a Raspberry Pi running the nerves_one firmware. To connect via ssh we just need to set the port and grab the device’s IP address. The IP address should be shown in the console when the Pi is plugged into a monitor; I prefer to ask the wireless router which address it issued. Once the IP address is know connecting is as easy as ssh -p 8989 192.168.0.16. Once connected we will get dropped into an Erlang shell. To start elixir we need to type 'Elixir.IEx':start(). – the default Erlang shell doesn’t seem to work properly.
Some special steps might be required to disconnect from the server, <ctrl>-c probably won’t be sent over the ssh connection.
So, to disconnect from the ssh session you’ll need to use ssh escape sequences. The command below will terminate the connection.
<return>
~.
To see more ssh escape sequences use this command.
<return>
~?
That should be enough to get a custom nerves system up and running. Have fun!