I didn’t seek this camera out, I got it as part of a lot of old cameras. It cost about $8, if the cost was spread evenly across all the cameras in the lot. The camera looked great, especially given its age. Other than the normal dust which accumulates over 50 years, it was like new. The operation of the camera, on the other hand, was not so great.
The shutter appeared to work, bot only at small apertures. Then, upon closer inspection, it really didn’t work at all. The camera is aperture priority only, so there is no way to manually set the shutter speed. When the shutter was released with the aperture wide open, at ƒ/2.7, the shutter was clearly slow to close. It would start to close, hesitate, and then close very slowly. There didn’t seem to be a problem when the shutter was stopped down to ƒ/16, but you could see it if you looked very closely in front of a bright light. It hesitated and left a tiny pinhole open as it closed very slowly.

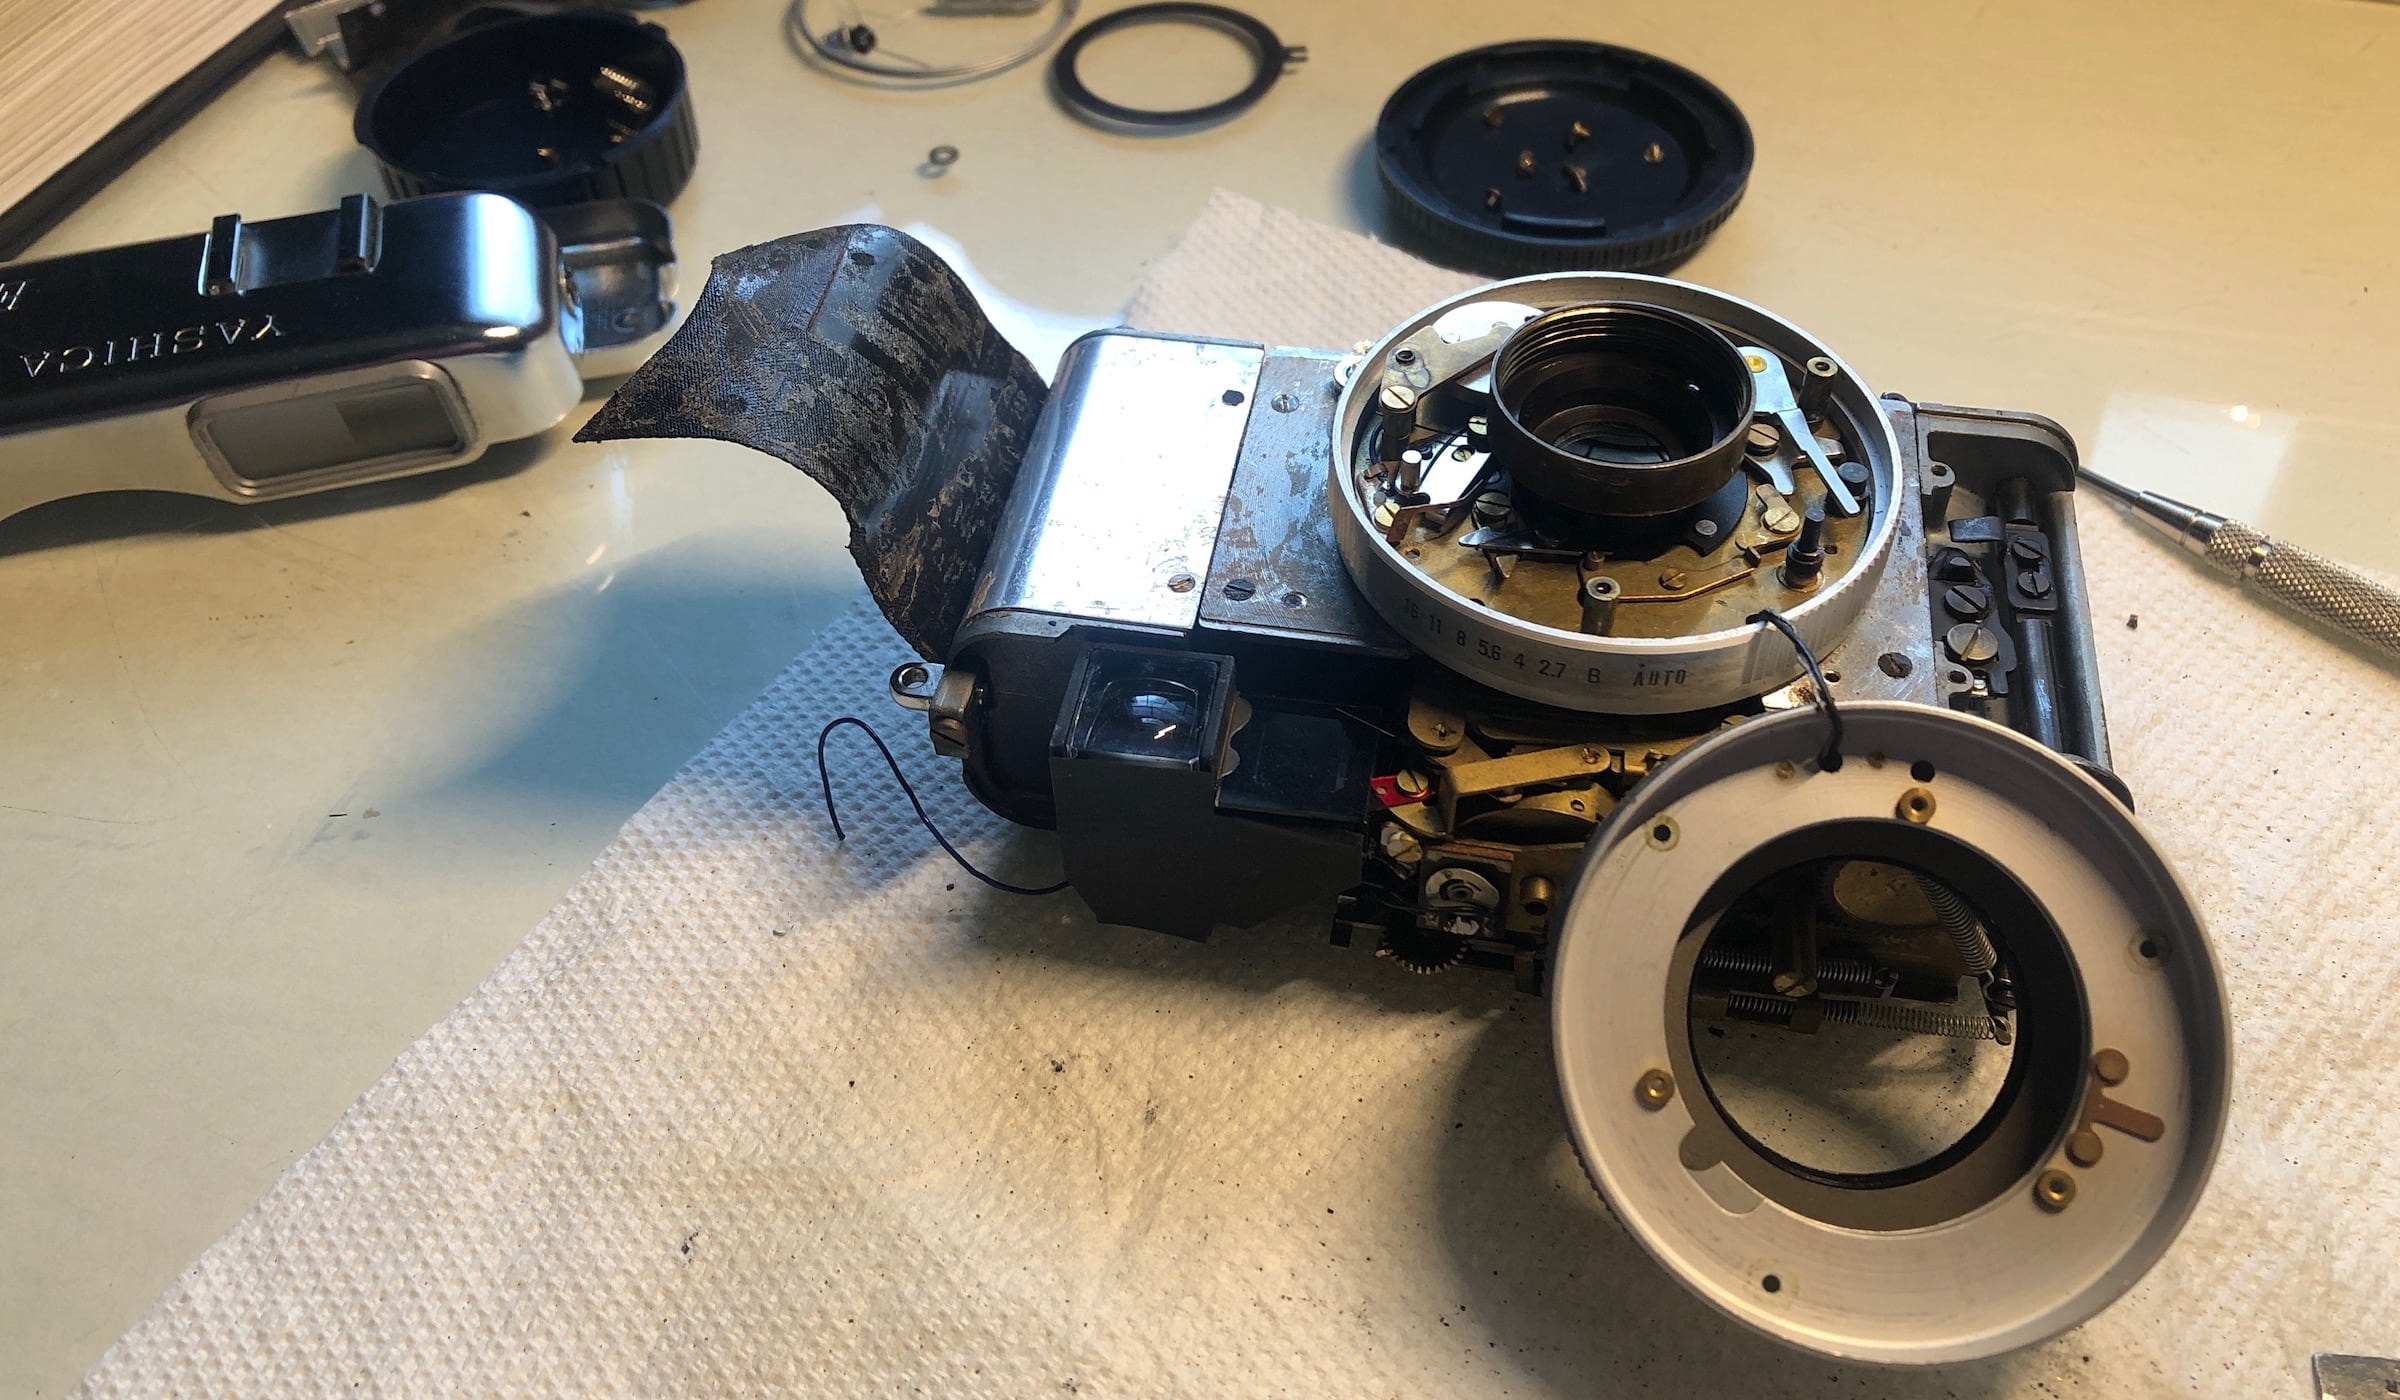
I had been wanting to take apart a 35mm camera of this vintage and see how they were put together, this gave me an opportunity to do that on a camera which I didn’t really care if it didn’t go back together. By disassembling the lens, from the front to back, I was able to get close enough to the shutter to fix the problem which was causing the slowness. On the lower right of the shutter assembly there is a rotating disk. There is an armature which moves in and out by sliding across a post underneath the disk. When I moved the armature out of the way the mechanism moved freely, while with it in place there was considerable drag. So, I added a micro drop of oil on the bearing surface, and like magic the shutter was closing as expected. In retrospect, I probably should have used grease instead. I couldn’t find a service manual for this camera, so I’m not sure if lack of lubrication was really the issue or if it was weak springs, but lubrication solved the problem.
While I had the camera apart I wanted to see if I could get closer to the actual shutter blades. The blade are unusual. There are just two “V” shaped blades which move like a strange, small mouth. I unscrewed the lens collar on the inside of the camera, but that didn’t free the lens. So, I peeled back the leatherette and unscrewed the lens plate from the front, but that didn’t free it either. I had to remove the left side plate from the front of the camera as well. With so many pieces being held together by the camera’s electrical wiring, I wasn’t sure if I’d get it back together and working again. So I stopped short of reaching the shutter blades.
The hardest part of reassembly was aligning the mechanism under the top cover with the matching control post on the back of the lens plate. Once assembled I did a full function check and then adjusted the len’s focus. Next, I loaded a 126 cartridge with some 135 film so that I could test the camera out. I load 126 cartridges by attaching the 135 film to the cartridge’s old paper backing. This method worked fairly well on this camera. The first couple shots were not quite aligned, the ones in the middle were perfectly spaced, and the last couple shots had torn sprocket hole dividers. So, I think the key is consistently winding at an even and moderately quick pace.
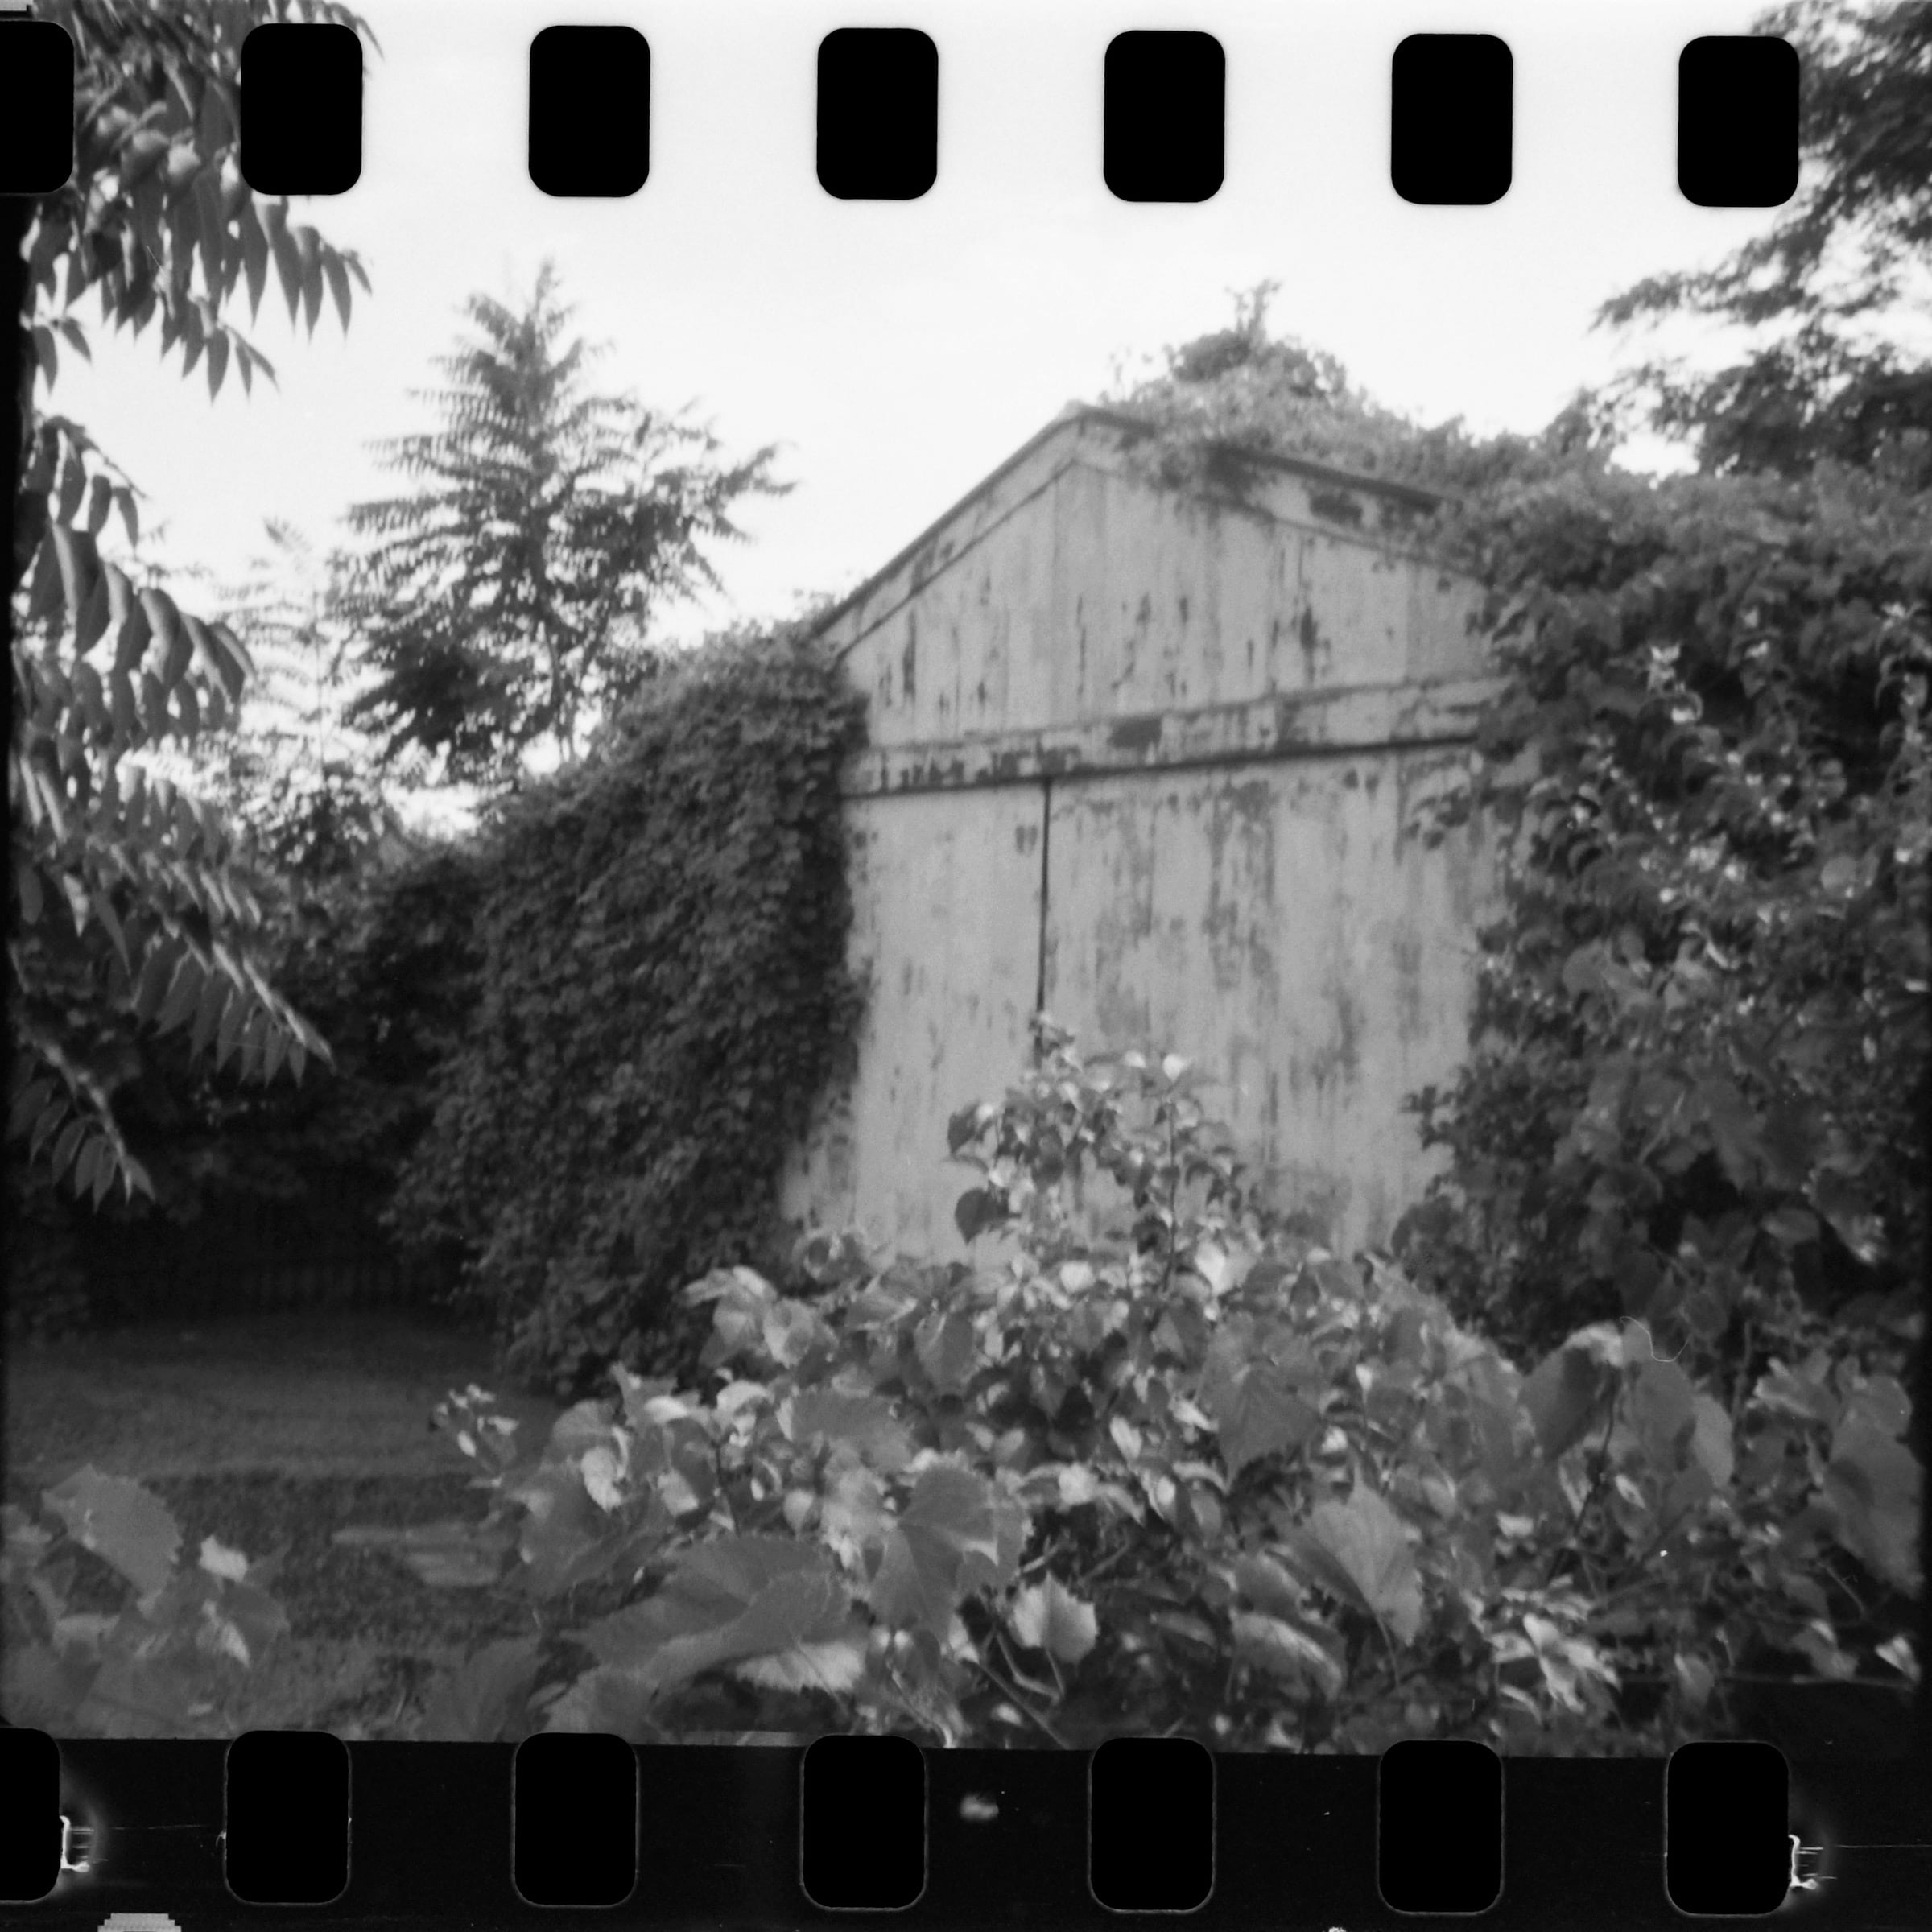
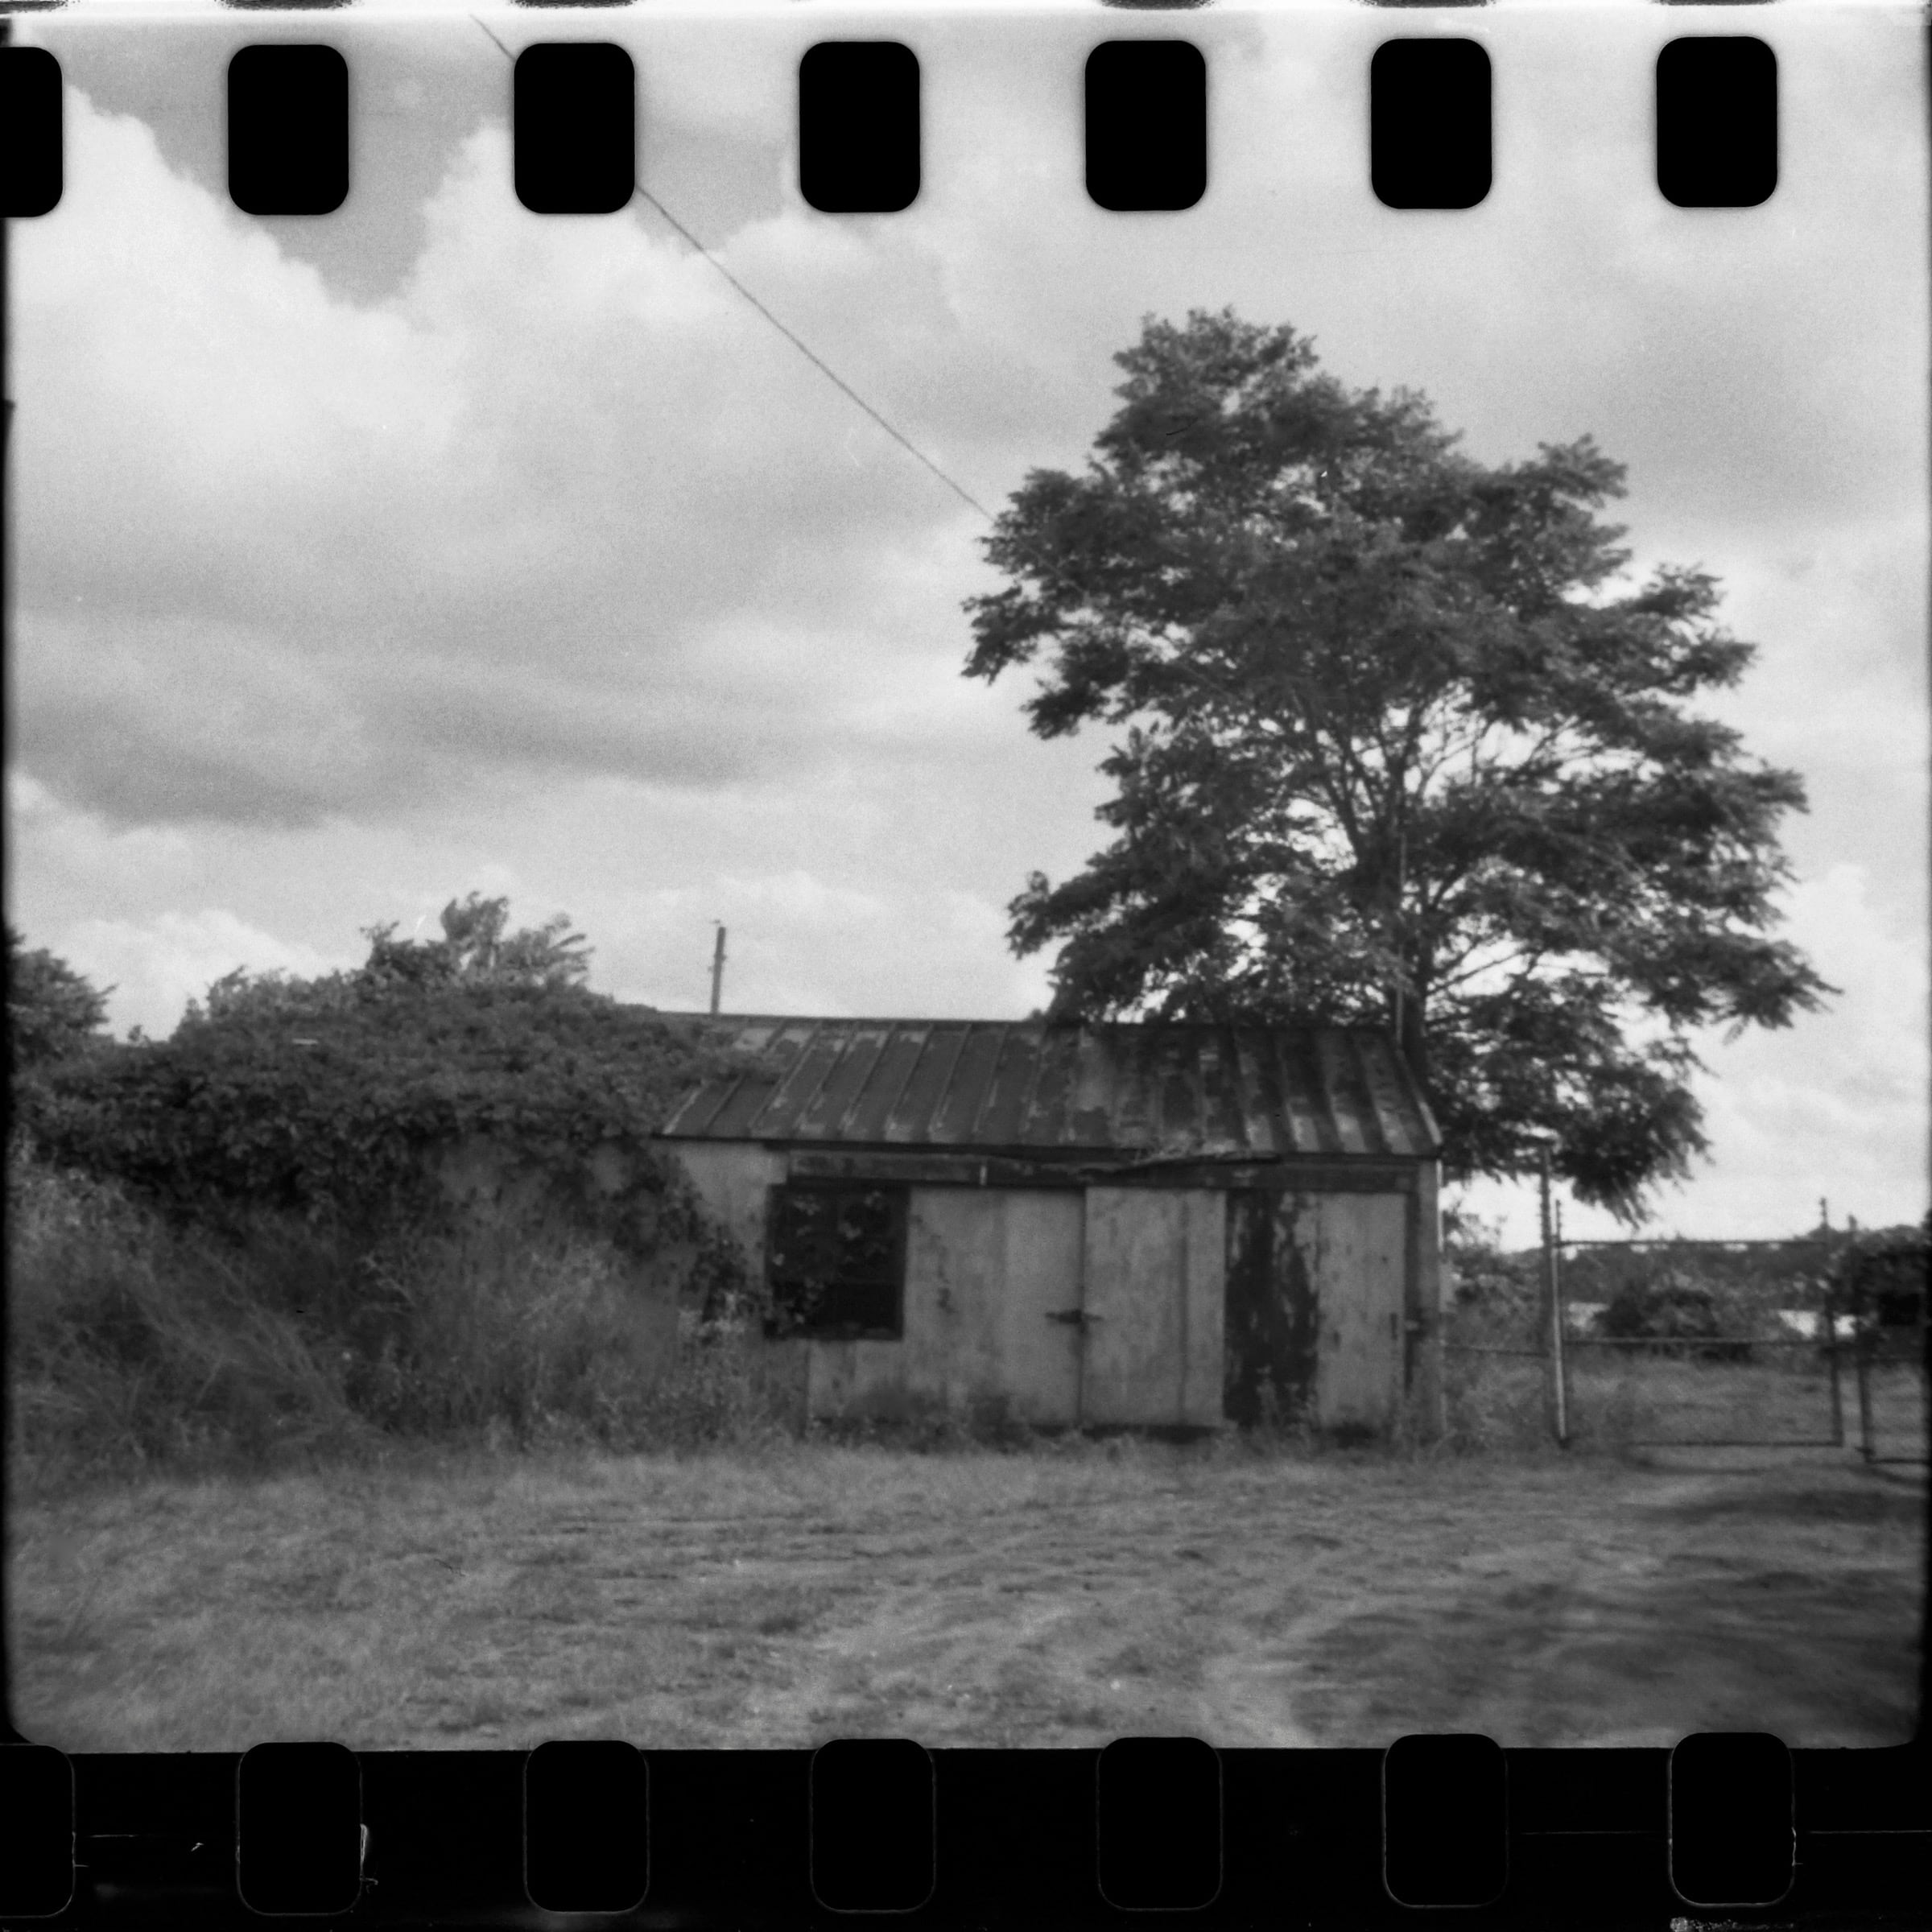
Mechanically the camera is fully functional, but I don’t think the meter is working properly, the movement of the exposure needle in the viewfinder doesn’t seem quite right. The more you press the shutter release, the higher the meter needle goes. The first thred sample photos were taken within 15 minutes of each other on a sunny day. When I set the aperture to f/16 (sunny 16) the photos turned out alright, at f/11 they were slightly overexposed, and on auto they were wildly overexposed.
I had thought that this camera was aperture priority, but from looking at the shutter mechanism, it looks to have a fixed speed. I doesn’t appear to have any gear trains normally associated with variable shutter speeds. The mechanism could be hiding in the last layer which I did not take apart though. I’m guessing the shutter speed, the default if it were aperture priority, is somewhere between 1/60 and 1/120. I’m going to shoot it as 1/100. The only control is the aperture setting ring, which also has bulb and auto as options.
At some point I will go back and give some more attention to the mechanisms under the top plate which controls the shutter speed, then I will have a better understanding of how the automation works. For now the camera can be used by manually setting the aperture for the lighting conditions.
YASHICA EZ MATIC
The small camera for Kodapak film with automatic exposure control and an information viewfinder. Easy, small, elegant. Razor-sharp YASHION f/2.7 self-timer. Flash connection
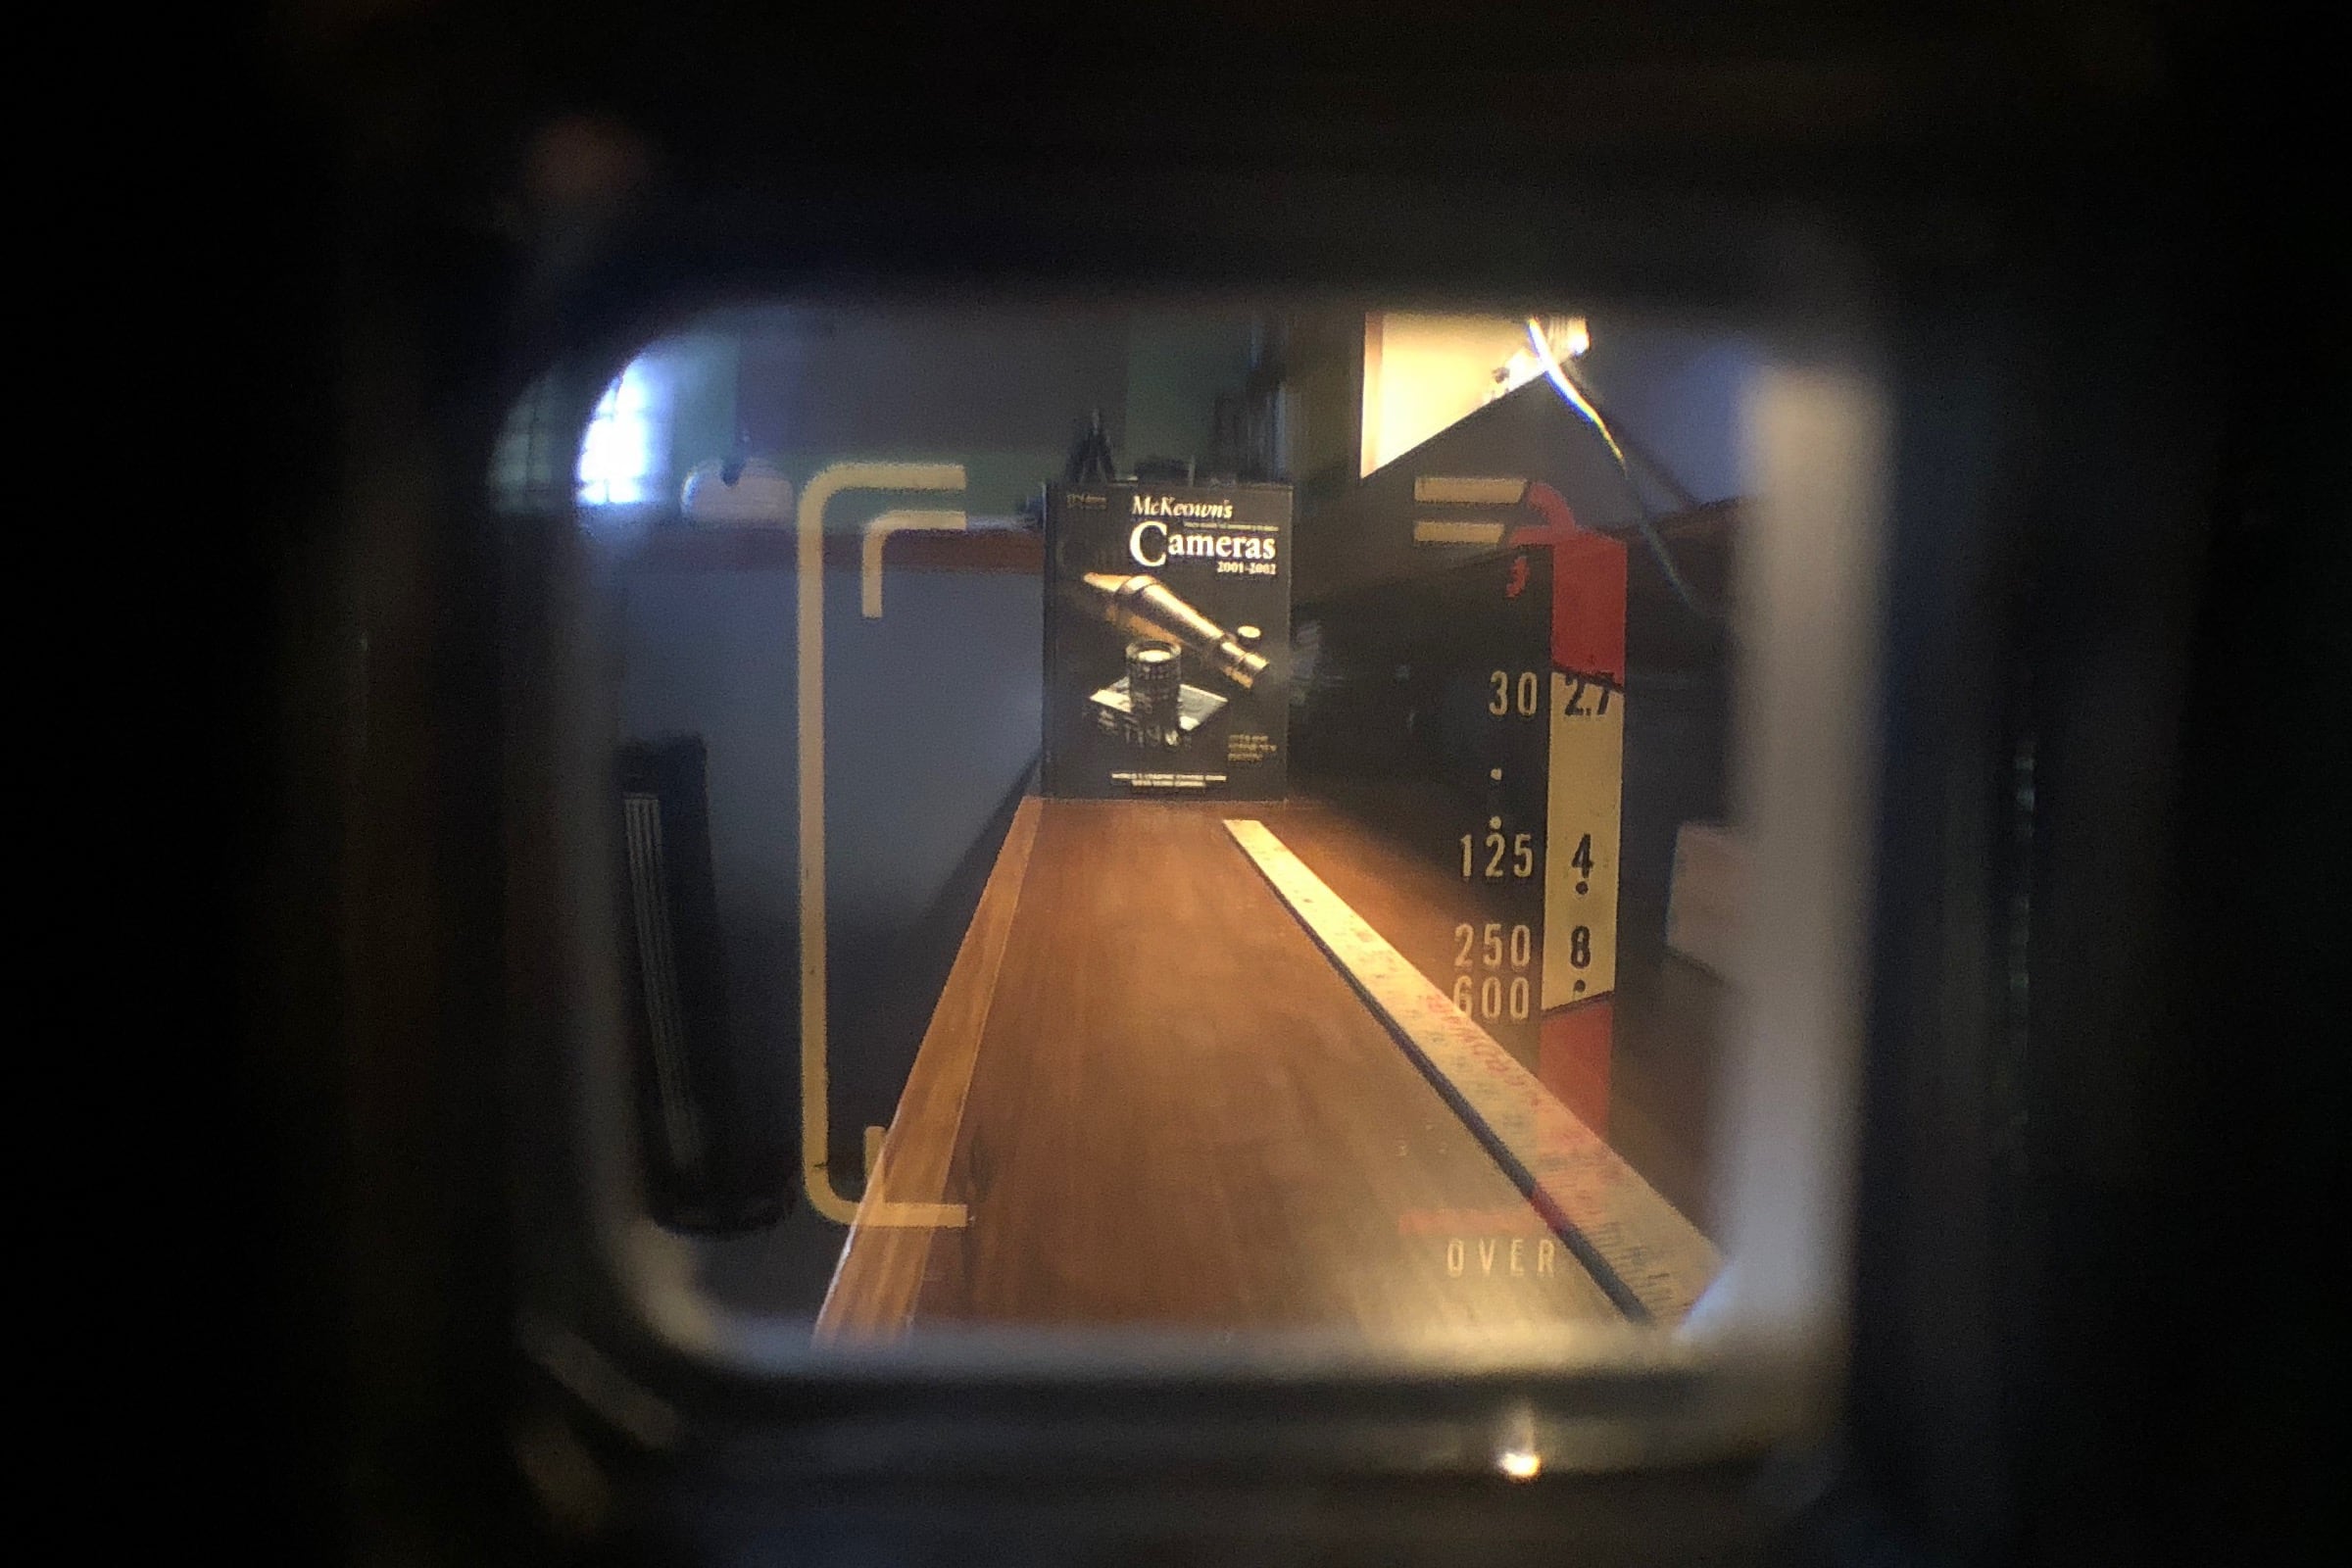
The viewfinder on the EZ-matic is good. The bright lines are bright enough; they are not parallax corrected, but have parallax marks. I'm not entirely sure how to read the markings on the meter, but it is clear that the needle needs to be in the yellow for properly exposed shots. The red zone on the top of the scale adjusts depending upon the speed of film used.

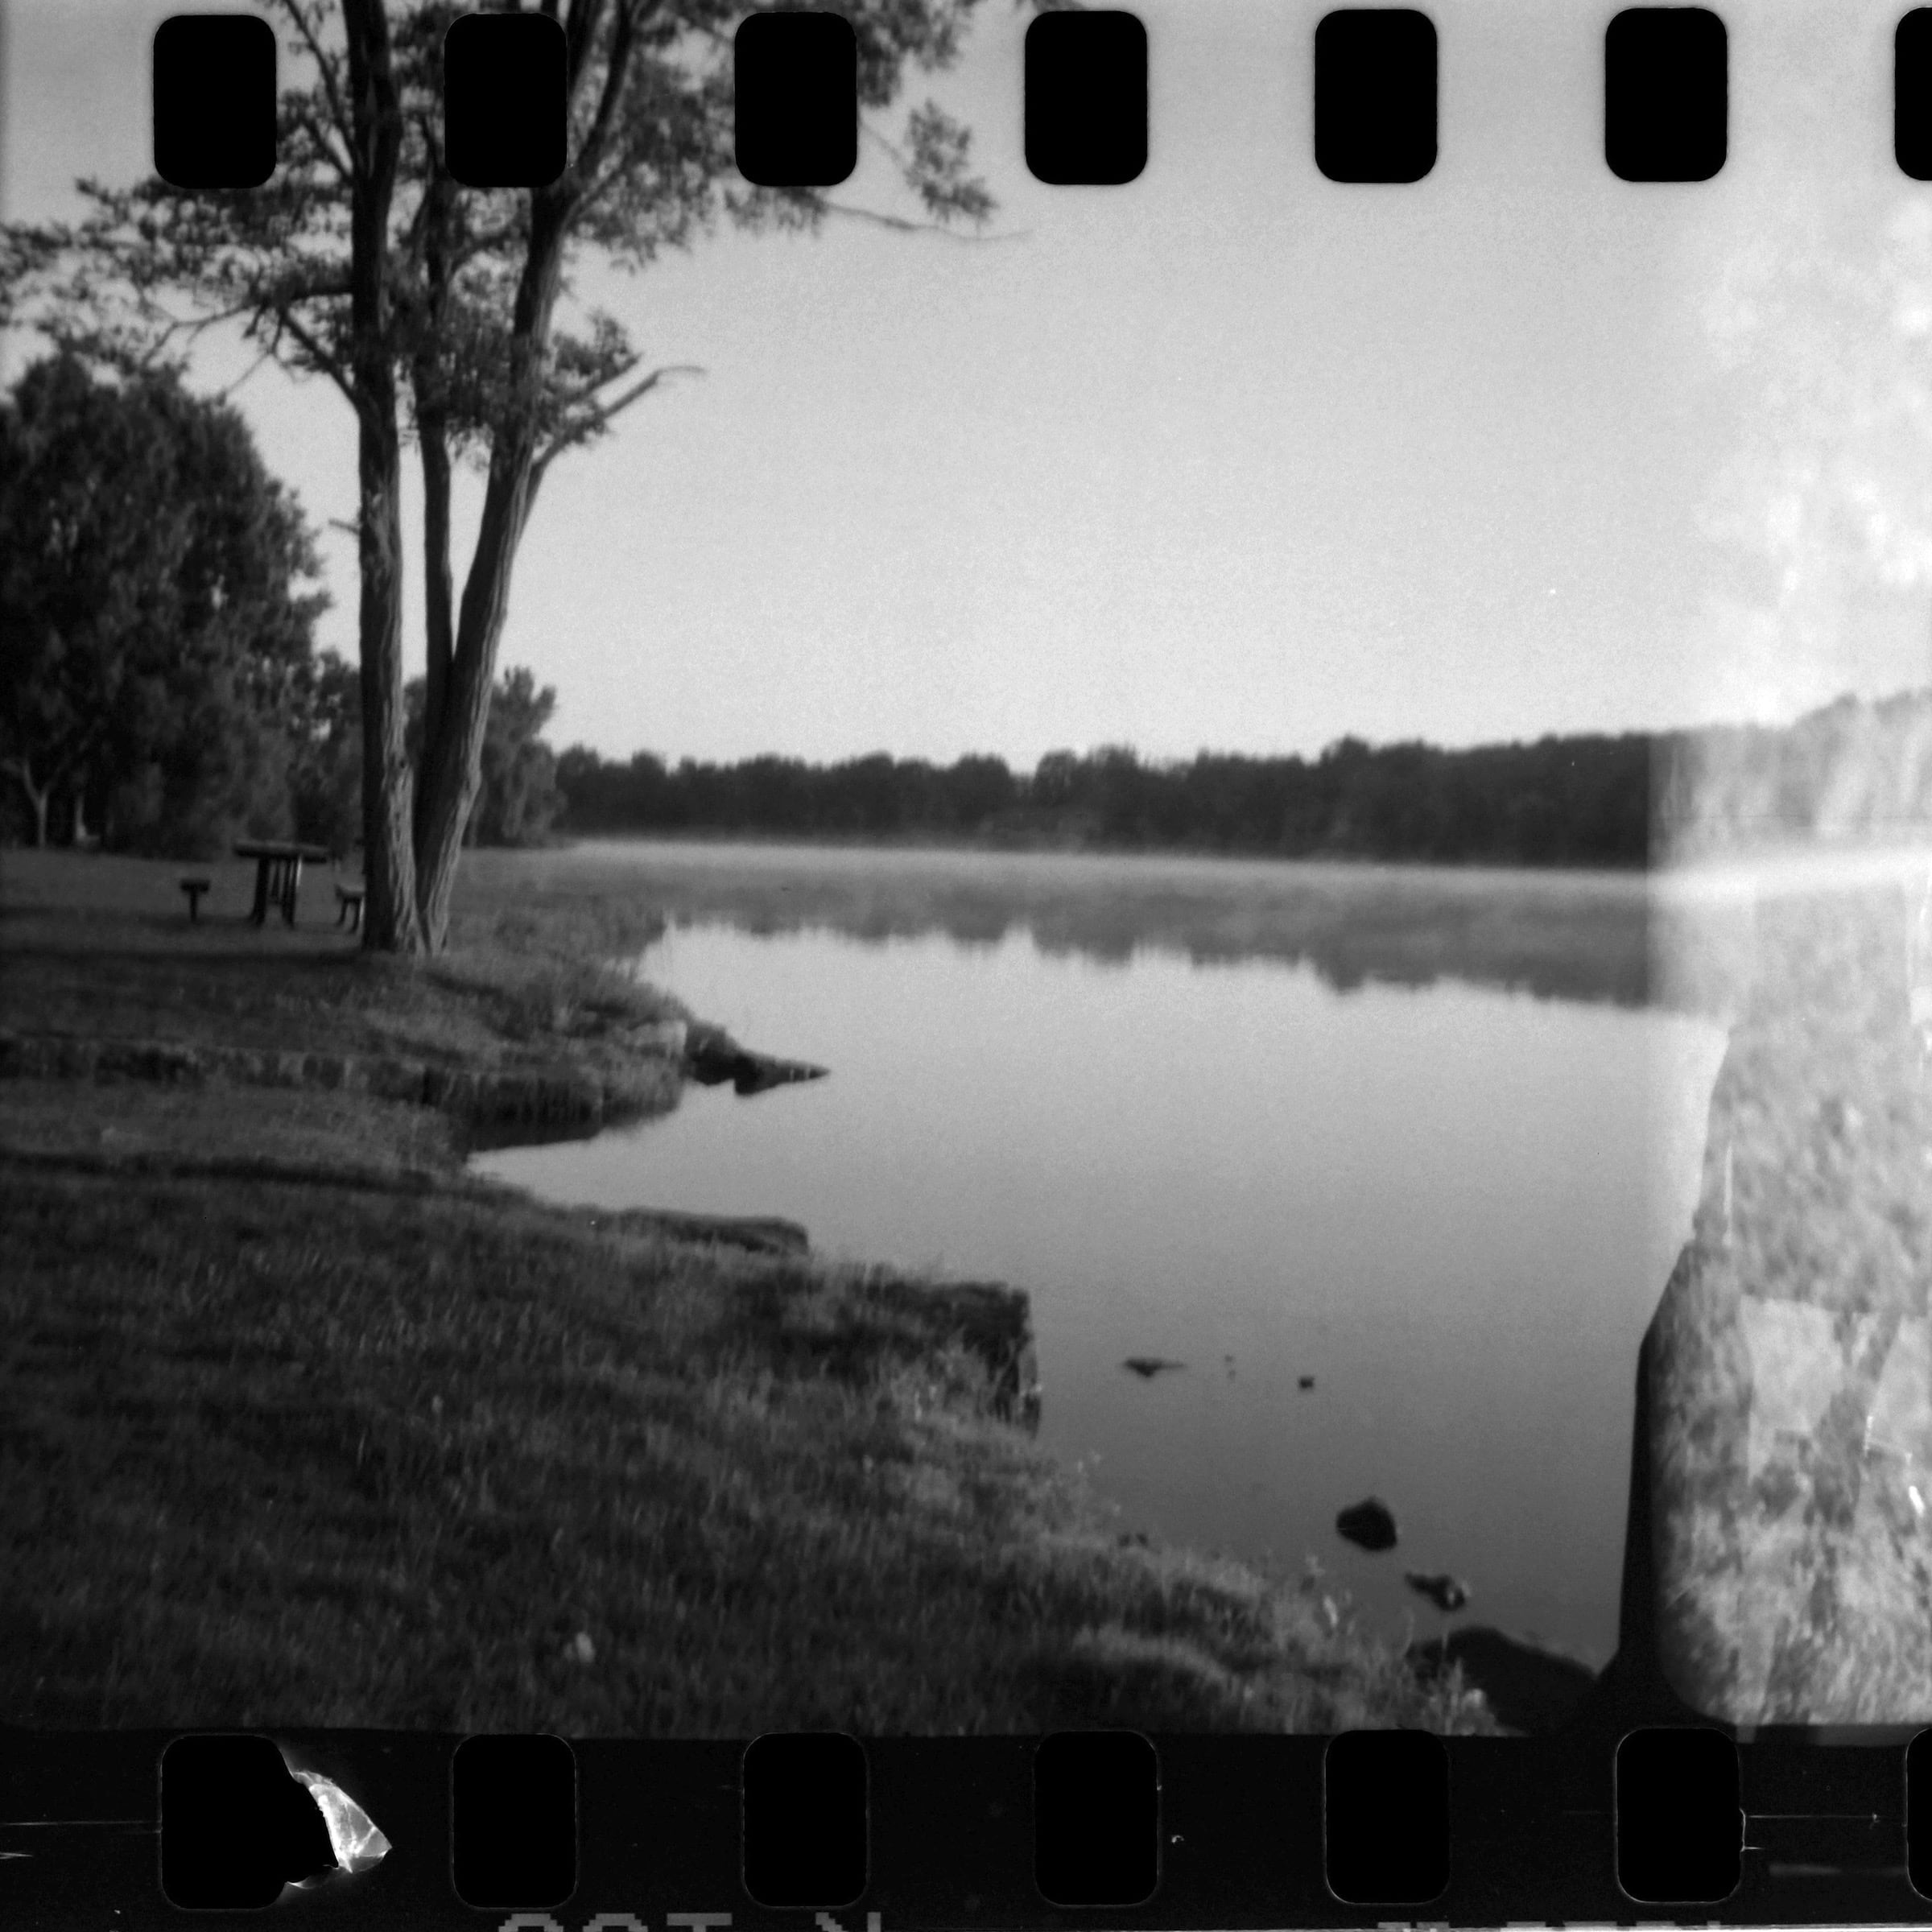
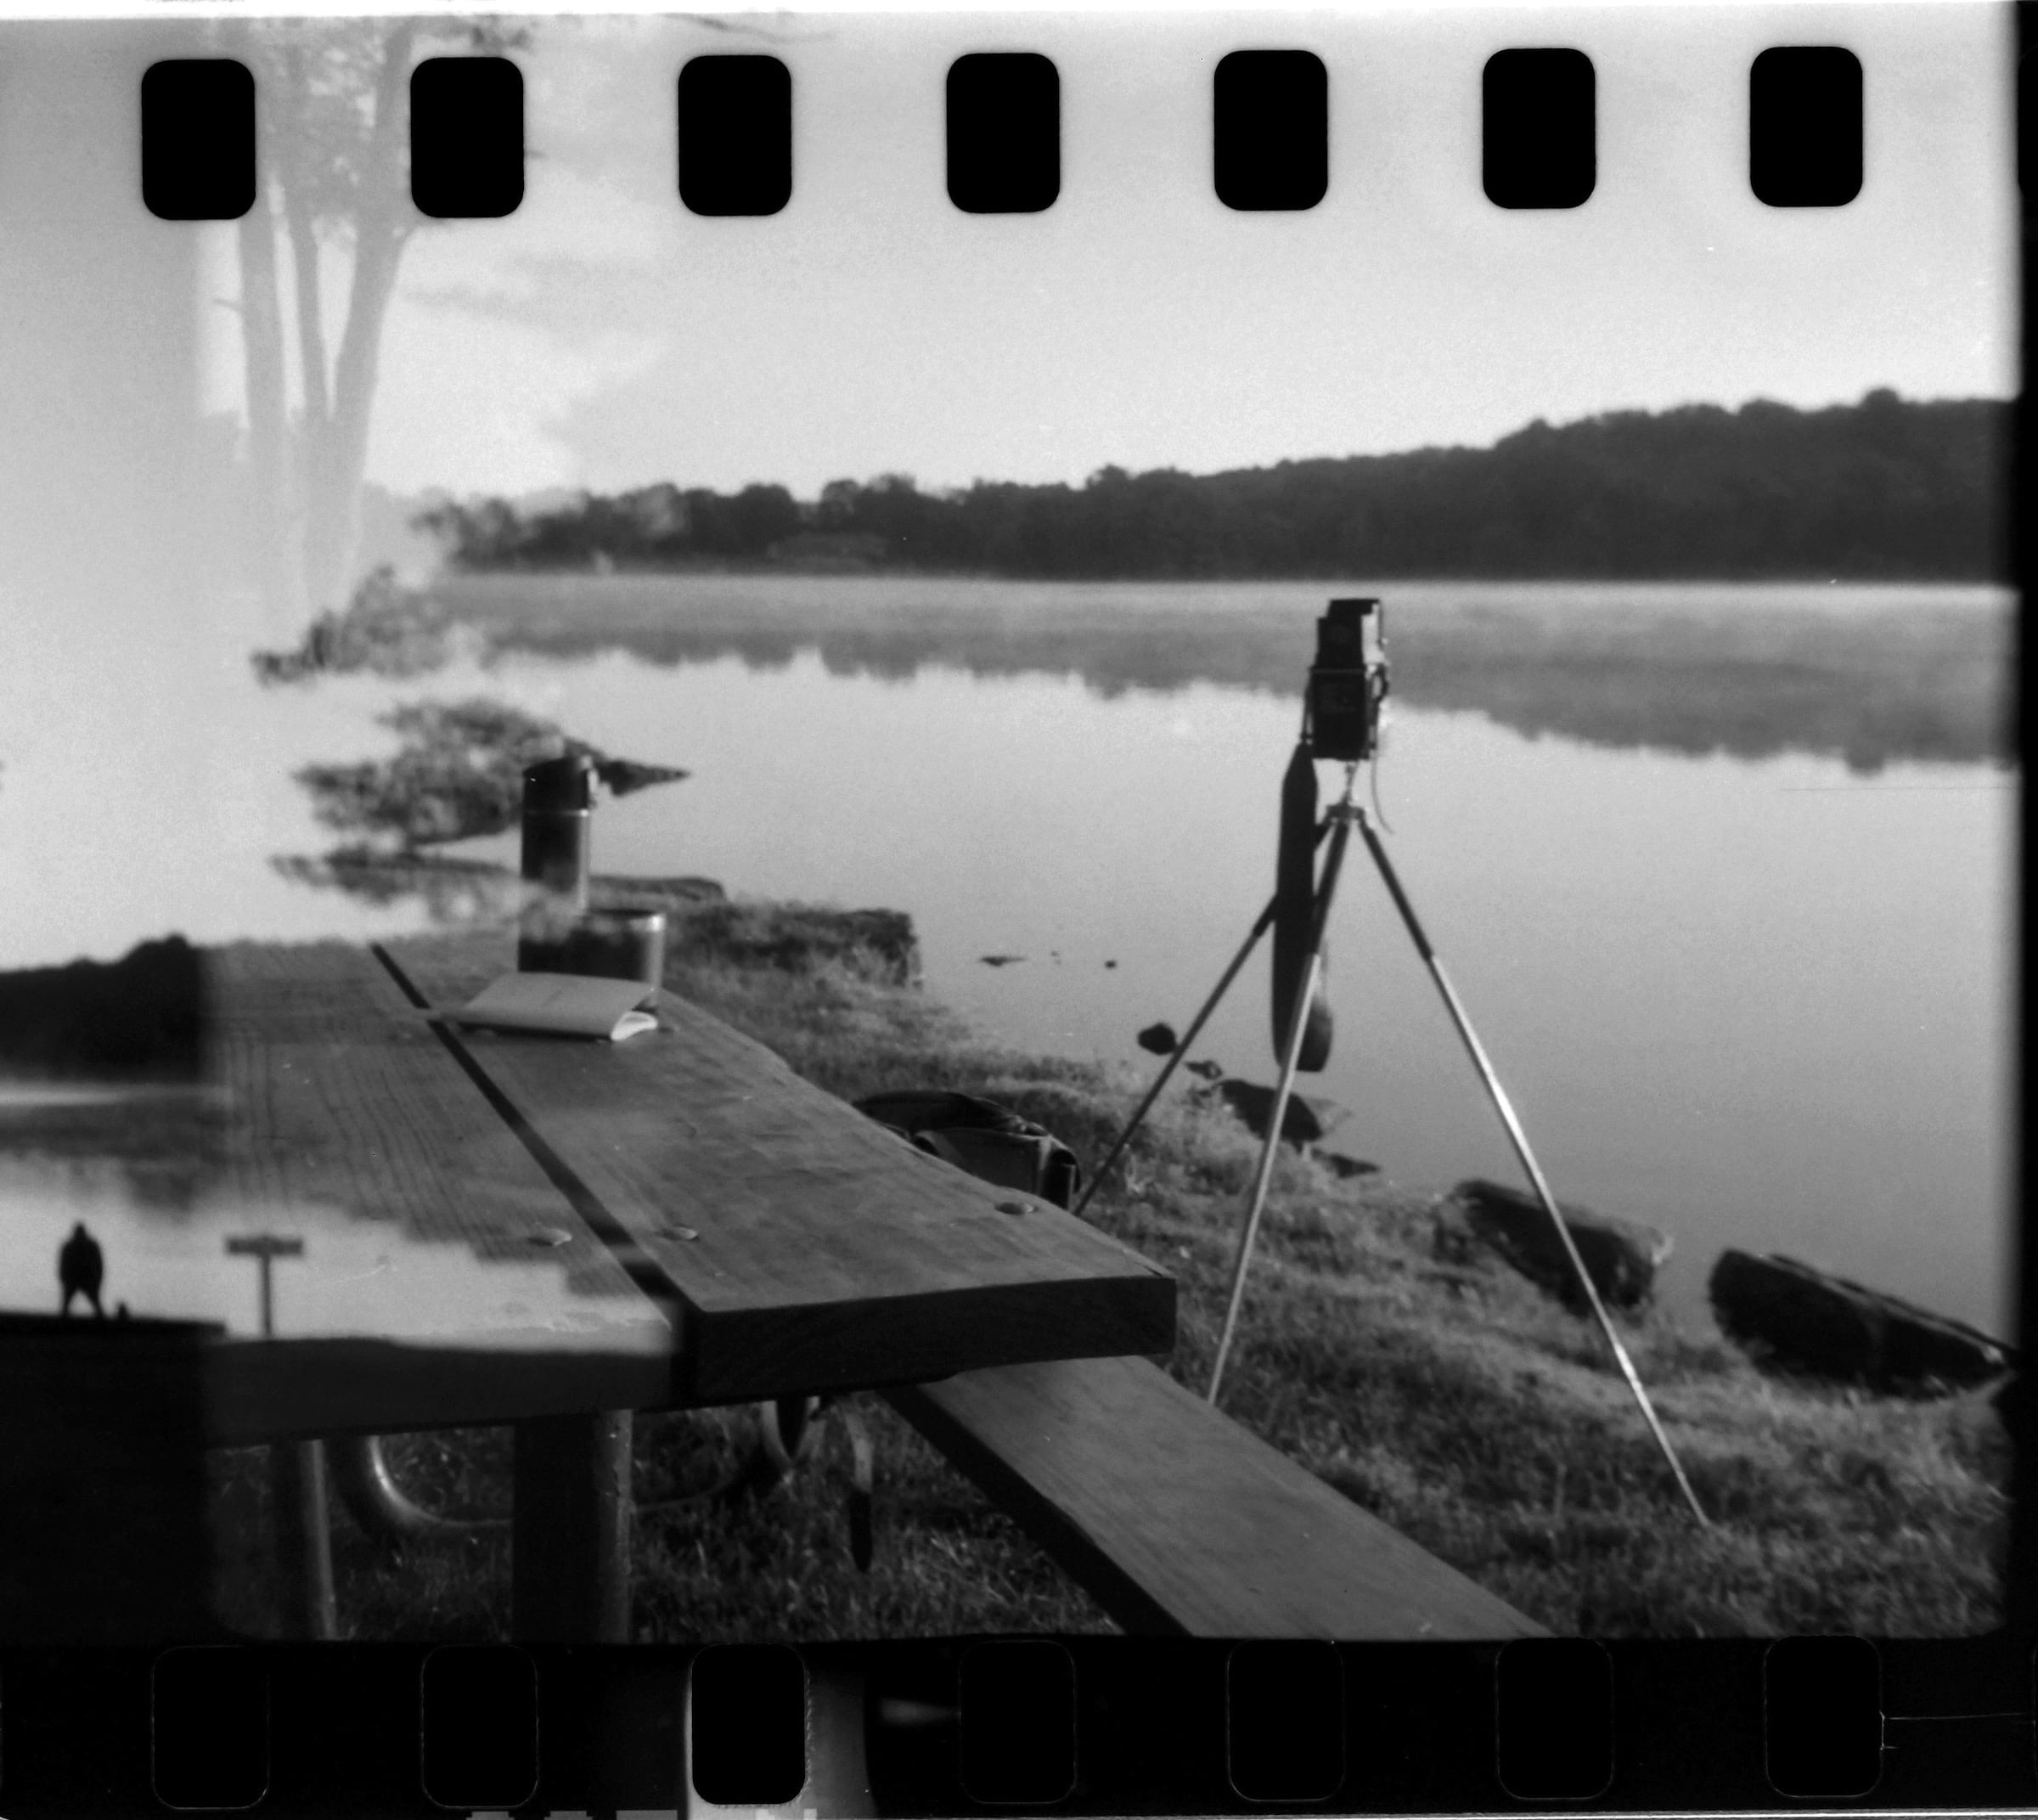
![[Overexposed] Sign near Old boat garage at Summit Lake](/assets/cameras/yashica_ez_matic/ROLL_11_IMG_9296_POS.jpeg)