The Olympus XA that I am currently using is actually the second one that I have owned. The first one turned out to really be for parts only, it was completely beyond repair. After working on that broken one, I decided that I liked the form factor and feature set of the XA. The camera fits in my back jeans pocket, so even on a spring day when I’m wearing jeans and a t-shirt I have a place to stash the camera when I don’t want to hold it. The backlight exposure compensation and self timer options are nice features, which I actually use, that are not normally seen on compact cameras. This is on top of what originally drew me to this compact, aperture priority mode and the rangefinder.
Even though I couldn’t fix the first XA I got which was listed for parts or repair, I bought another one listed the same way. The second one noted that the battery check and self-timer worked, so I was reasonably confident that it would at least be free of corroded circuits. I had some ideas why the shutter would not release, but when I checked all of those components they were working properly. In this case it seemed that perhaps someone started winding the film while the shutter was still open, causing the mechanism to jam up. I was worried that I would need to remove the shutter assembly to fix the problem, and that wold require a near complete disassembly, which would in turn risk introducing more problems. Fortunately, after a fair bit of trail and error, I got lucky and was able to free the jam using a metal probe.
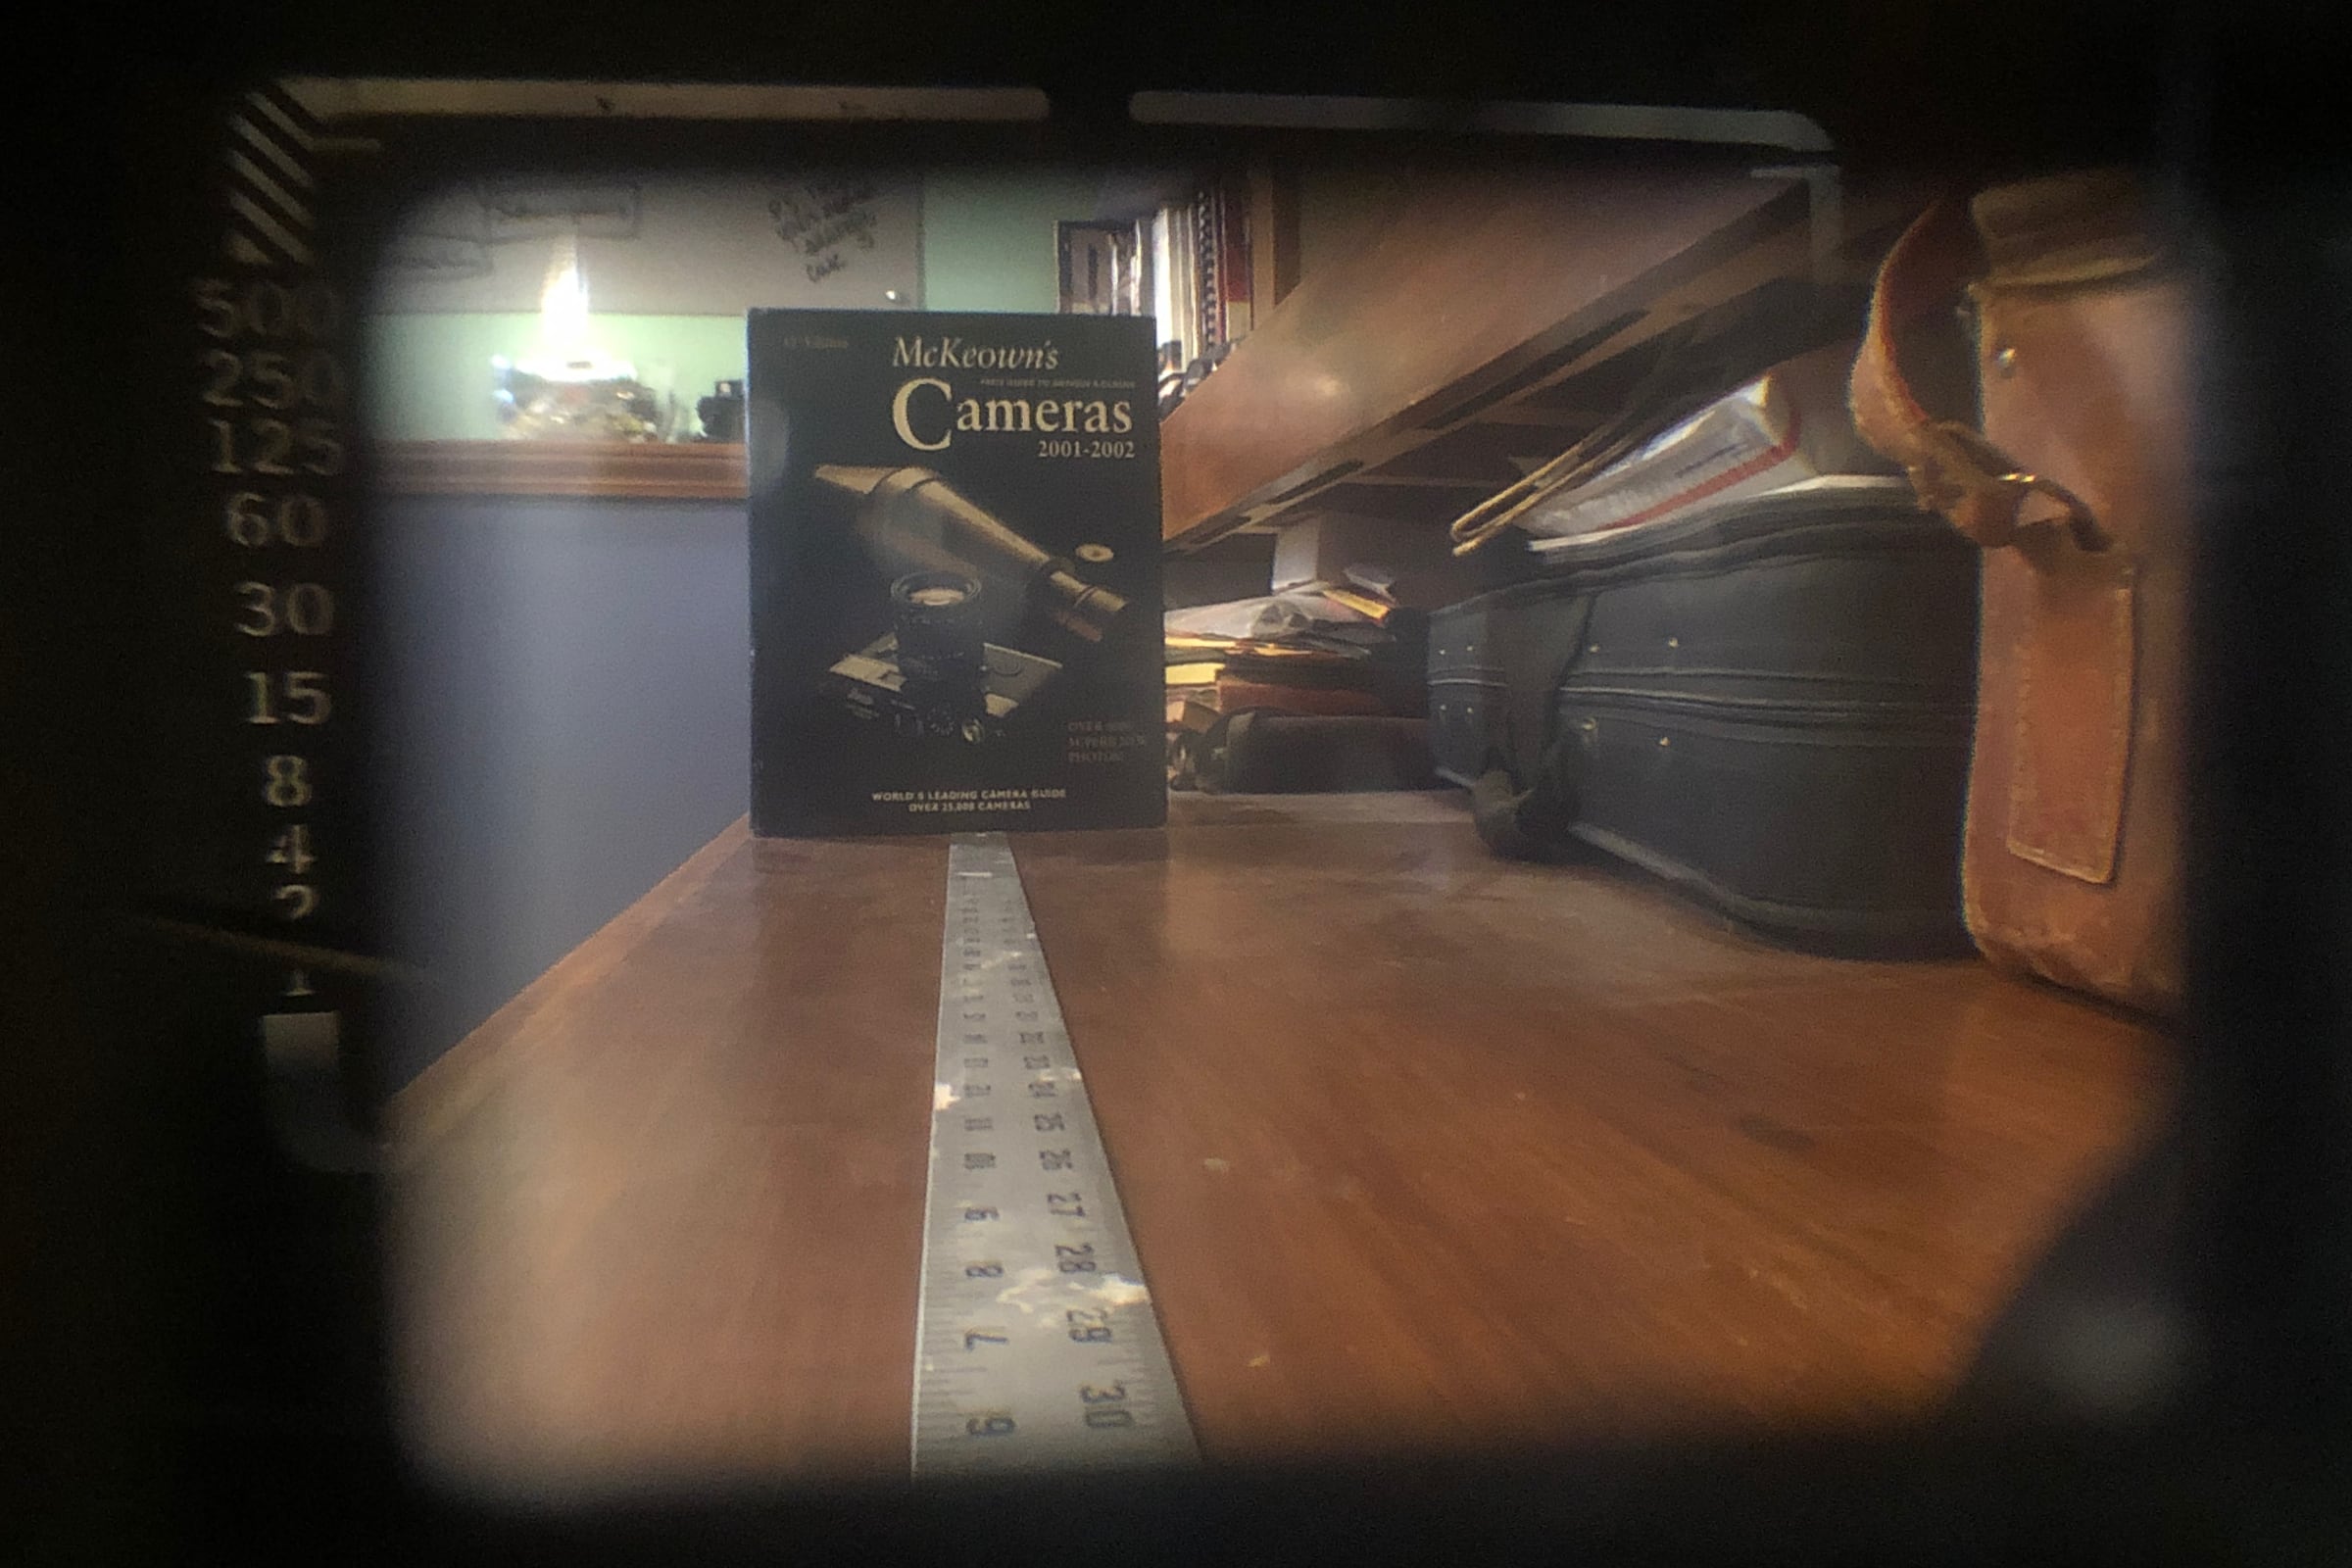
The broken XA has a serial number of 4,760,728, while the working one is 5,410,521. I’m not sure how many XAs were made, but the difference between these two serial numbers is 649,793. I’m guessing that means the working camera was built closer to 1985 and the other one is from 1981 or earlier. I cannot find documentation on the range of serial numbers for these cameras though, so I have no way to say for sure.
As everyone who uses an Olympus XA notes, the rangefinder is barely visible. On other cameras I have sometimes found that cleaning the rangefinder mirror brightens up focusing patch. Not on the XA. I have experimented with placing small pieces of tape in the center of the front viewfinder glass, but I’m not happy with that solution either. I assume that one of the lenses in the rangefinder assembly had a tint which has faded over time, so I’m currently experimenting with applying tint to the rangefinder window. The focus throw is very short and the focus scale is easily visible above the lens, so the weak rangefinder contrast is not a showstopper.
This is the first camera that I purchased which I could not repair enough to even get one photo from it. I knew when I bought it that it was not working, but I thought it would at least be repairable. It was not. It was only $20, so maybe that should have been a clue. The clean outward appearance of the camera did not not suggest that it would beyond repair. It took some work to discover that the camera was unrepairable.
I followed all of the instructions in the repair manual. Page D-7 has a handy flow chart for troubleshooting a shutter which does not fire. The first step is to put in some batteries and use the battery check function. If the check fails, the manual says to check for broken or shorted battery lead wires.
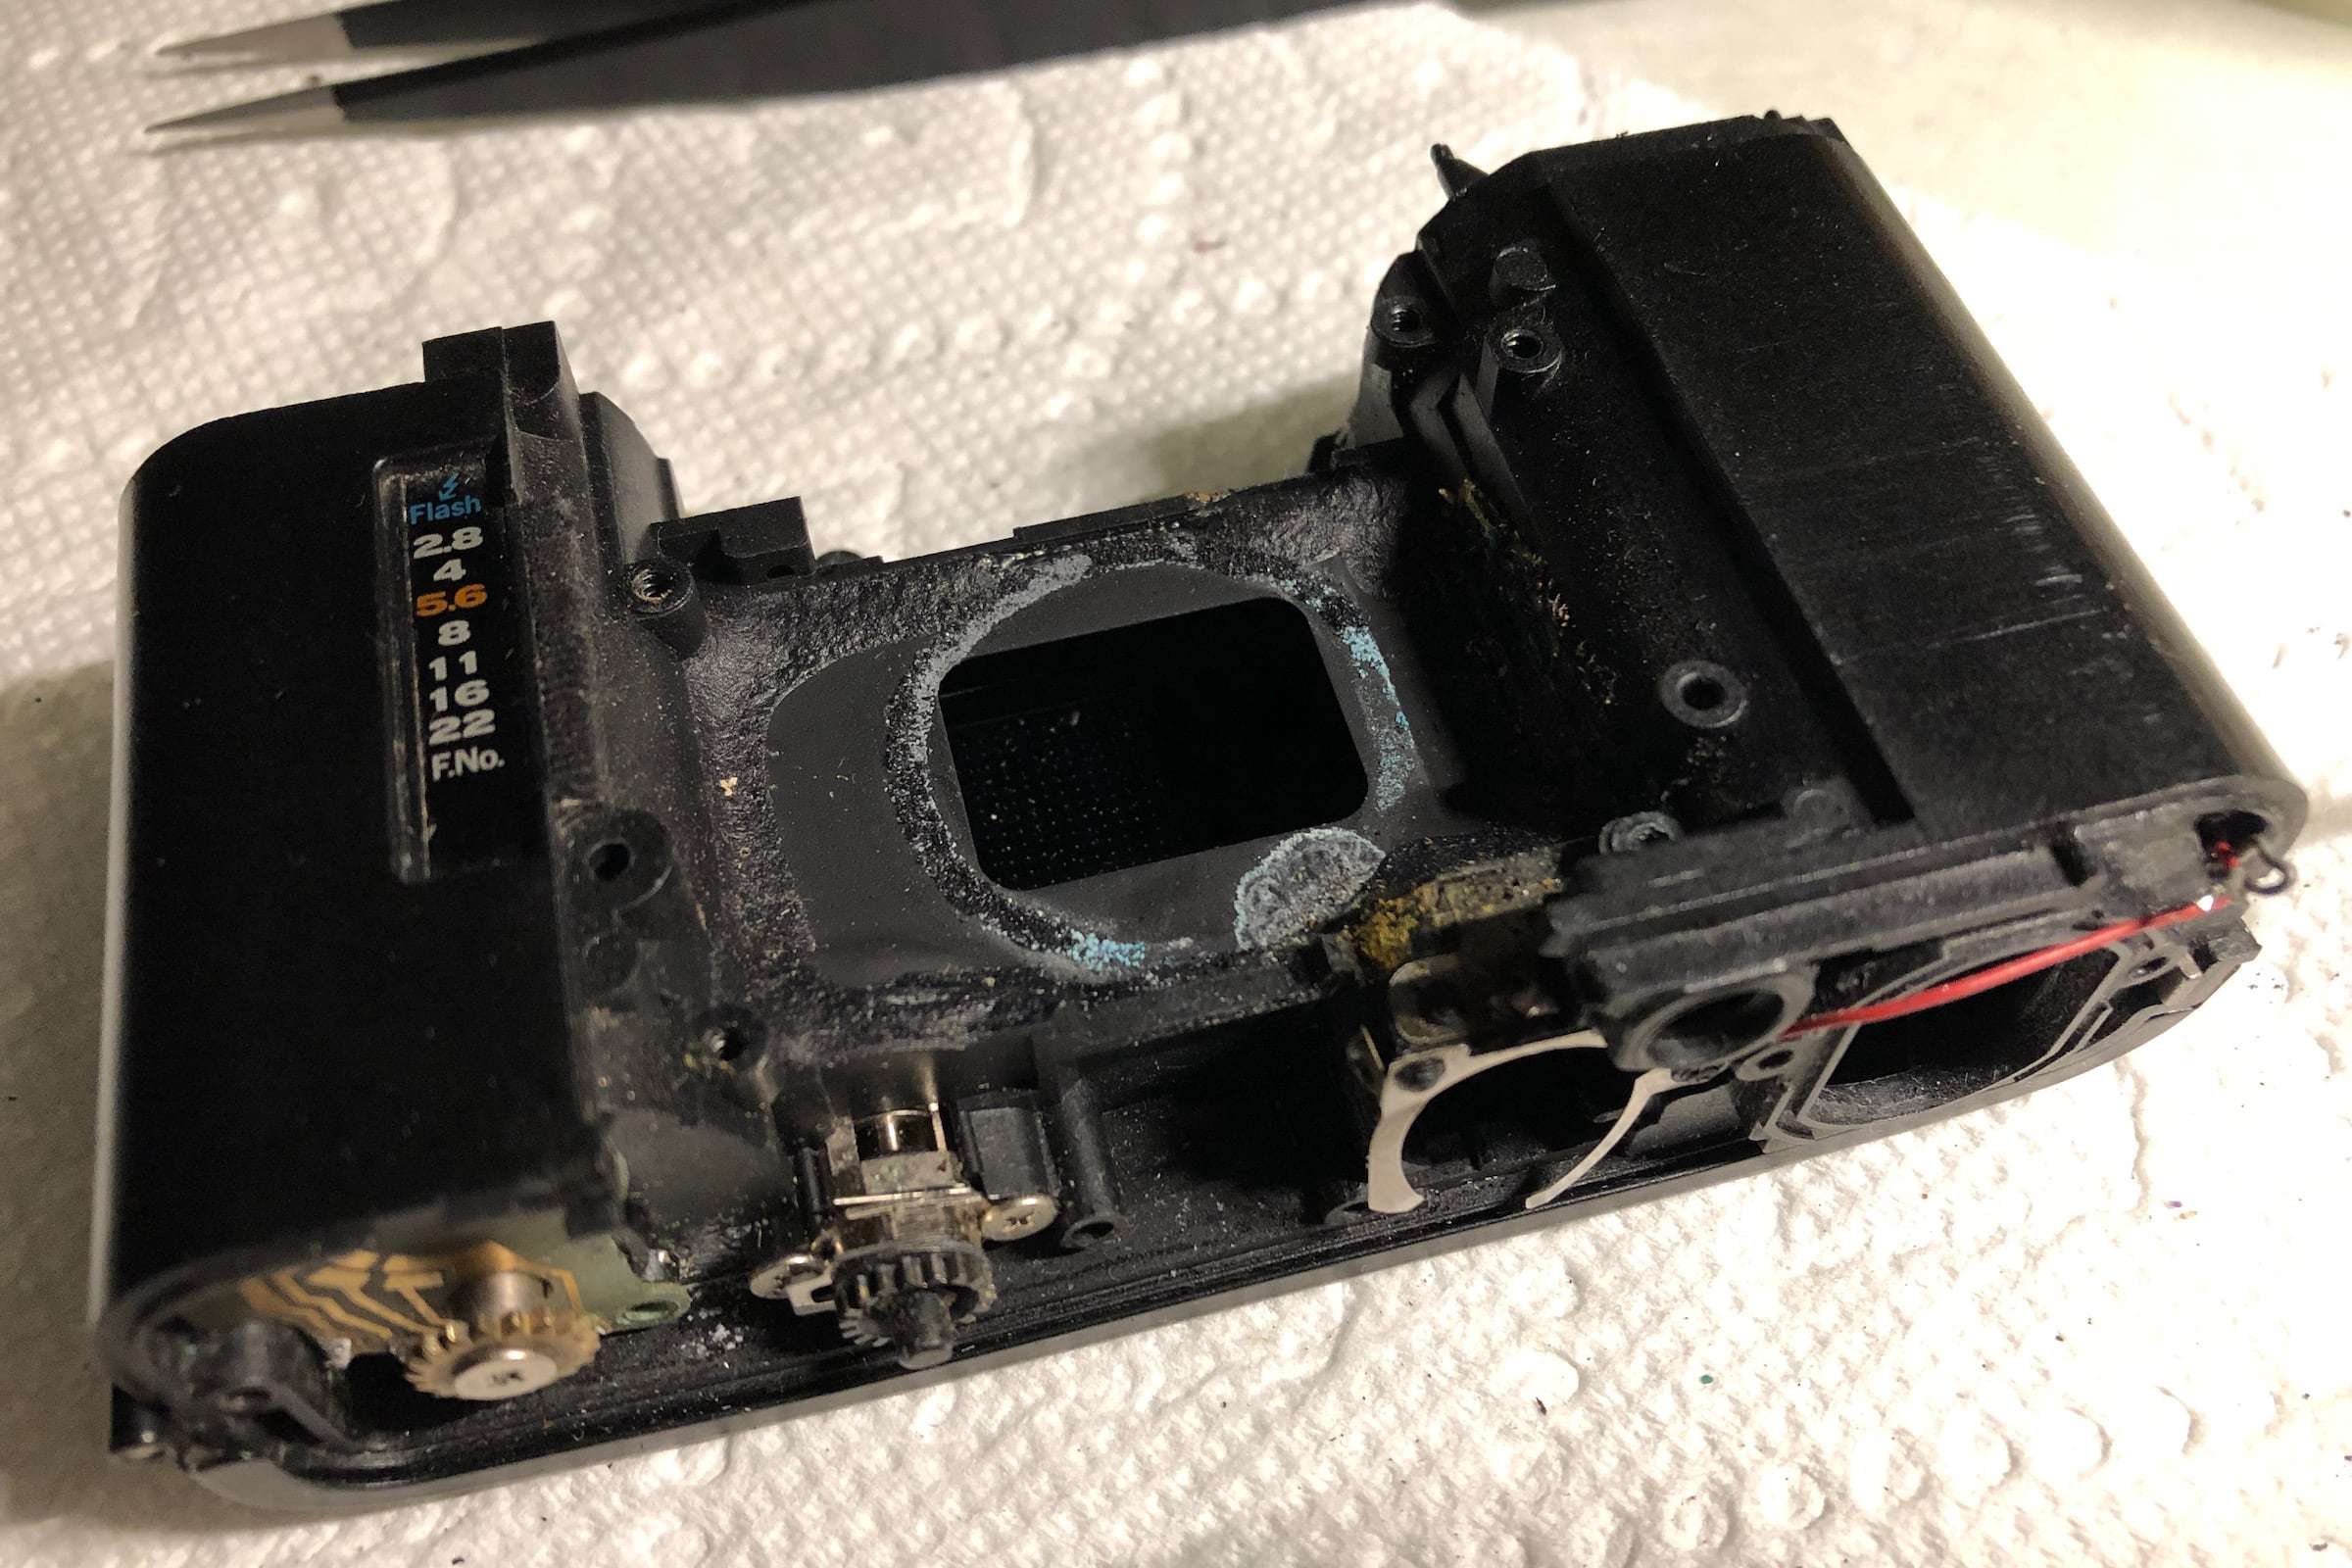
There are five easy to get to screws on the bottom of the camera which hold the bottom plate on. Three long screws hold the side near the mode selector lever and two short screws hold the other side. The plate seemed to stick near the selector lever, but a gentle pry with a plastic spudger popped it loose. Removing the bottom plate allows the sliding cover to come off. There is a small roller bearing under the top of the sliding cover which will fall out when the cover is removed. The cover will not slide very well without that metal bearing, so be sure not to loose it when the sliding cover comes off.
With the bottom cover off it was easy to see the battery contacts. Sure enough, the negative lead was broken. It had corroded right where the wire enters the solder, which is not uncommon. The trouble with these tiny cameras is that when the wire breaks there is often not enough extra wire to strip the insulation and solder the wire back down. In this case there was just enough. Also, the metal battery contact goes up into the camera, so it would have been possible to reposition the solder point, but that would have required removing the shutter assembly. So, this was a lucky break.
While I had the bottom plate removed I also checked the electrical contacts on the mode selector lever. They were also corroded. The unusual thing about the bottom of this camera is that while the wires were corroded, the metal mechanical pieces were not. The gearing for the film wind mechanism and all the other mechanical parts were in perfect working order with minimal signs of wear. The contacts on the mode selector were plated with a gold colored metal. This plating was also coming off, but it had long since worn off on the parts that slide and make electrical contact.
After cleaning up the mode selector contacts and putting the bottom plate back on, it was time for another battery check. This time the battery check passed! The light on the front of the camera lit up and the buzzer in the top plate sounded. However, setting the mode to self timer and touching the shutter button did not start the self timer. The manual suggests checking switch number 2 and switch number 6. These are the winding complete switch and the front cover switch. To check these the bottom plate and sliding cover had to come off again. Then, the shutter assembly cover needed to be removed. Unfortunately, these switches were functioning properly and were not corroded.
The next troubleshooting step is to check switch number 1, the shutter release switch. This can be done without removing the top cover. Gently prying the switch cover off reveals the screw for dismantling the shutter switch. There is, however, a good chance that one of the small shutter button pieces will fall down inside the camera and the top cover will need to be removed to retrieve it. The switch on this camera was not faulty.
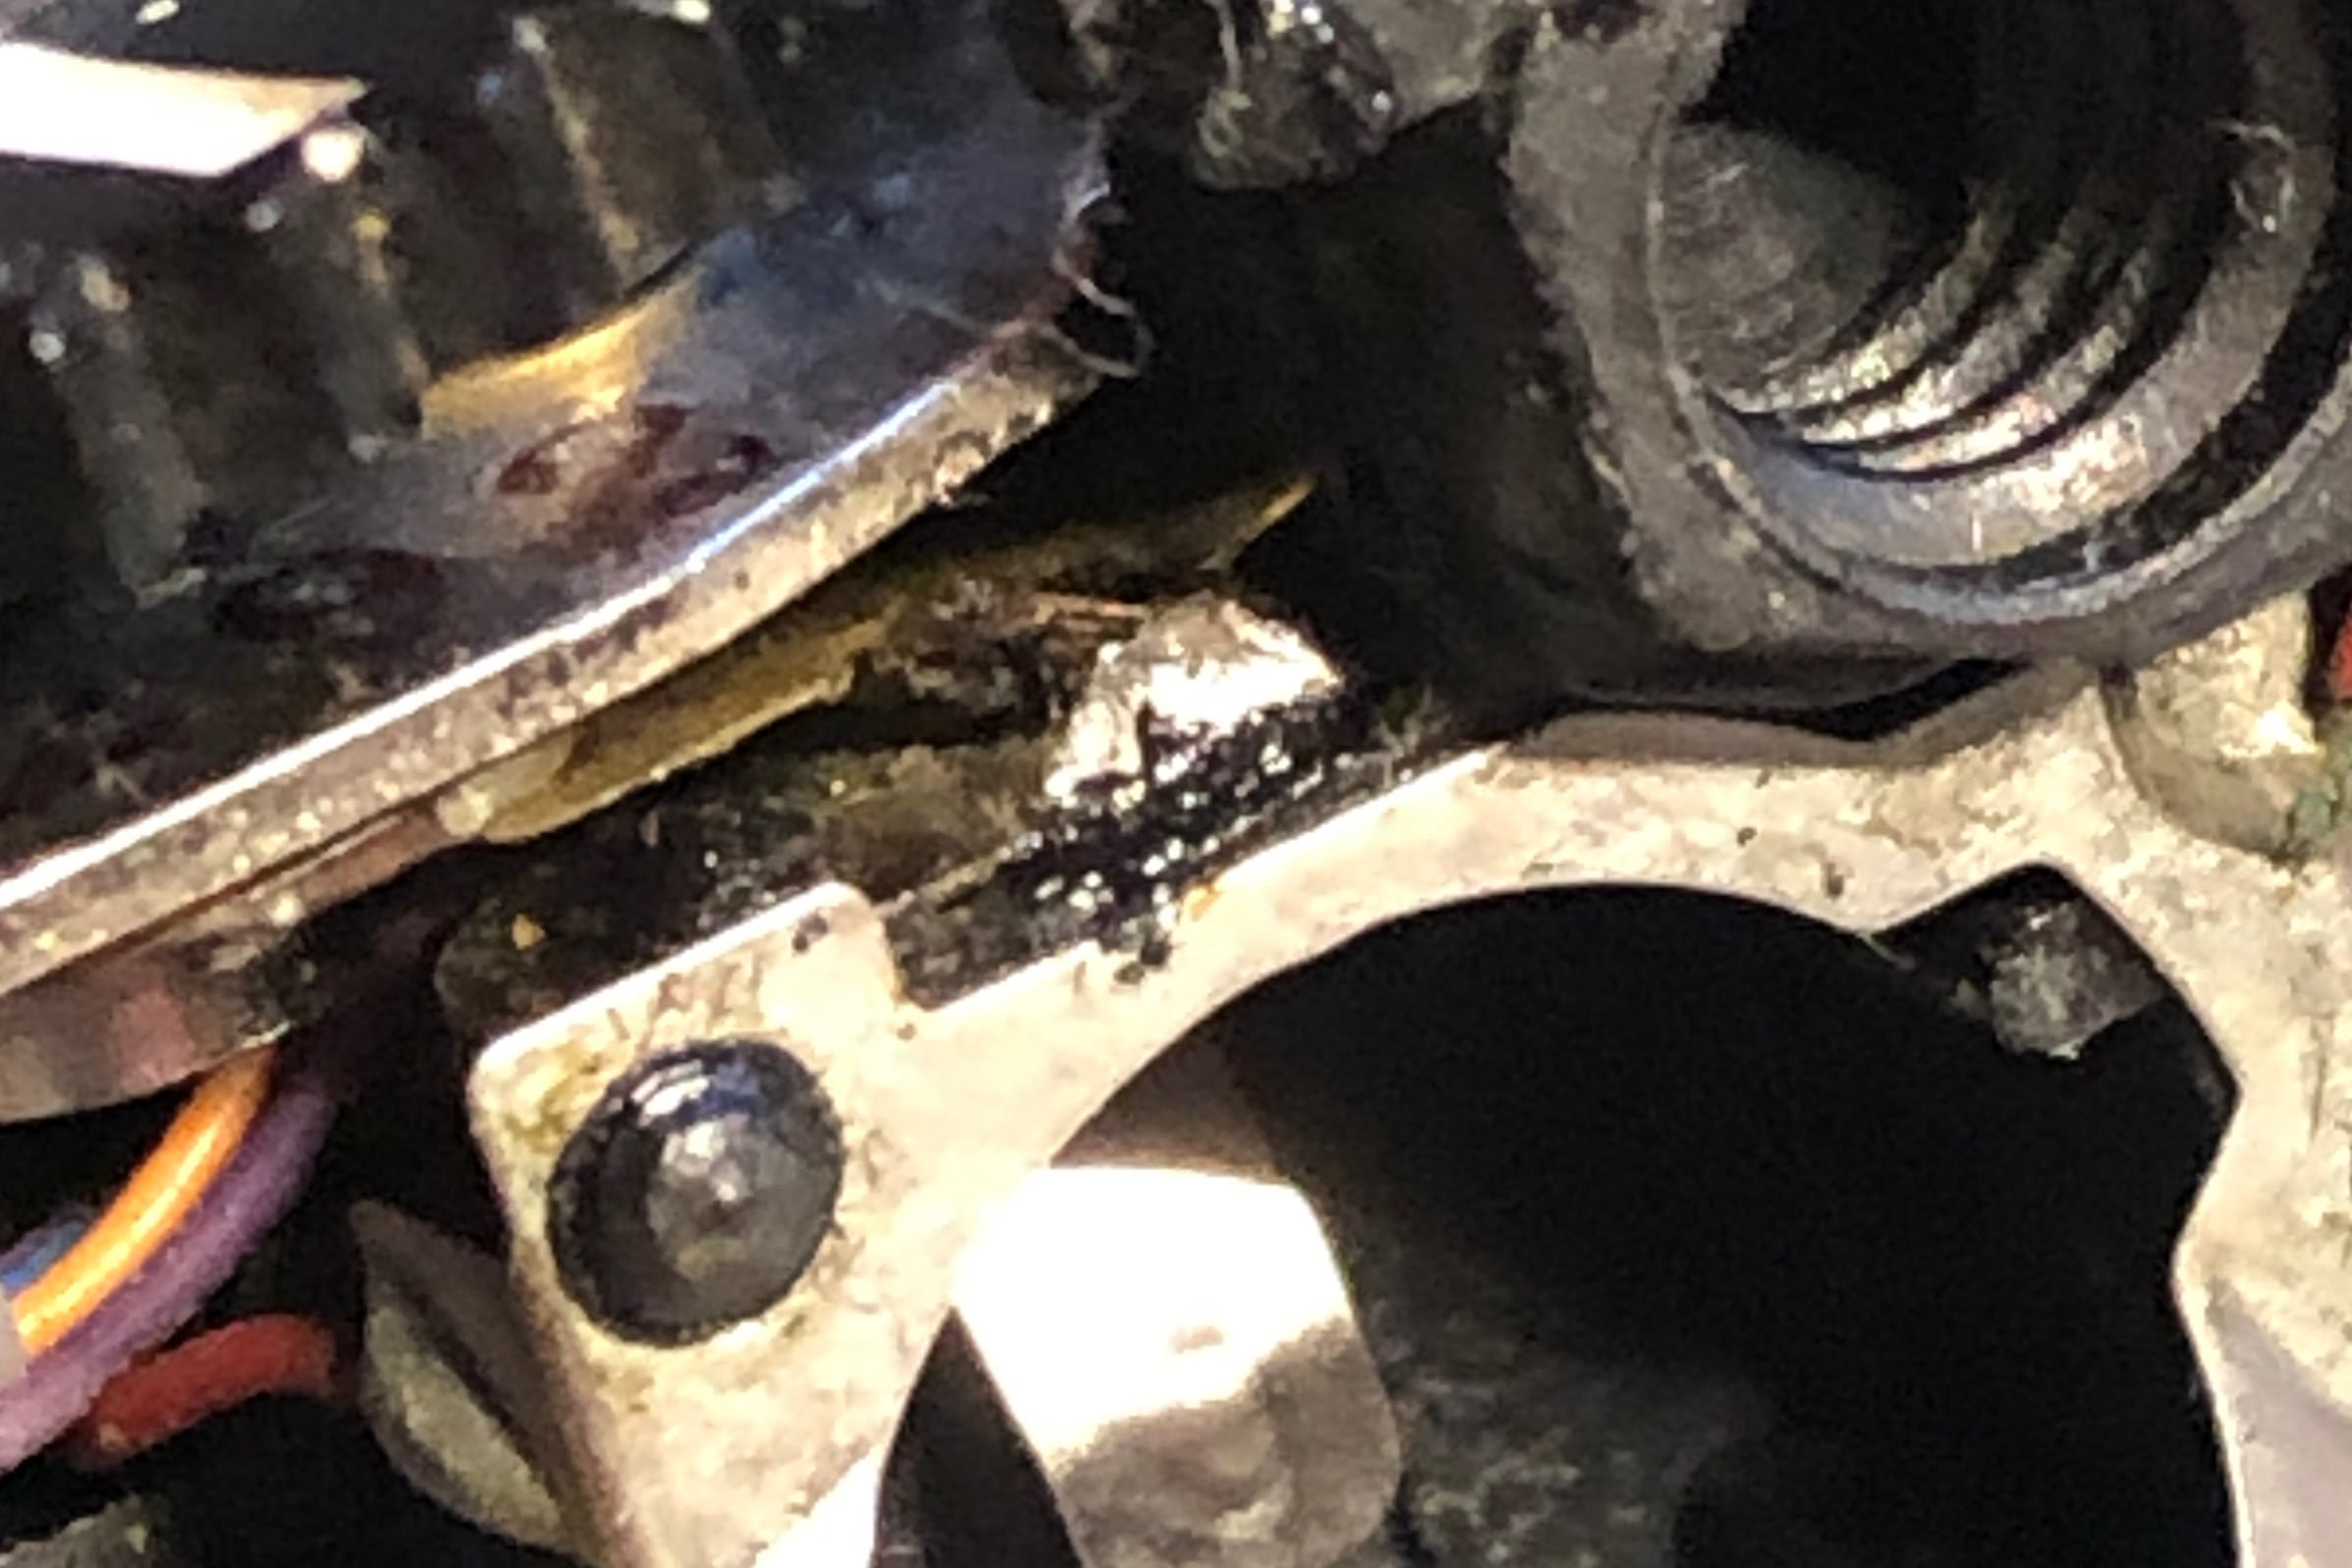
The final box of the troubleshooting flowchart says that the cause is “improper soldering or defective printed circuit of circuit board.” The chart also mentions 11 different ways in which they can be broken. And, every one of those requires removal of the shutter assembly for repair. Fortunately, the circuit board, which, by the way, is more of a ribbon than a board that was broken in this camera was easy to see. When the top cover is removed a portion of one circuit is visible. This circuit was clearly degraded. The green plastic was brittle and flaking off, revealing the actual copper circuits. The entire top of the camera showed signs of damage probably caused by moisture.
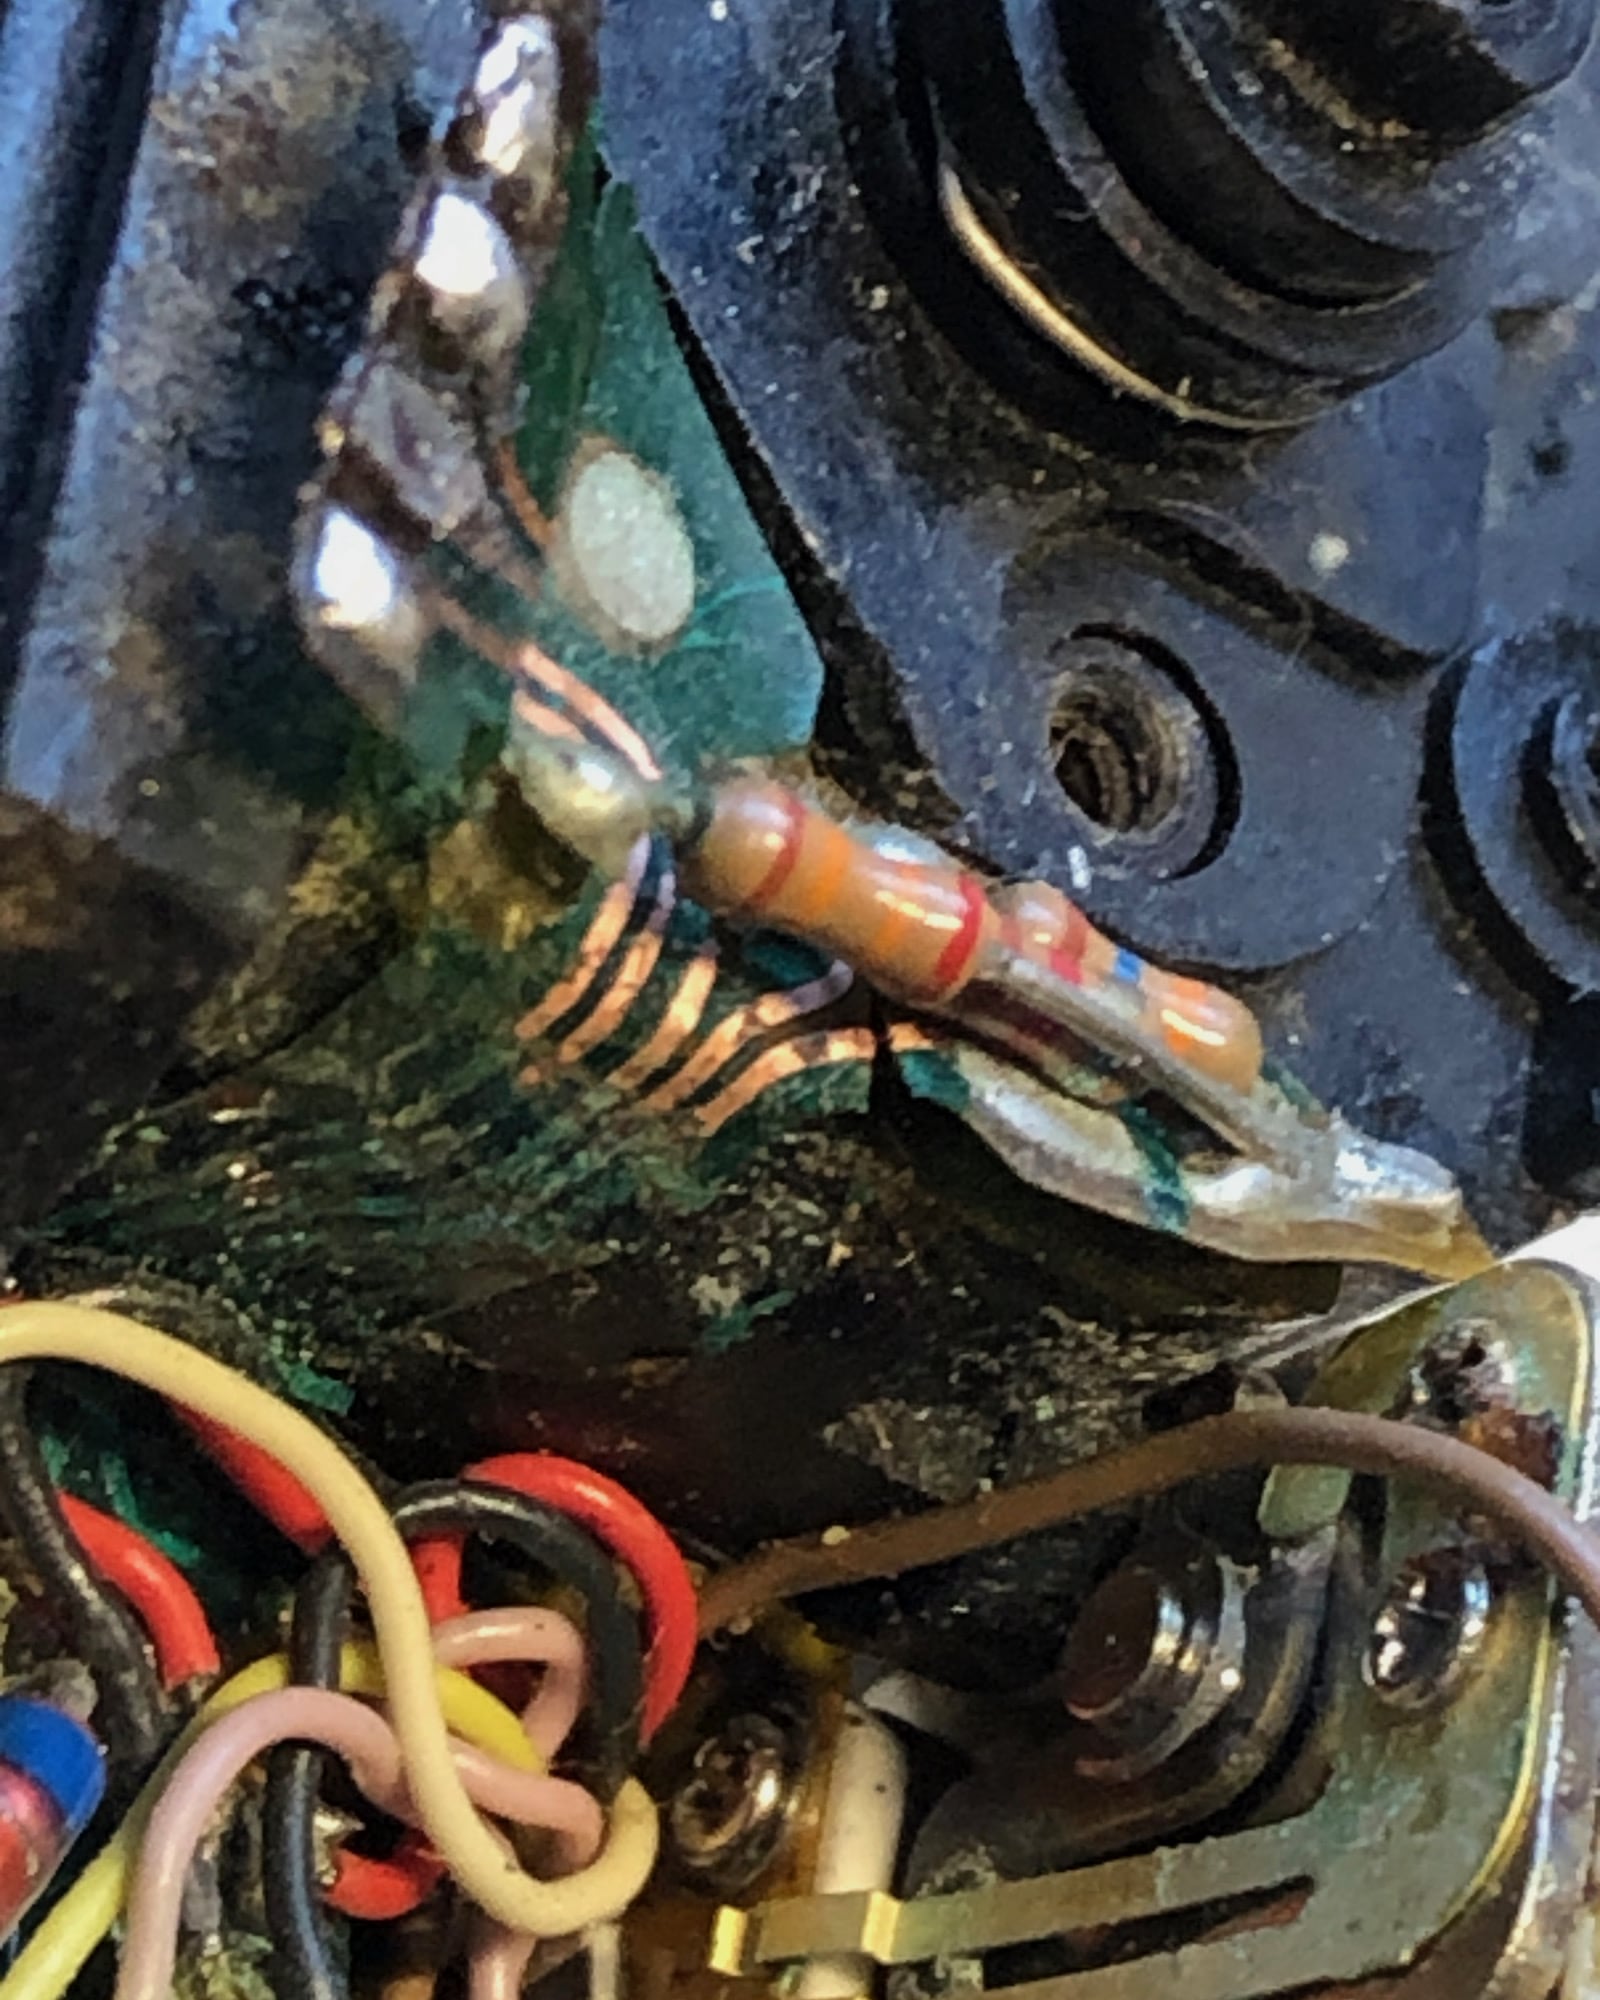
The damaged circuit wraps under the viewfinder, so the film wind dial and viewfinder needed to be removed. The hidden potions of the circuit were just as bad as the visible portions. I do not have the ability to print circuit ribbons, but this circuit is not too difficult to follow, especially since the coating was chipped off revealing the copper pathways. So, I decided to bypass the circuit pathways and create new ones from magnet wire.
At first creating patches was going surprisingly well. But, problems arose when I needed to move existing wires out of the way in order to solder in the patches. All of the wires were corroded, and many of them broke away from their solder points. One broke loose from the inside of the shutter assembly, so I had to disassemble the entire camera to get it fixed back in its place. I soldered every wire back and patched the broken circuit board pathways, but when I put the camera back together it still did not work.
The wiring on the camera was very fragile. It seems that the only way to get the camera working again would be by replacing every piece of wiring. But even that wouldn’t guarantee the camera would work, there could be more faulty electrical components. Based upon the friable circuit ribbon and wiring, it was highly likely that the camera was hiding further damage. So, I threw in the towel. I reassembled the camera, but have given up on it. I’m holding on to the it for now because the lens and mechanical components are in great shape, and I am sure I will come across another Olympus XA some day.
I’m not sure what this camera went through before it reached me, but the pattern of corrosion was odd to me. I visualized this camera being taken for a fun day at the beach when it fell off of the cooler and landed top-down in the sand, in a small puddle of ocean water. The day drew on and no one noticed the camera, boiling in a hot puddle of salt water, until they were packing up to go home. By then it was too late. They were able to save the partially used roll of film, but the camera was done for. This Olympus XA had one last glorious day at the beach. At least that’s the story I’ll tell about.
Come-alive style. 35mm simplicity.
Slide back the unique Dust Barrier and this revolutionary 35mm camera comes to life. OLYMPUS XA – ready for action. It’s capless and caseless, so it goes anywhere. Small enough to fit in a pocket. Simple enough for anyone to use. and professional enough to accept virtually every photographic challenge.
The XA doesn’t look like a camera. It doesn’t feel like a camera. Yet it takes beautiful full-frame 35mm photos and slides – the kind of shots that get the raves.
It’s aperture-priority simple. A double-image focusing system delivers crisply defined results every time. The electronic shutter is soft-touch smooth, so blurring from camera shake is a thing of the past. And the capable A-11 electronic flash makes night photography almost foolproof. You can even stand back and let the camera do the work. The audio-visual self-timer signals with blinks and beeps. Puts you in the picture, stylishly.
OLYMPUS originality is beautifully obvious in the remarkable XA Capsule Camera. And OLYMPUS precision make this compact 35 just as dependable as the fine line of OLYMPUS OM cameras.
Now there’s a lively new way to take great pictures. It’s THE XA WAY.
The viewfinder is absolutely fine. The rangefinder patch is usually but not always rubish, but there is a meter which indicates the expected shutter speed. Having a meter instead of just over/under lights is very nice for a camera of this age.